Follow along and discover your next inspiration as we cast on for projects we love, explore new techniques, and dish about the latest and greatest from Knit Picks.
Meet the team »
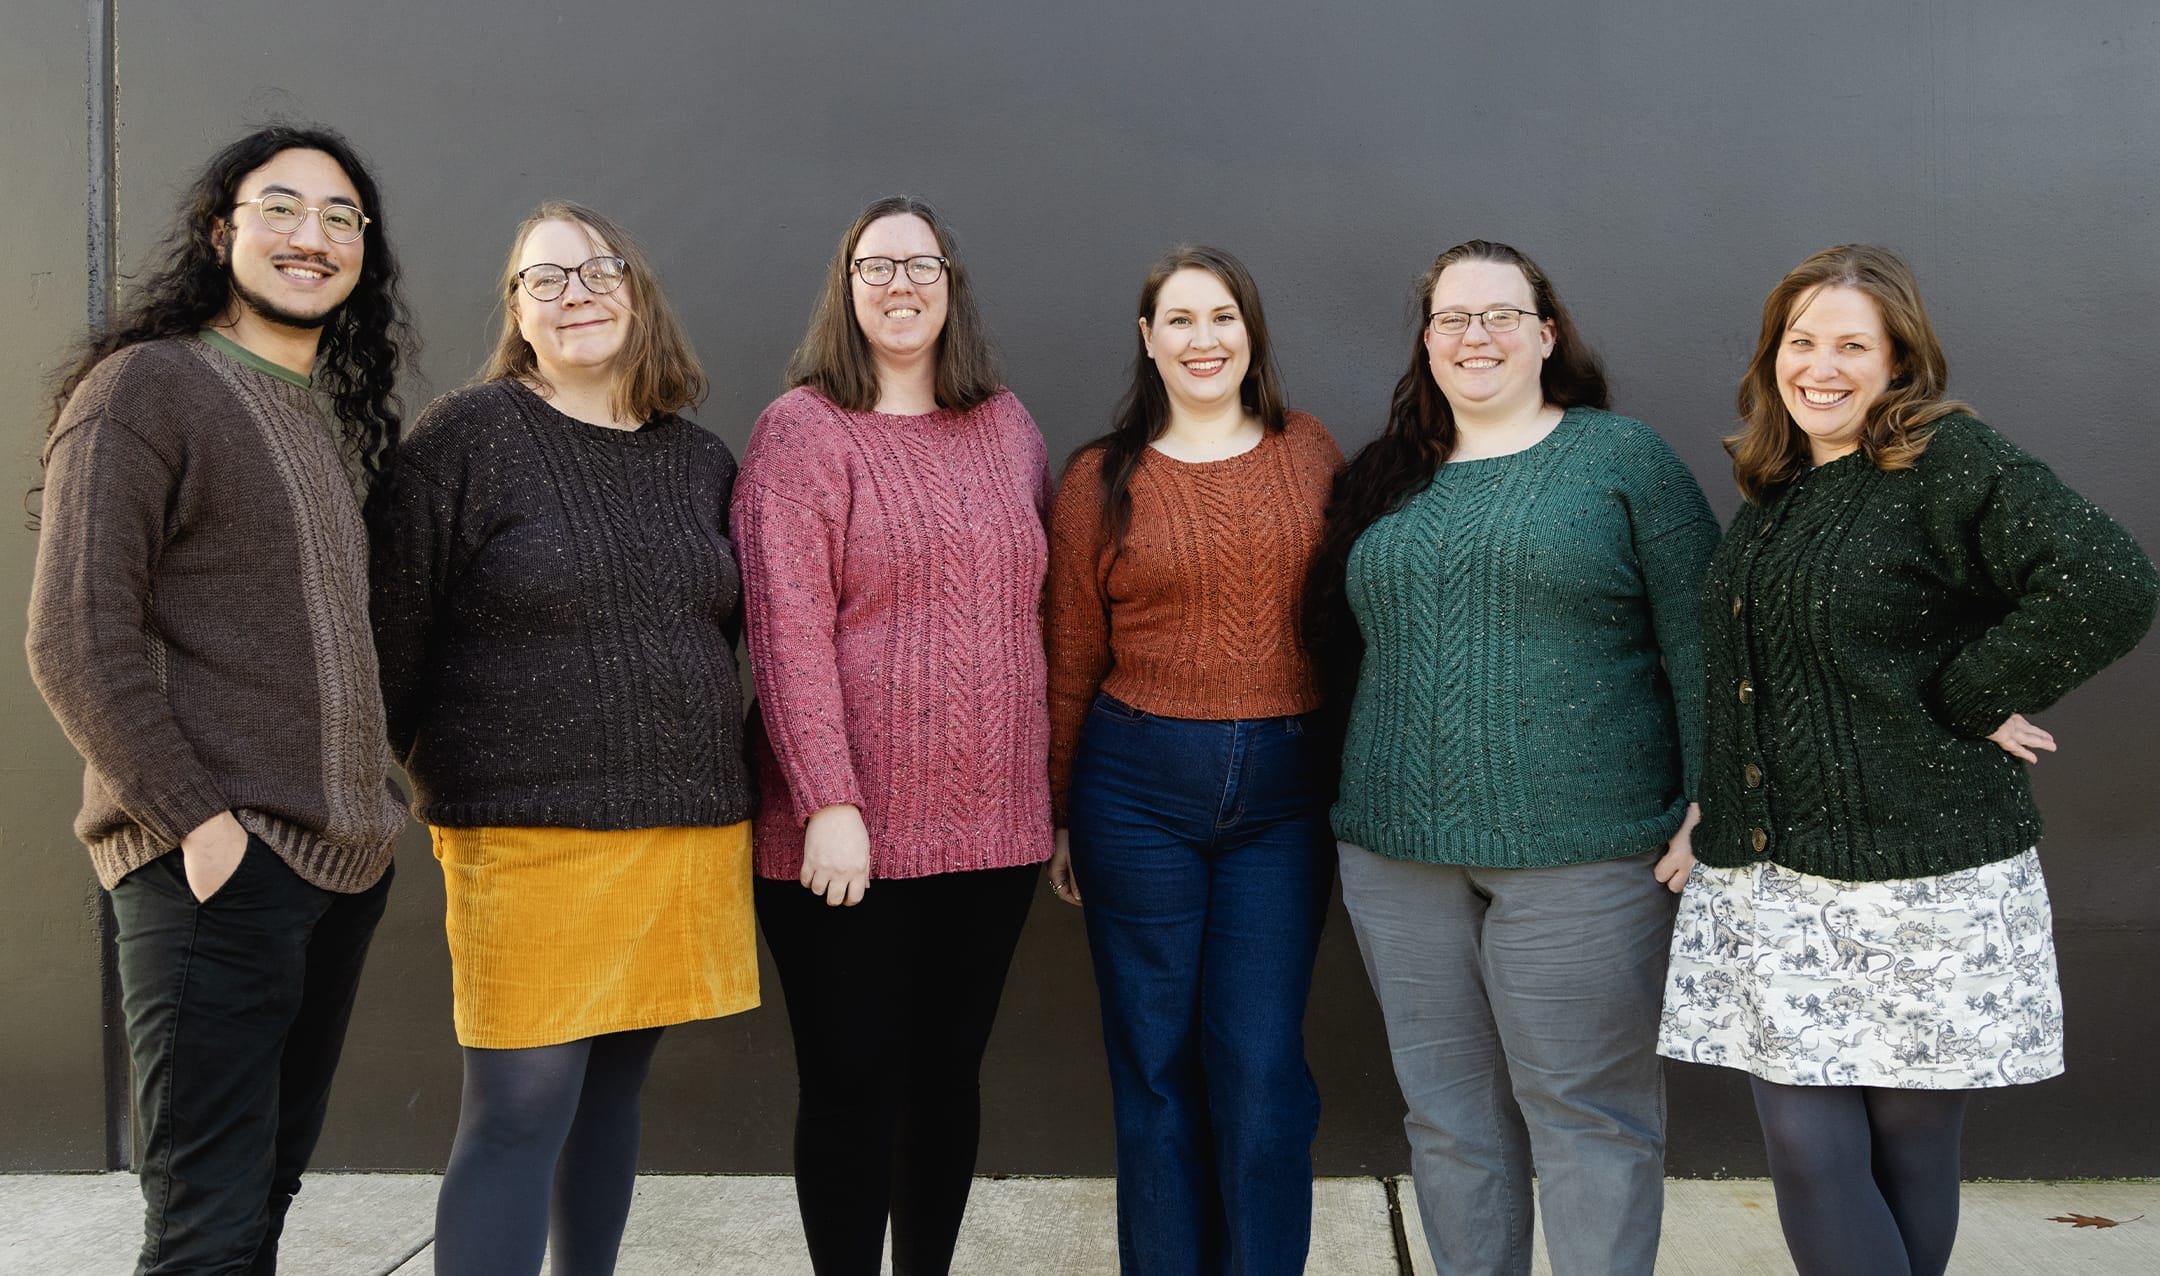
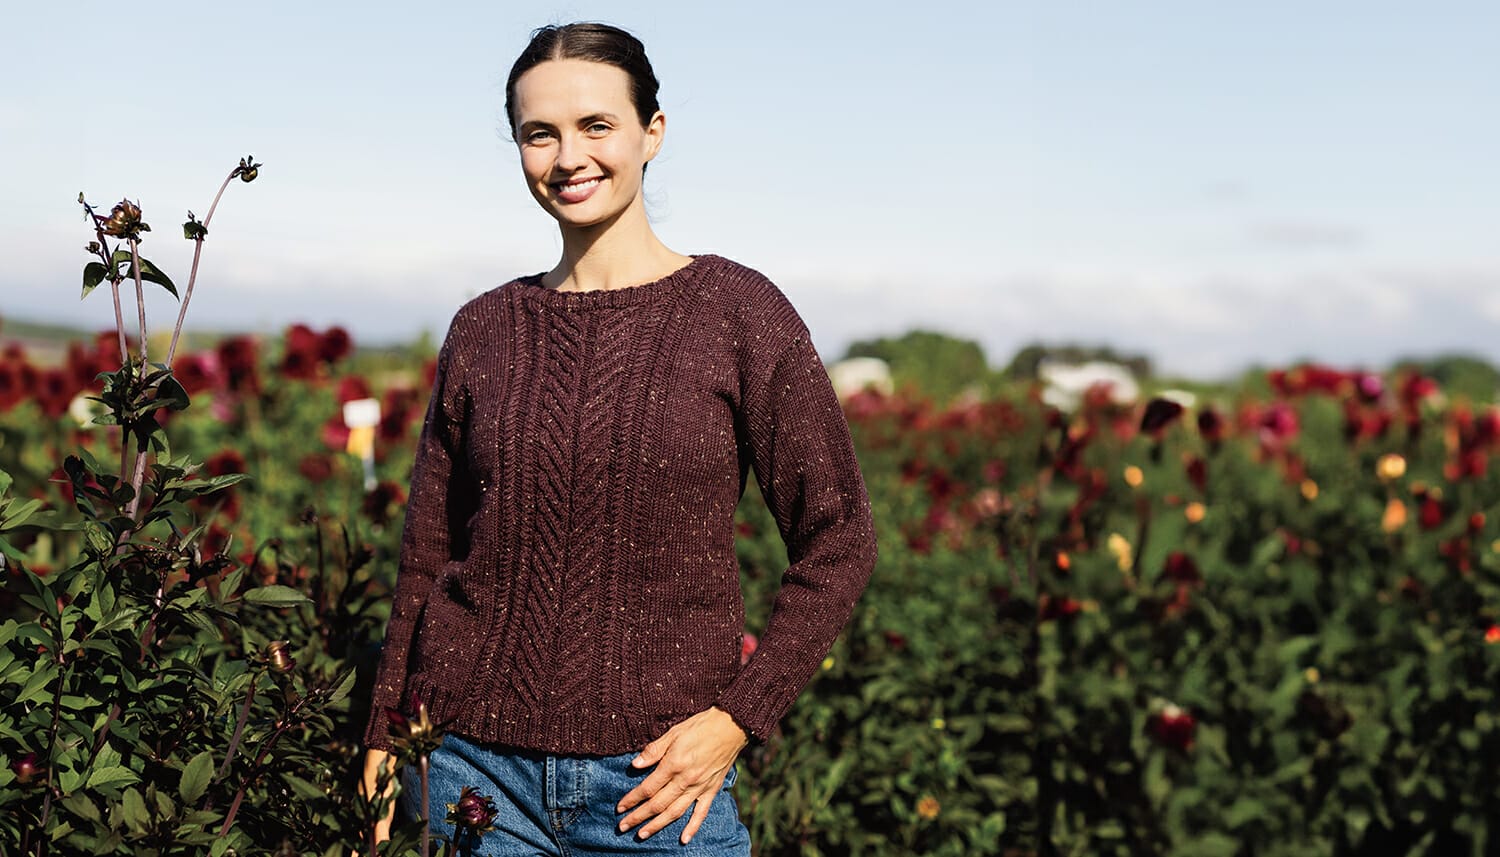
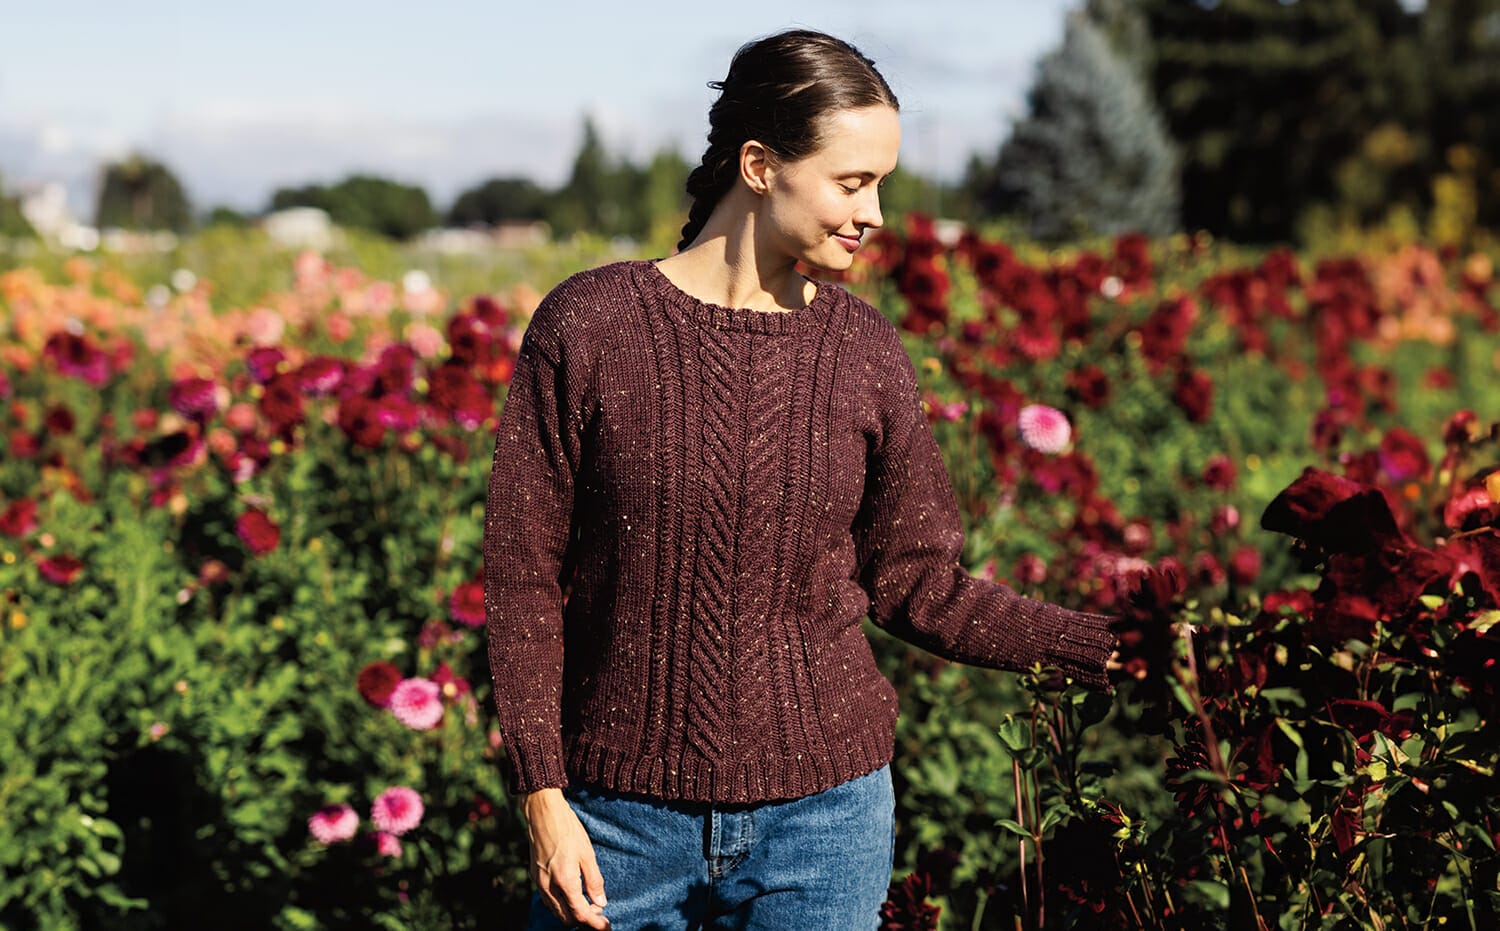
Our Axiom KAL has come to its end! Almost everyone in the office completed their sweater, and each one is unique. Everyone modified the wonderful Axiom Sweater pattern by Claire Slade to suite their personal knitting preferences and wardrobes. Each sweater highlights the versatility of the pattern in creative hands.
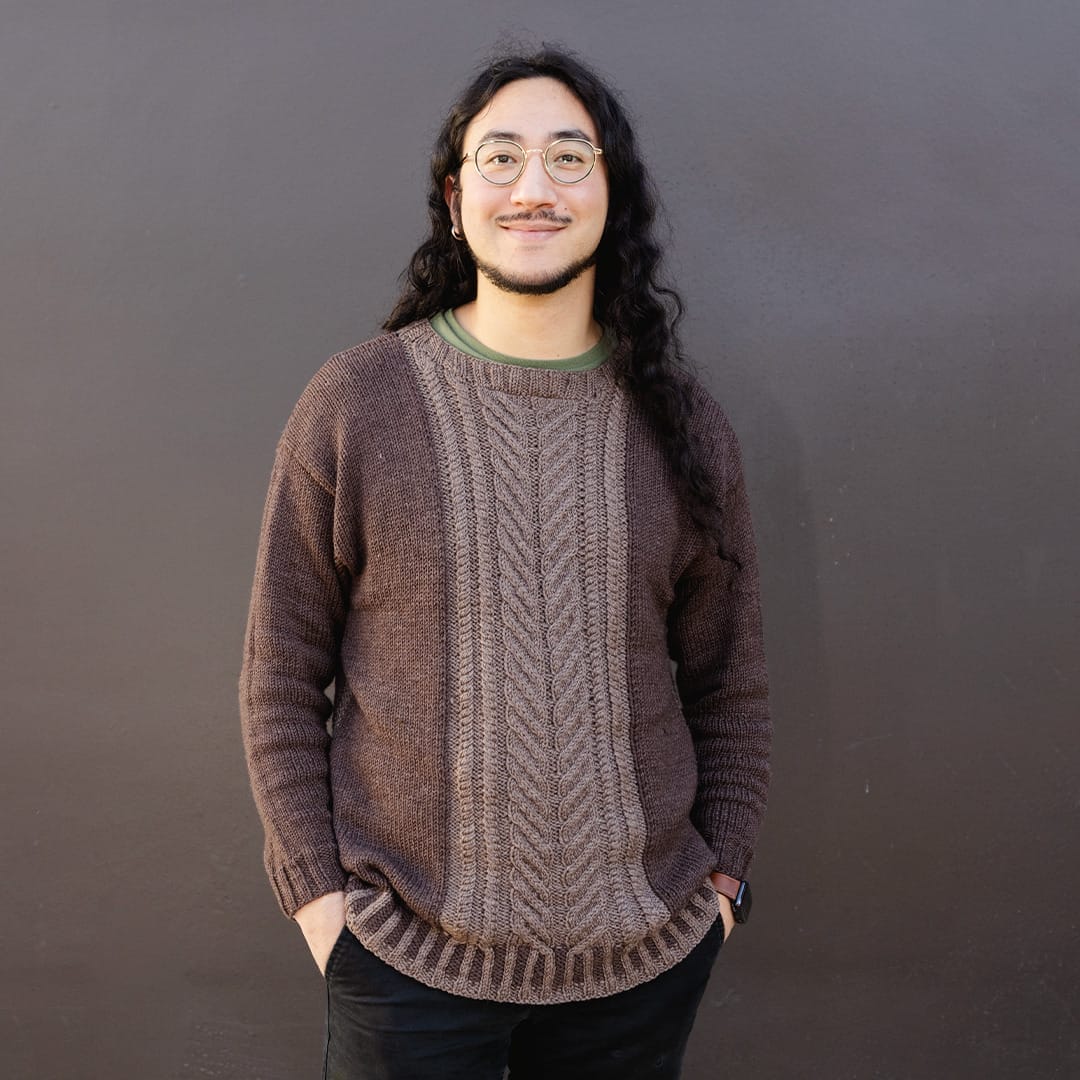
Regan modified his Axiom Sweater by adding a contrast color. He used corrugated ribbing on the bottom edge, and the contrasting cable panel was done with intarsia. Although he knit the body flat as written, he worked his sleeves in the round.
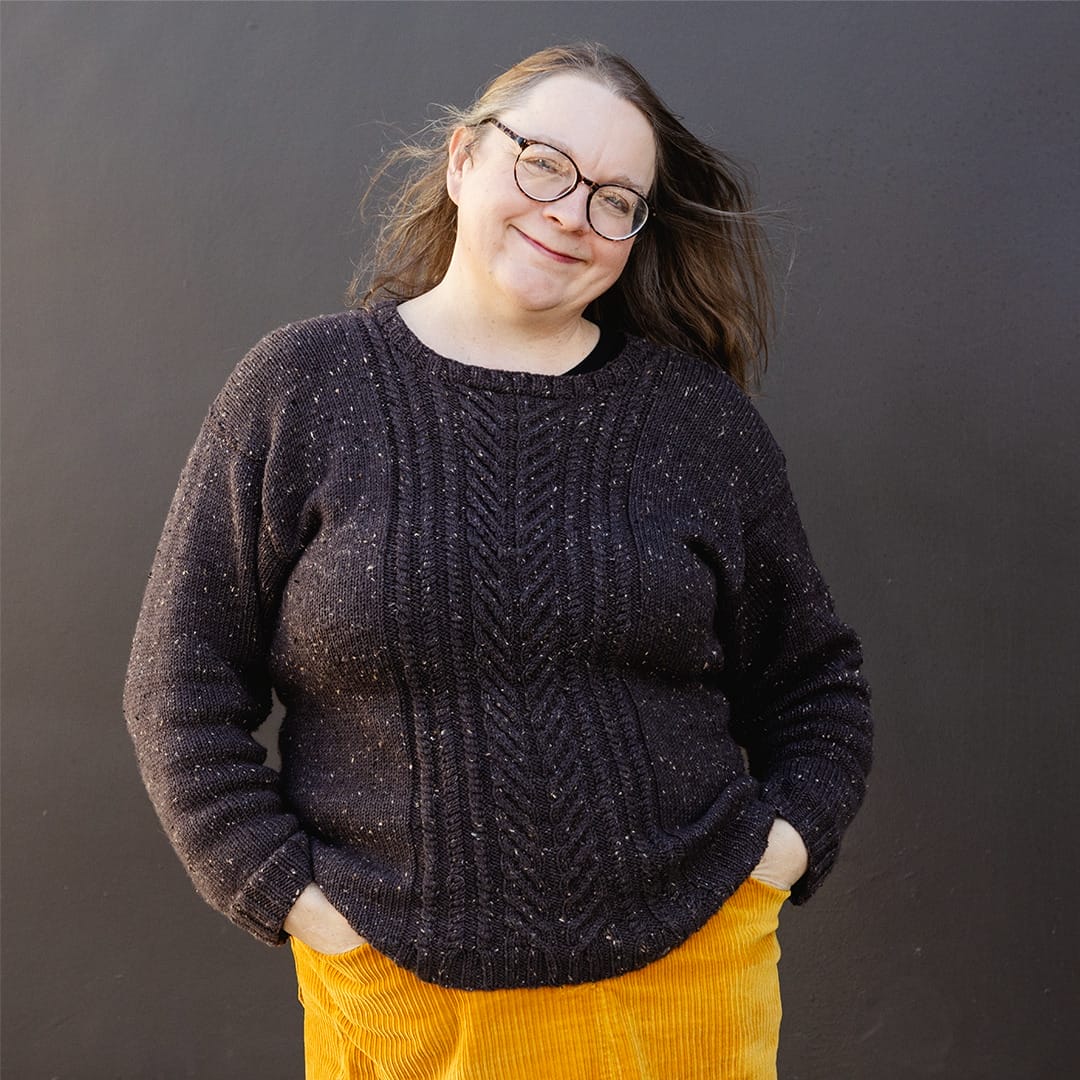
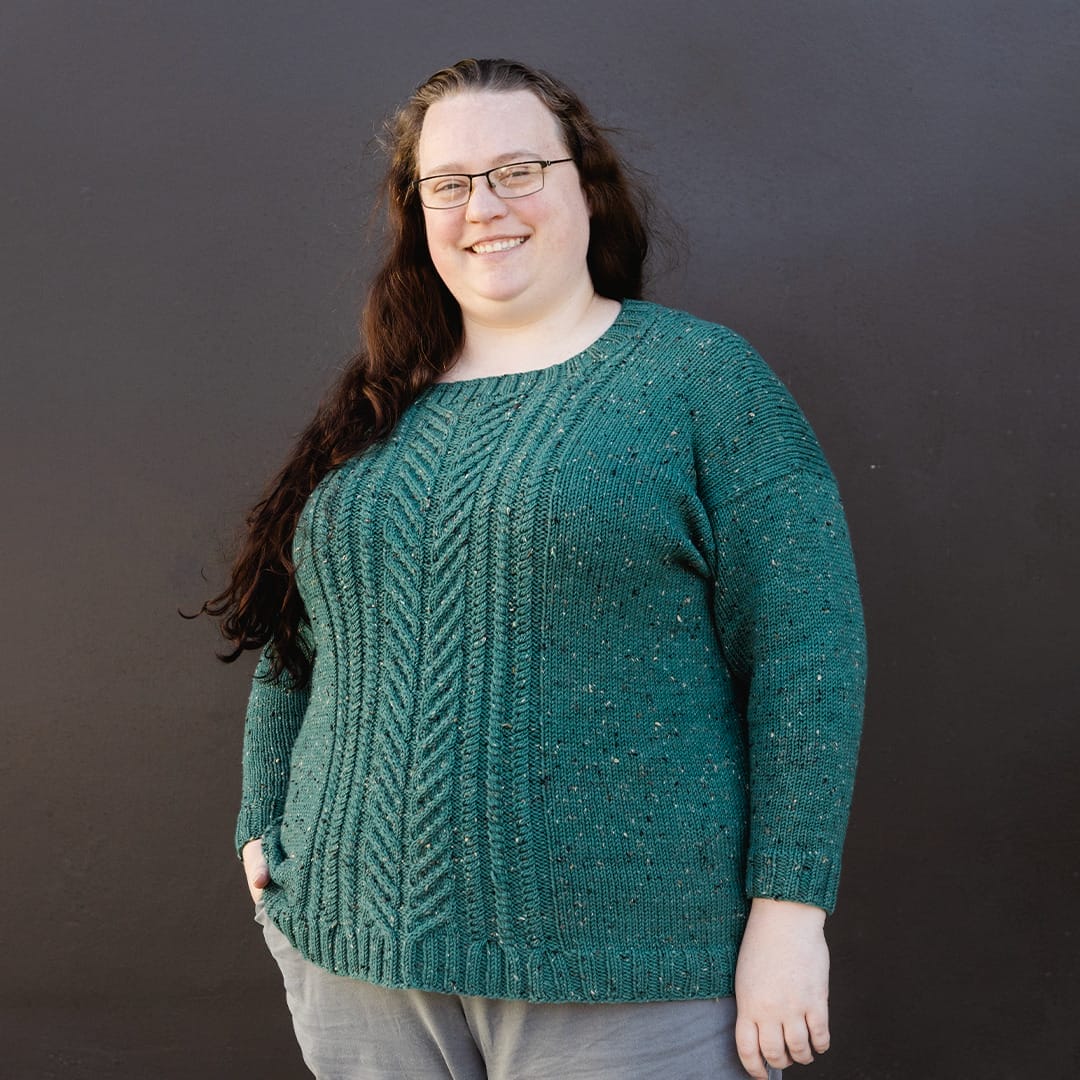
Stacey’s modifications are quite subtle. Her lovely sweater looks like she made no changes, but she knit both the sleeves and the body in the round. She kept a few seams to keep her project portable, choosing to seam on her sleeves and at her shoulders.
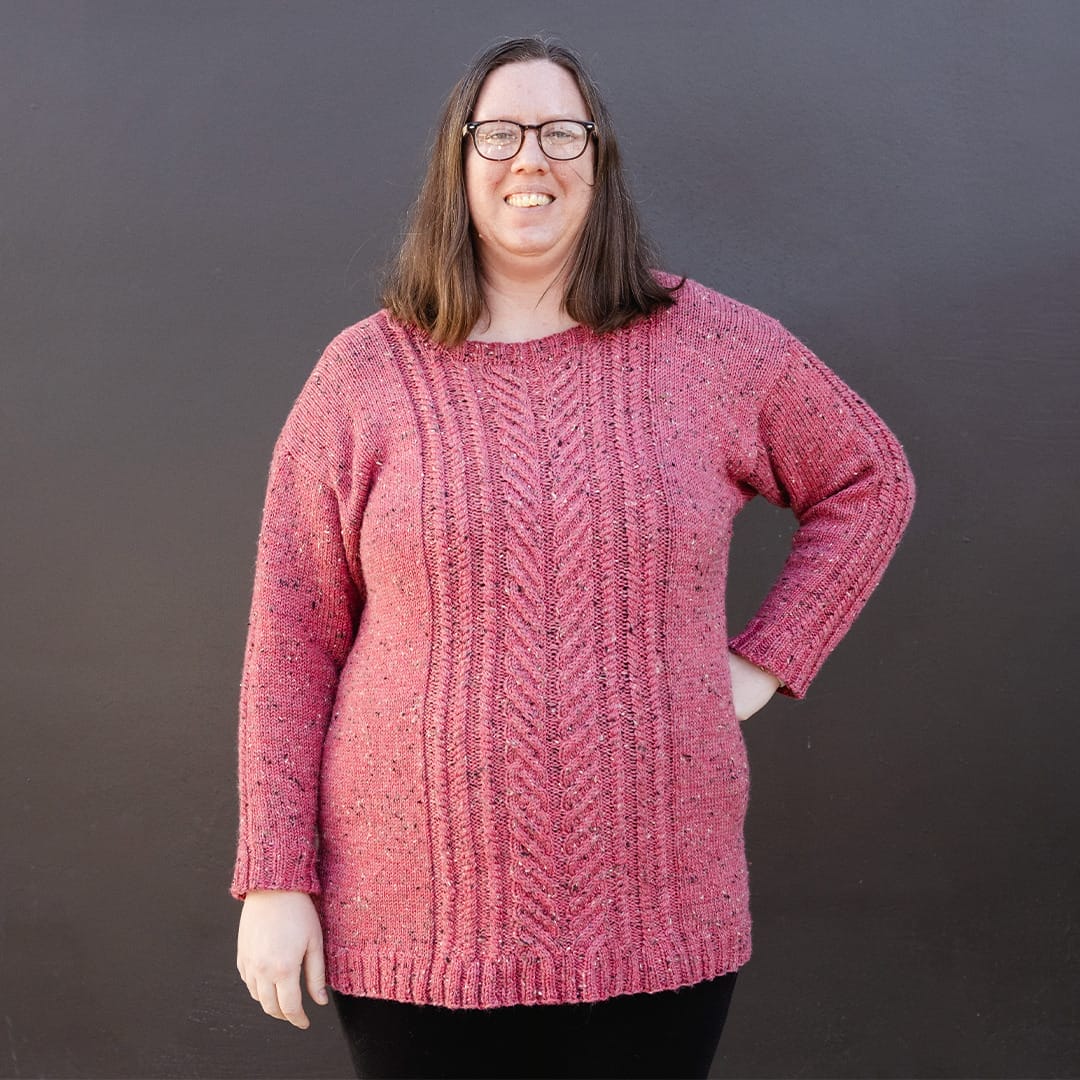
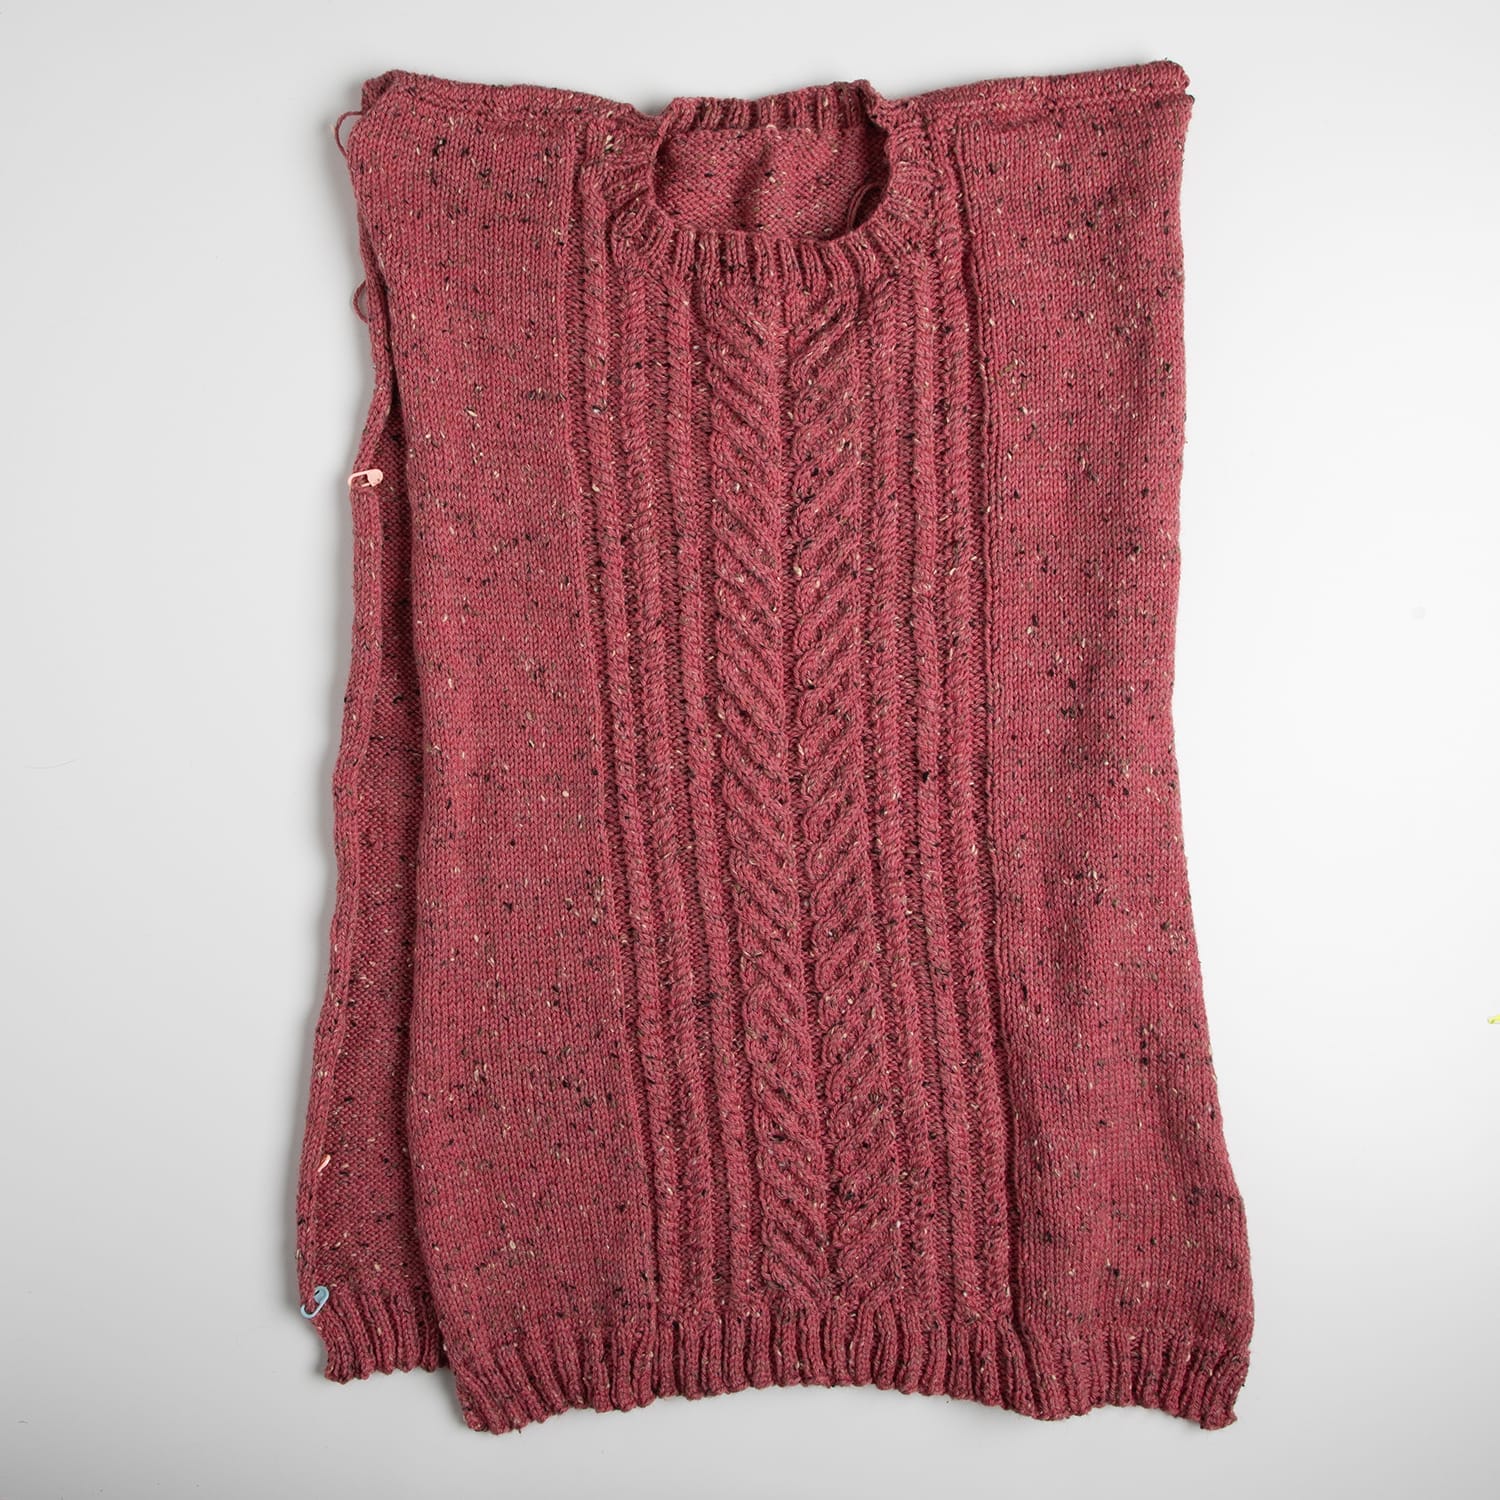
Carlene knit her sweater flat in pieces as the pattern was written, but customized the body length to turn it into a tunic! She also added cables running down each sleeve that match the smaller cable motifs on the front.
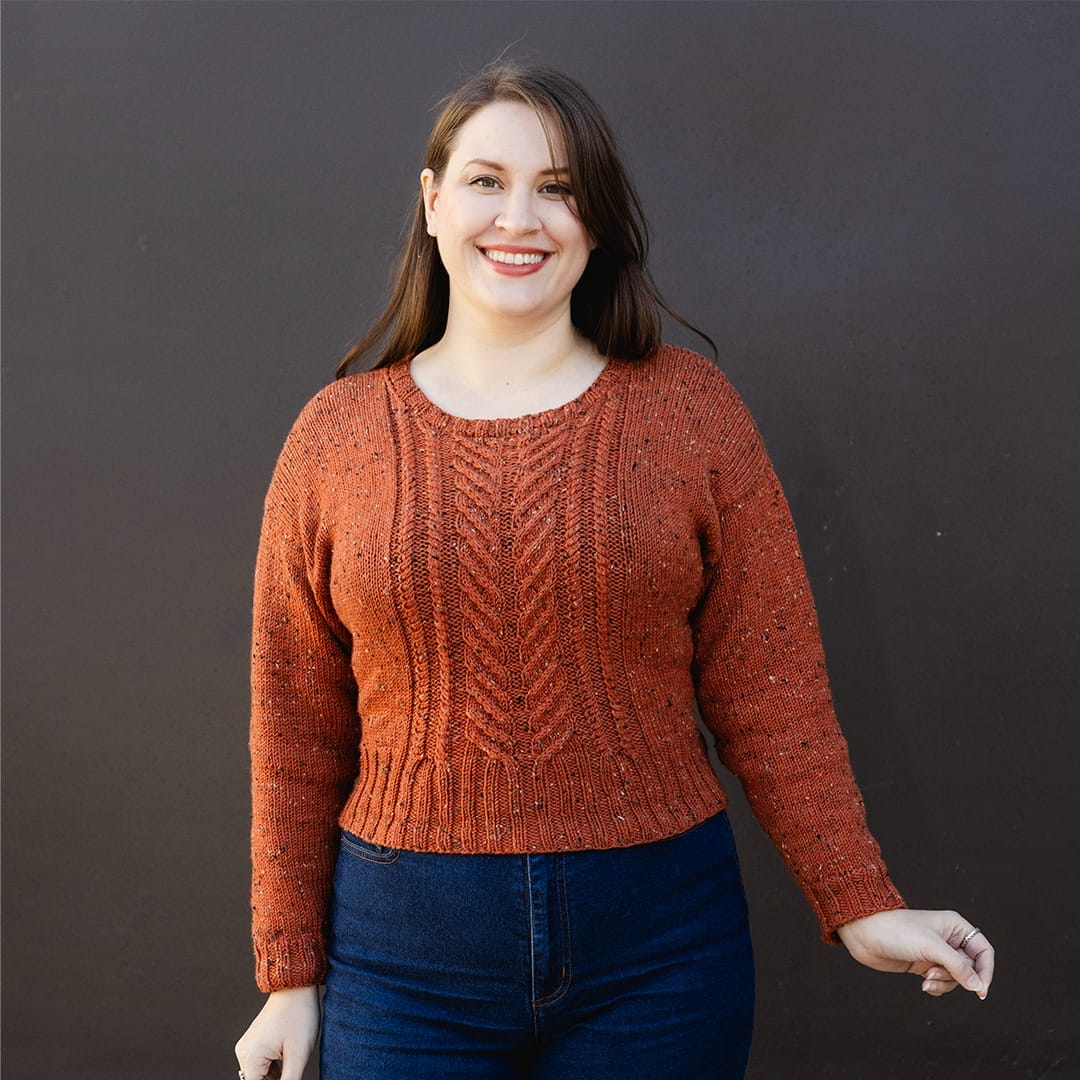
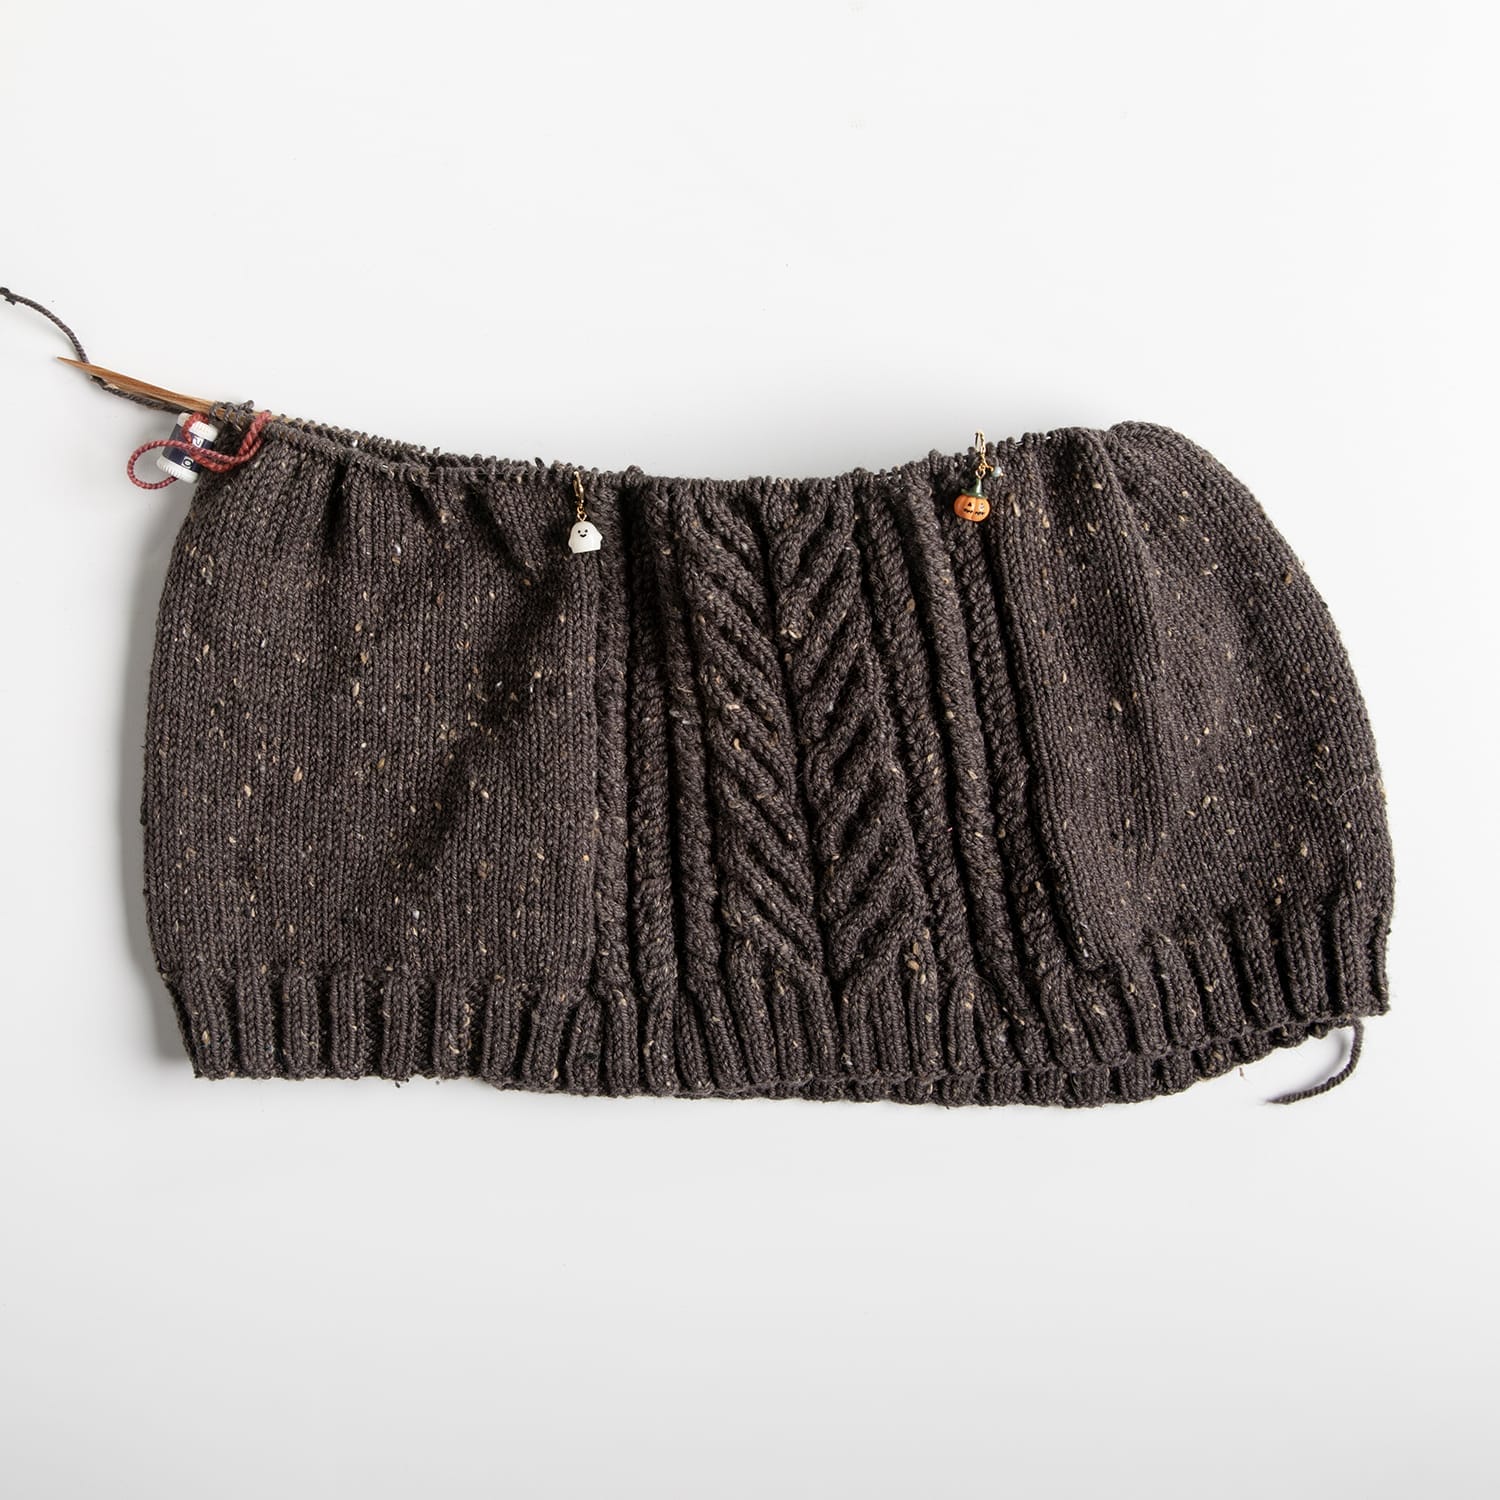
Andi loves a cropped, fitted sweater, so she added waist shaping, made the ribbing deeper, and shortened the body. She also knit her Axiom seamlessly, and it fits into her wardrobe perfectly.
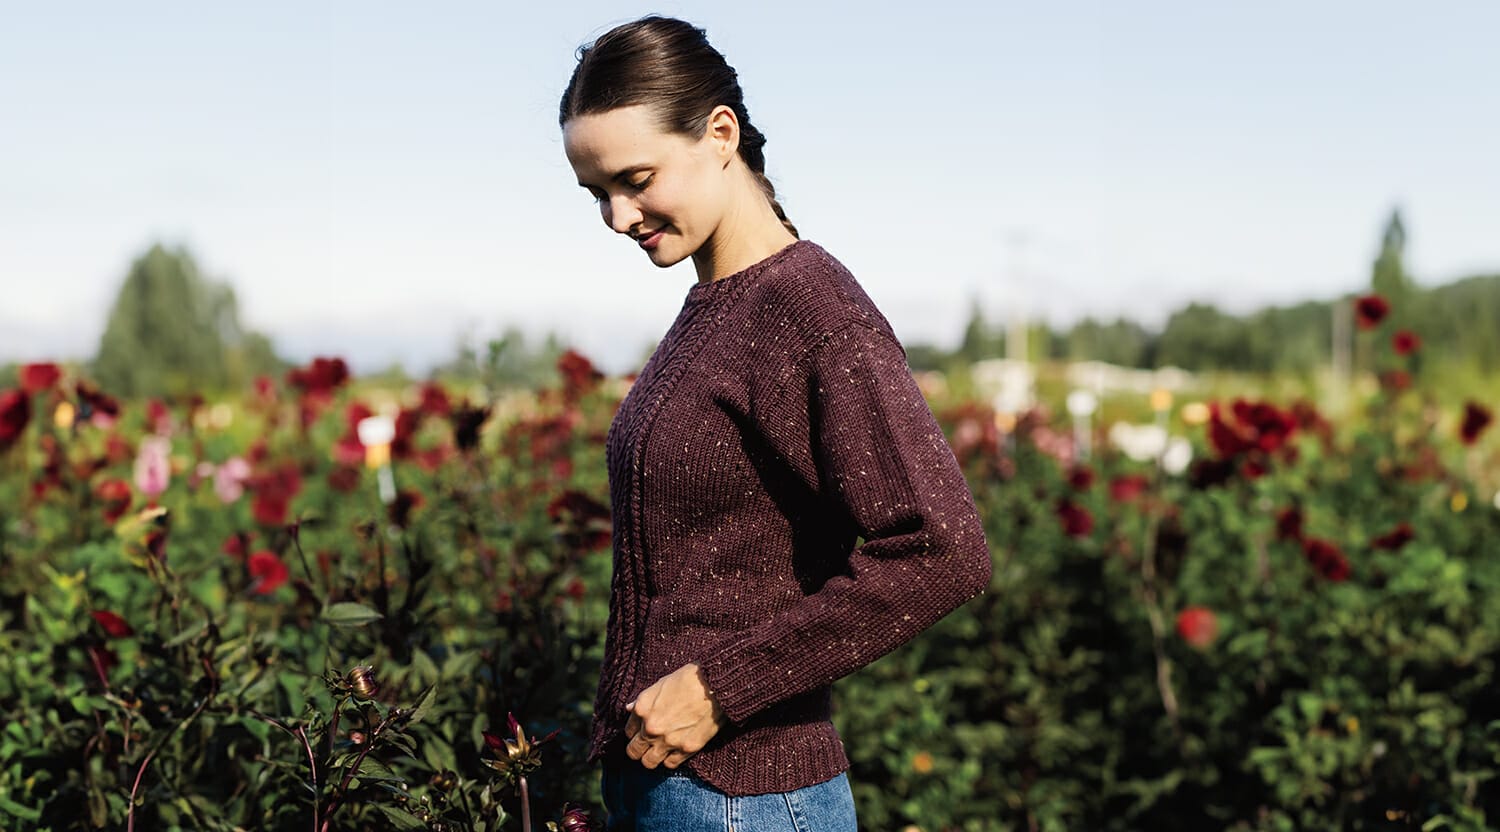
Alena maintained the overall look of the pattern but knit her pullover seamlessly. Was this the secret to how she was the first to finish the KAL? Perhaps! She also modified the neckline by placing stitches on hold instead of binding off so that her cables flowed into the neckline rib to match the bottom rib.
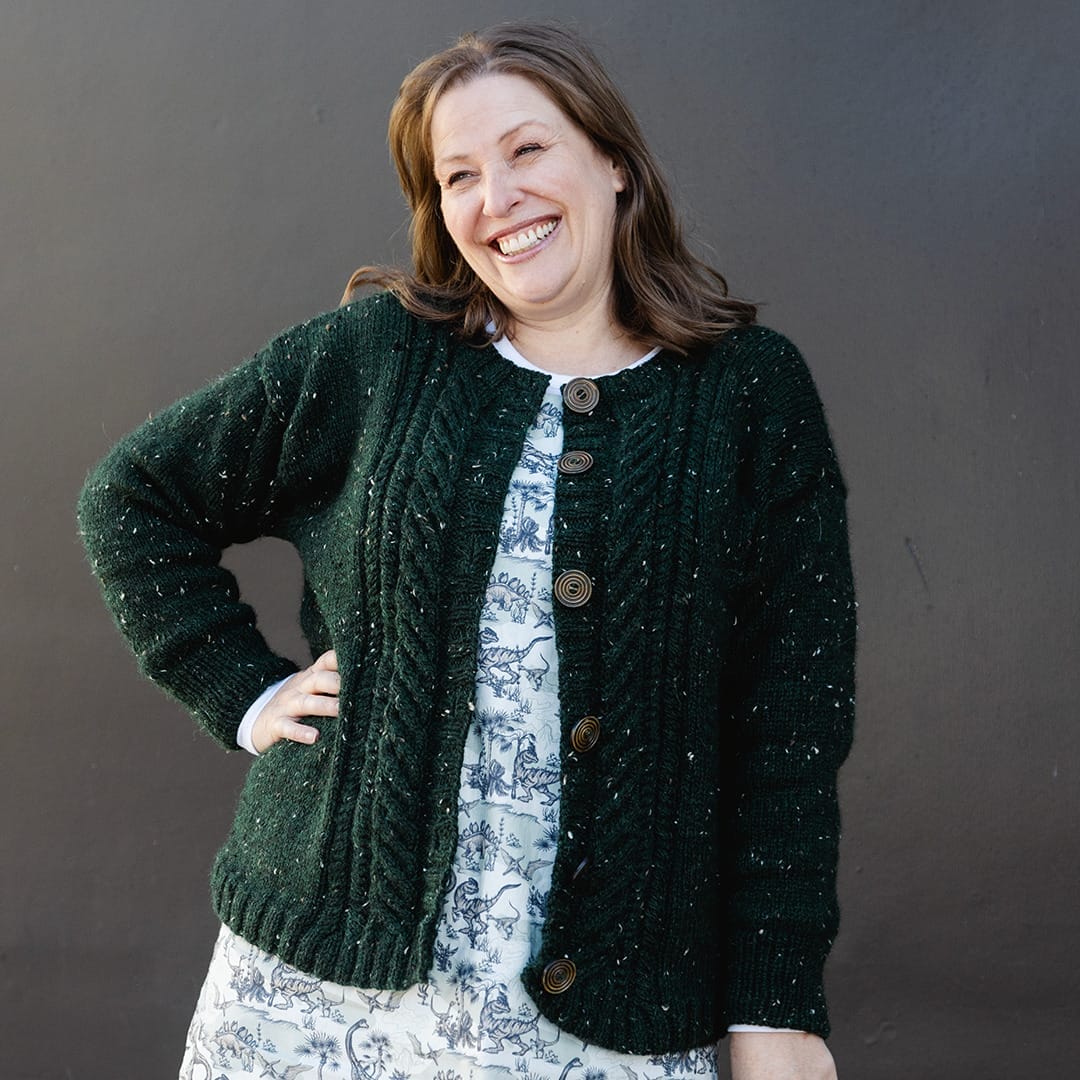
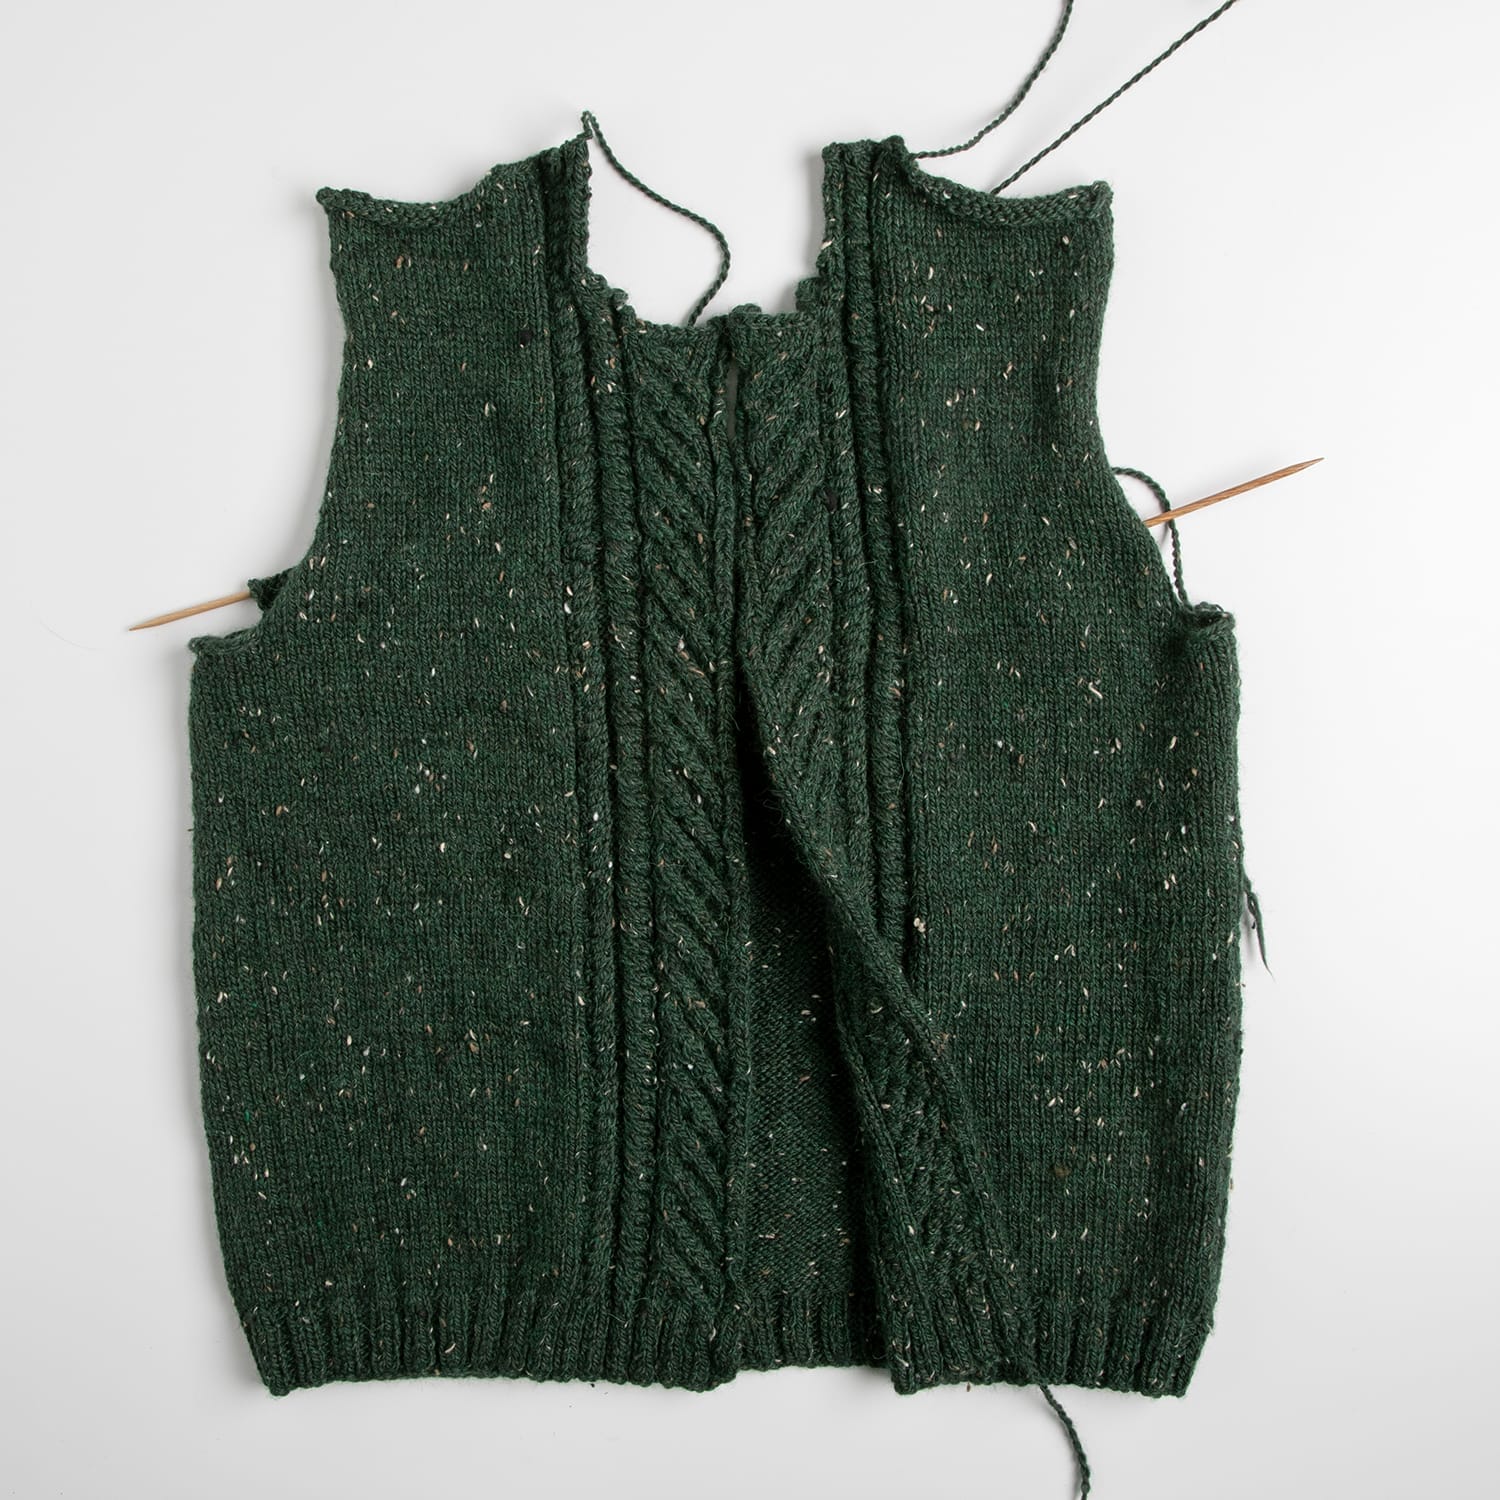
Jen wears cardigans more than pullovers and immediately thought Axiom‘s mirrored cables were asking to become a cardigan. She converted her sweater to be seamless, with the exception of the shoulder seam.
Have you knit your own Axiom? Did you personalize it, too?
Assembling a seamed sweater is an important step that often is not given much detail in patterns. There are many different seam types to choose from that will get the job done, but they all have their own strengths and drawbacks, and some only work on certain edges. When it comes to seaming vertical-to-vertical, horizontal-to-horizontal, and vertical-to-horizontal edges, we’ve got two favorite seaming stitches that can be used separately or together to finish a sweater: mattress stitch and fake grafting! We chose these two seaming stitches because they’re strong but have some stretch, and they create neat, discreet seams.
Vertical-to-Vertical Edges
The gold standard for seaming vertical edges to vertical edges is the mattress stitch! It’s worked from the right side with the pieces laid flat next to each other, and to seam, the bar between the selvage (the edge stitch) and the rest of the work is caught with yarn needle. By alternating between catching the bar on one piece of knitting and catching the bar on the opposite piece of knitting, a zig-zag shaped seam is created that offers both strength and a little stretch. The seam yarn should be pulled snug but not yanked tight.
Horizontal-to-Horizontal Edges
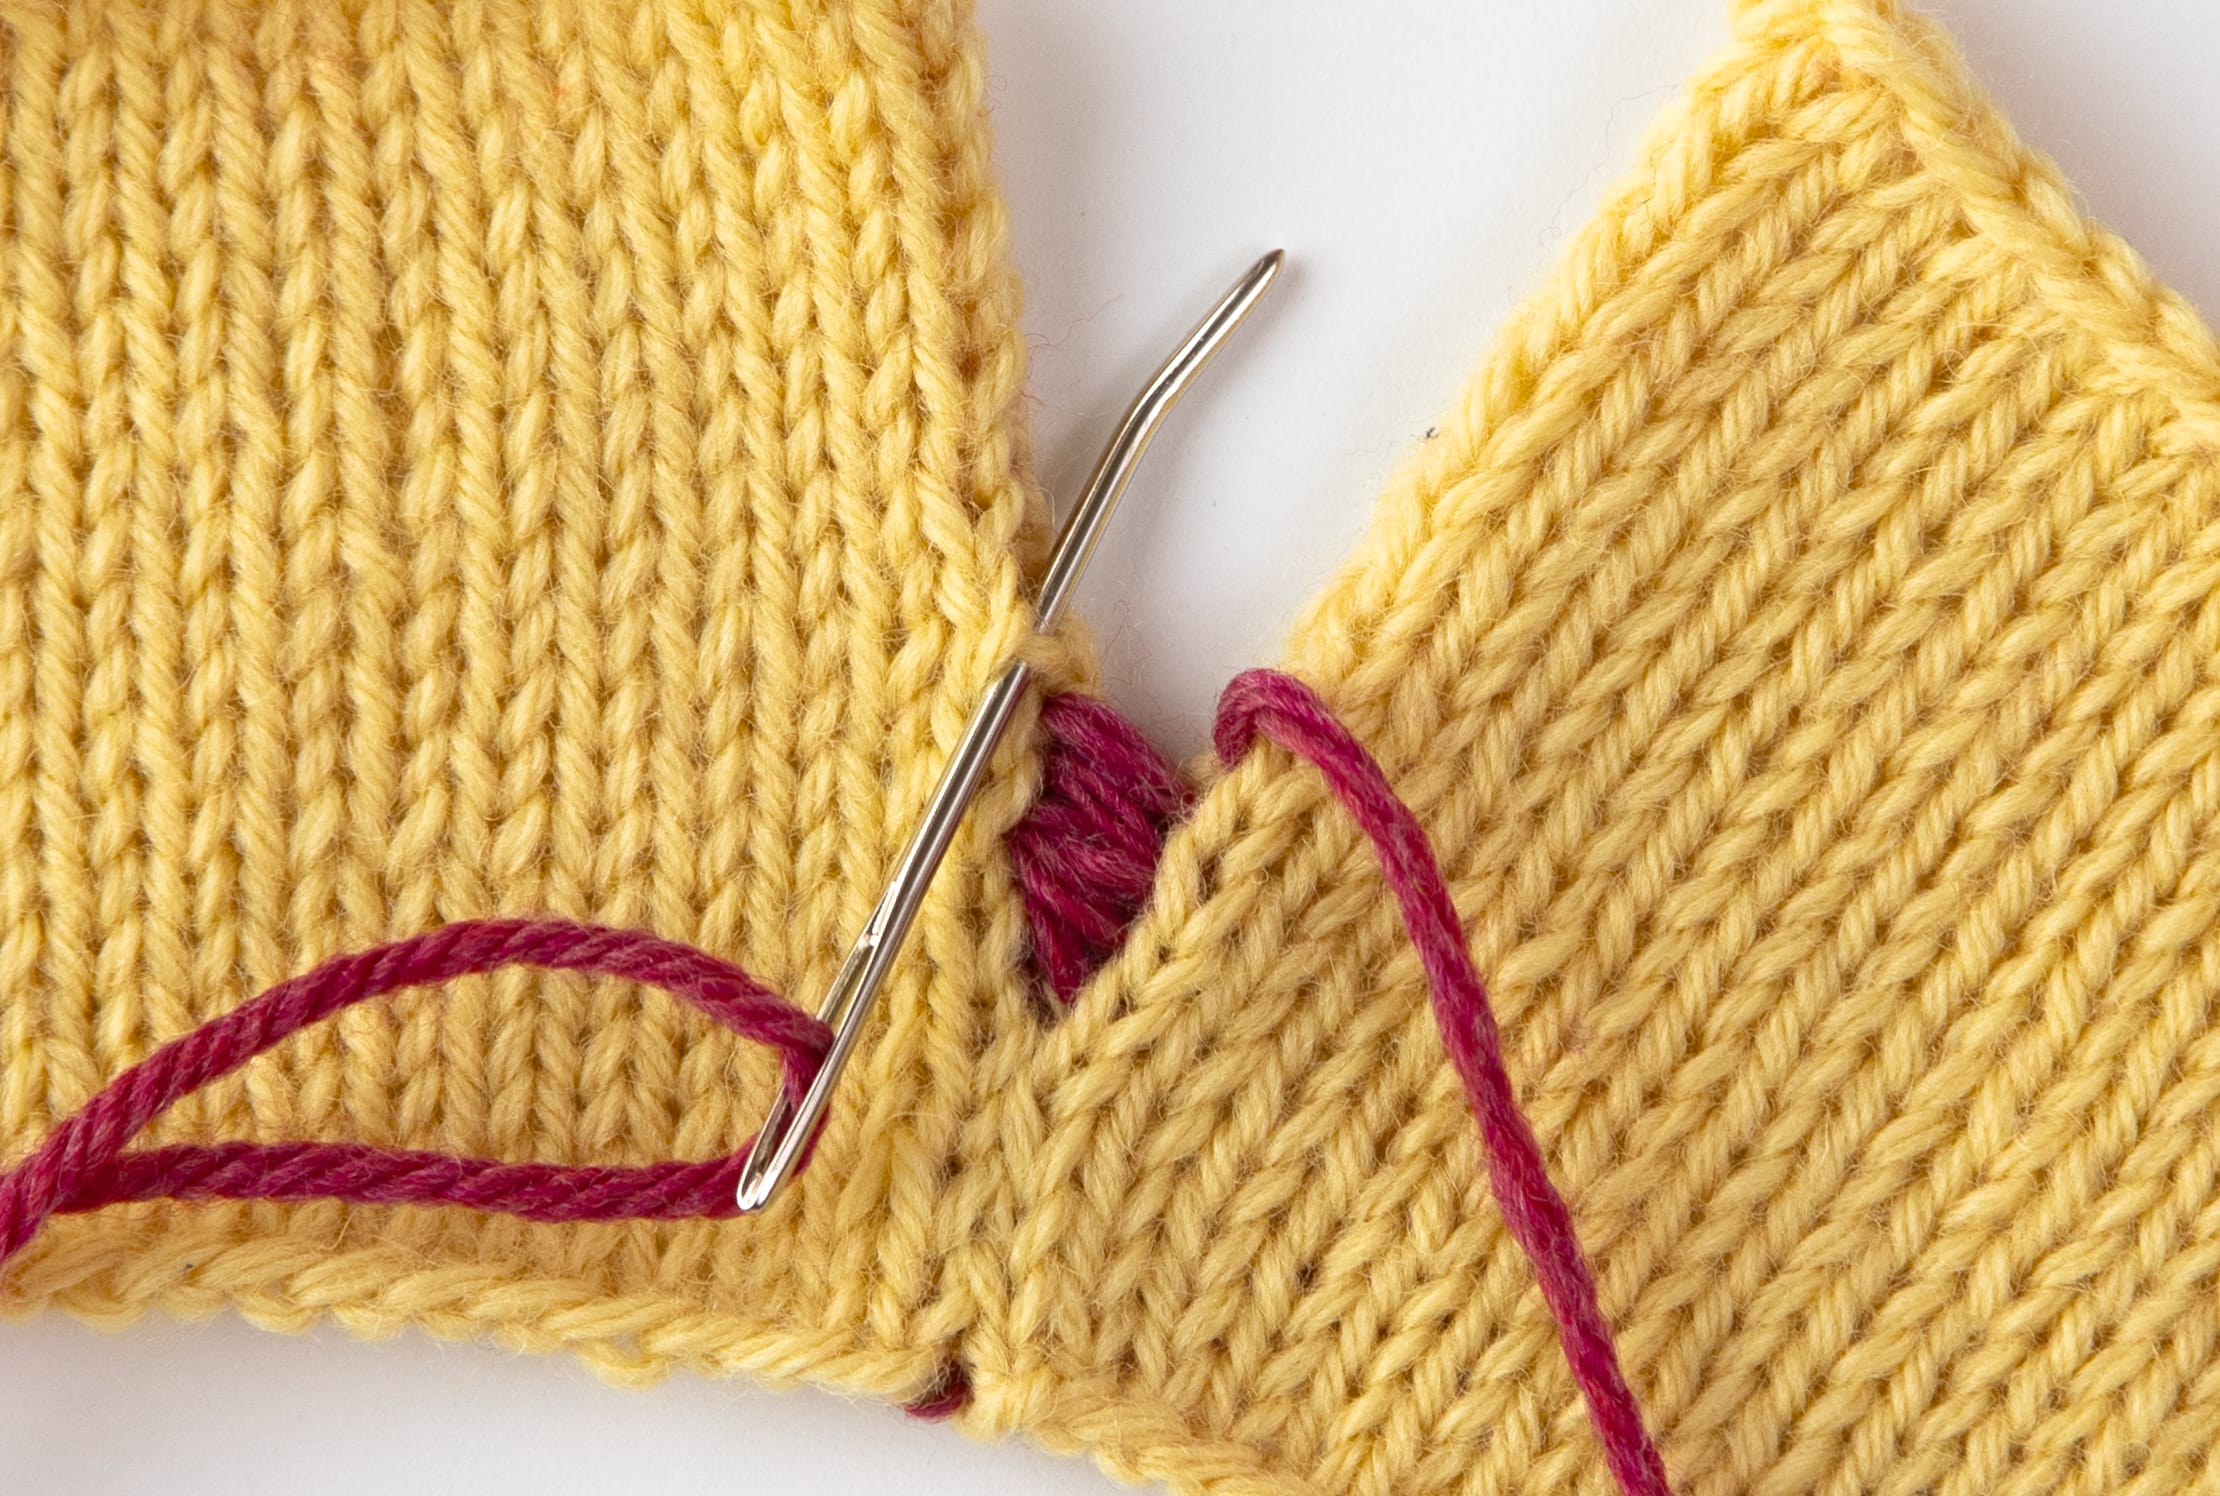
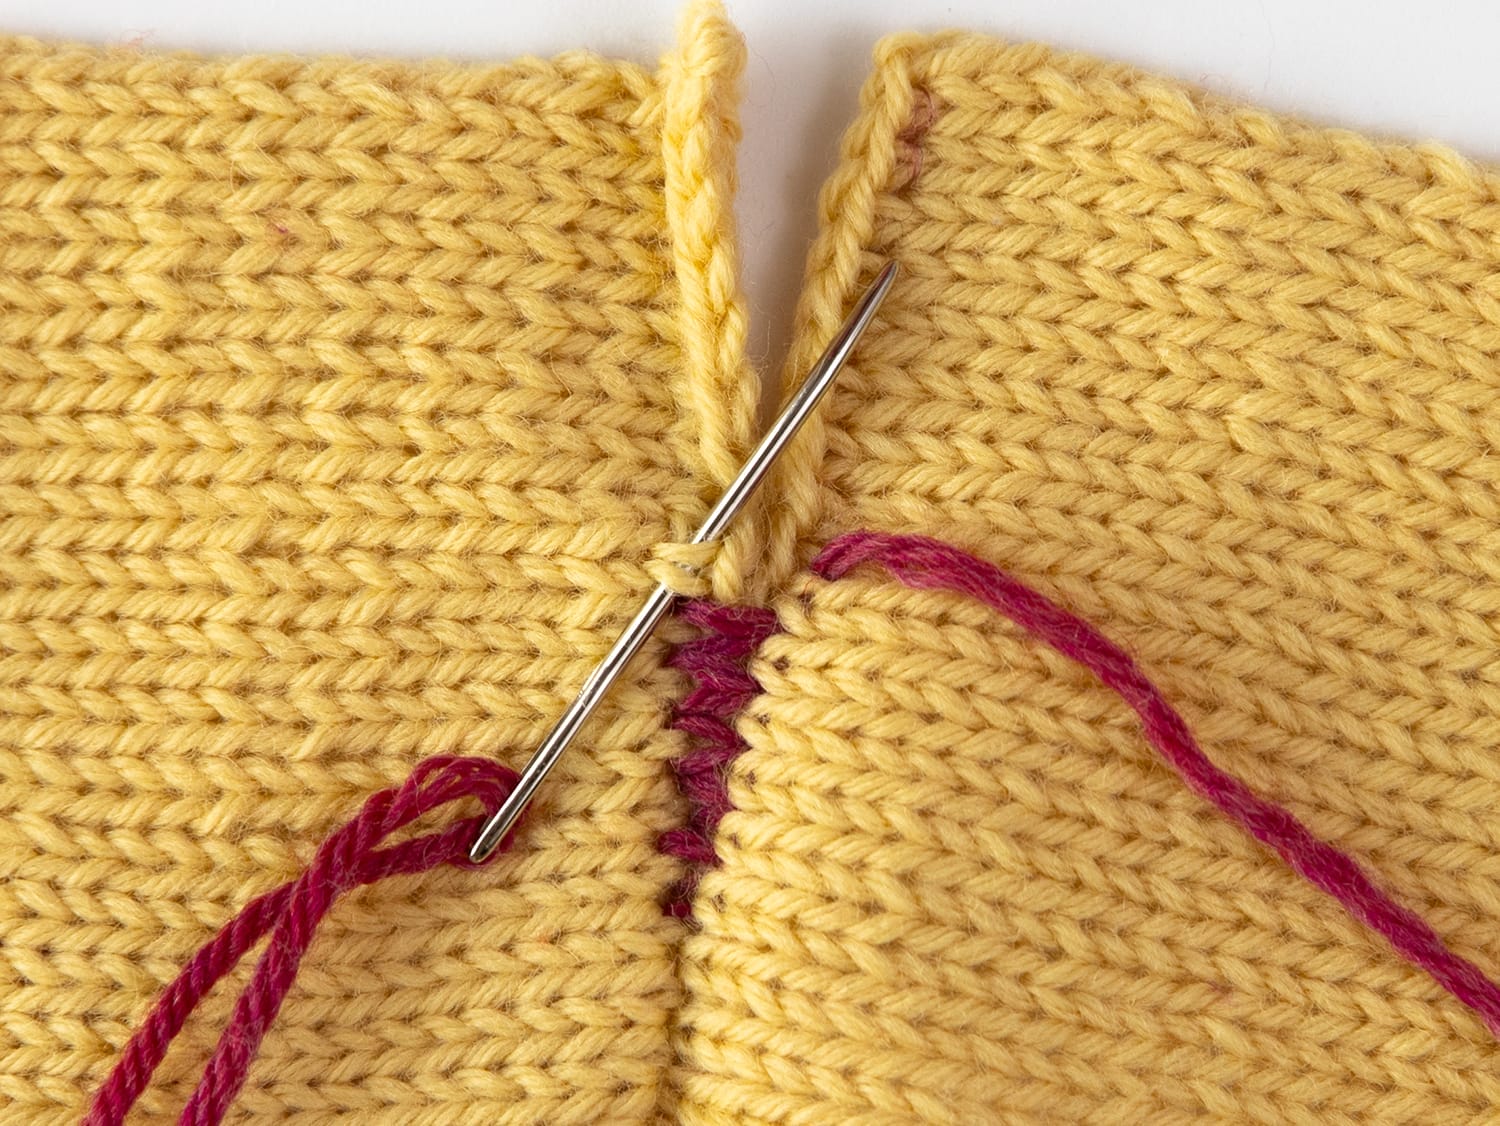
Fake grafting is an easy and attractive choice for seaming horizontal edges together. Some knitting technique books classify fake grafting as a variation on mattress stitch because it’s also worked from the right side and creates a discreet seam. Instead of catching the bars between stitches like you would for two vertical edges, you pass your needle around full stitches along horizontal edges. It gets the name “fake grafting” because your seam stitches will resemble knit stitches before they’re pulled tight. Whether you’d like to leave your seam loose and looking like a row of knit stitches or pull the seam tight to hide away the seam stitches is up to you!
Vertical-to-Horizontal Edges
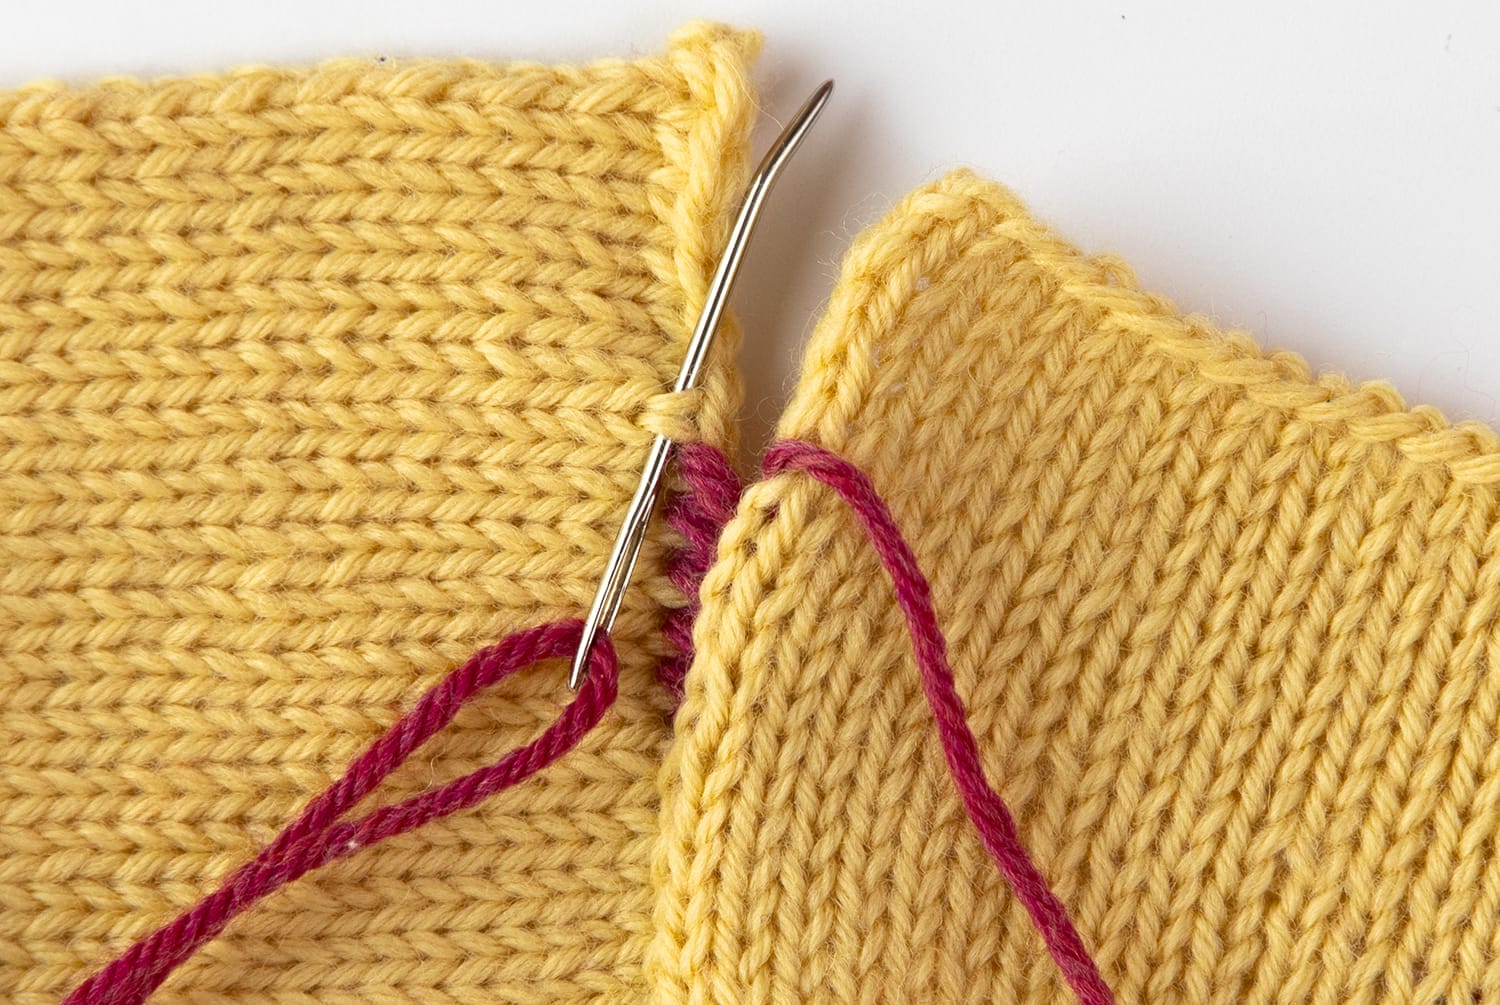
Use a hybrid of mattress stitch and fake grafting to join a vertical edge to a horizontal edge. With the right side facing up and the pieces laid flat next to each other, on the vertical side, capture bars as you would for mattress stitch, and on the horizontal side, capture full stitches. Be aware that the ratio of stitches to rows will not be 1:1 and will be closer to 3 stitches every 4 rows or 2 stitches every 3 rows. Similar to picking up stitches for a button band, the ratio should be based on the gauge. Treat the gauge as a fraction and reduce to the lowest whole numbers. Because knit stitches are not seamed 1:1 with rows, it’s recommended to pull this seam snug to hide the seaming stitches.
Honorable Mention: Crocheted Slip Stitch
Any or all seams can be worked using crocheted slip stitch. Although it adds bulk, it also creates seams that are strong but have some stretch. It also has the added benefit of being quick, and no yarn length estimates are required. It’s worked with the right sides of the pieces facing each other and their wrong sides facing out, and you simply crochet in between the selvage and the rest of the knitting, passing the hook through both layers of fabric.
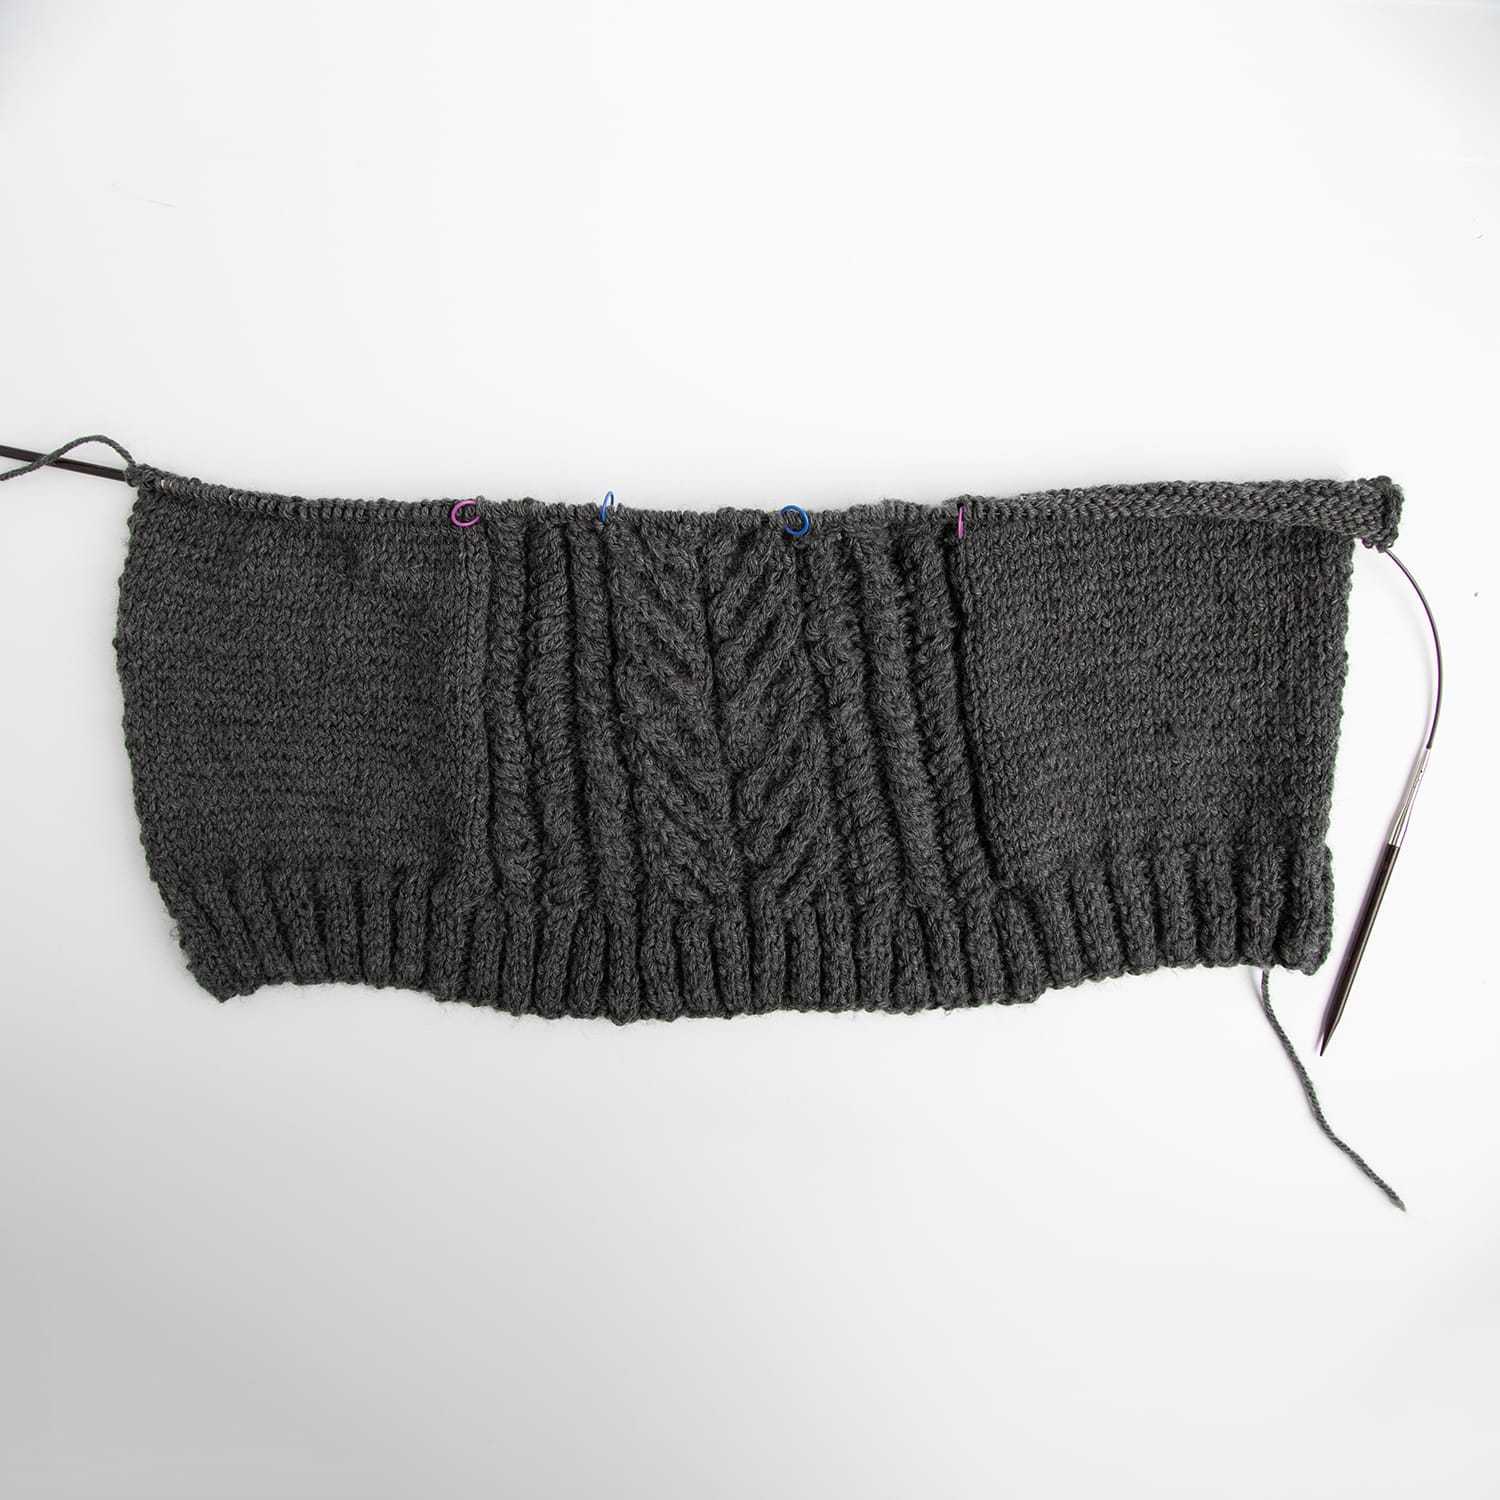
We’ve got exactly one month left of the Axiom Sweater KAL! Progress varies widely at the Knit Picks office, with some knitters done and some knitters a bit behind, but every sweater is a looking great!
Alena was the first to finish, and her sweater looks beautiful! Her only modification was to knit the sweater seamlessly.
Carlene’s sleeves weren’t here to photograph, but she finished them as well, so she just has seaming left to do. She added extra length to her body to make it a tunic-style sweater.
Stacey knit her sleeves first, so she’s also close to being done soon. She chose to knit her body in the round but will be seaming the sleeves on so they were easier to knit two-at-a-time.
Jen converted her sweater into a cardigan, which was a very clever modification! Her sweater body is almost finished.
Andi modified the pattern to be a cropped sweater with deep rib. She put her Axiom on hold for a bit to work on some other sweaters, so she’s still working on the body.
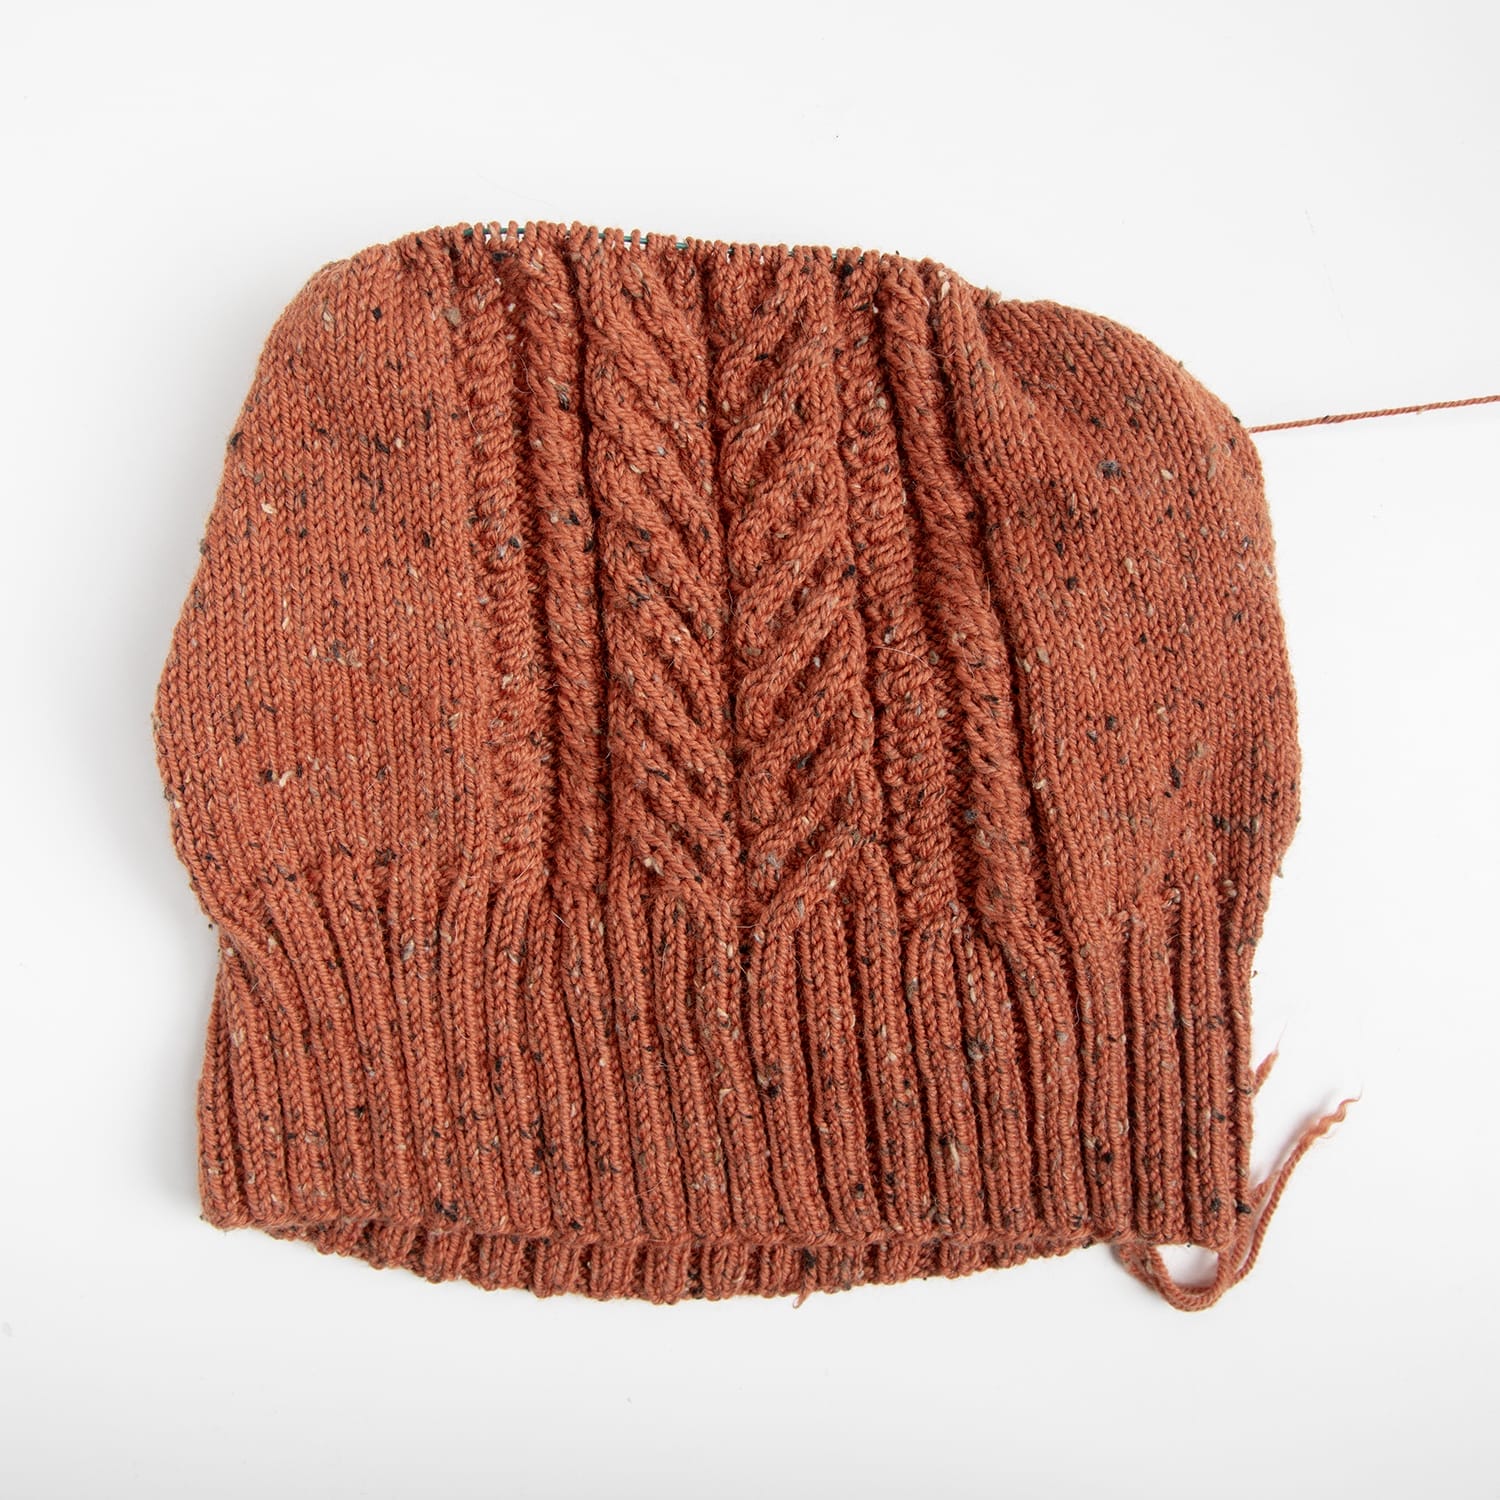
Regan also has been multitasking and knitting other sweaters, so his front with his intarsia modification is as far as he’s gotten.
Alexis has been extra busy with The Big Sale, so her progress is moving slowly, but once the sale ends and she finishes the cables, we expect she’ll be speeding along!
How is your own progress going? Have you shared it on social media with us?
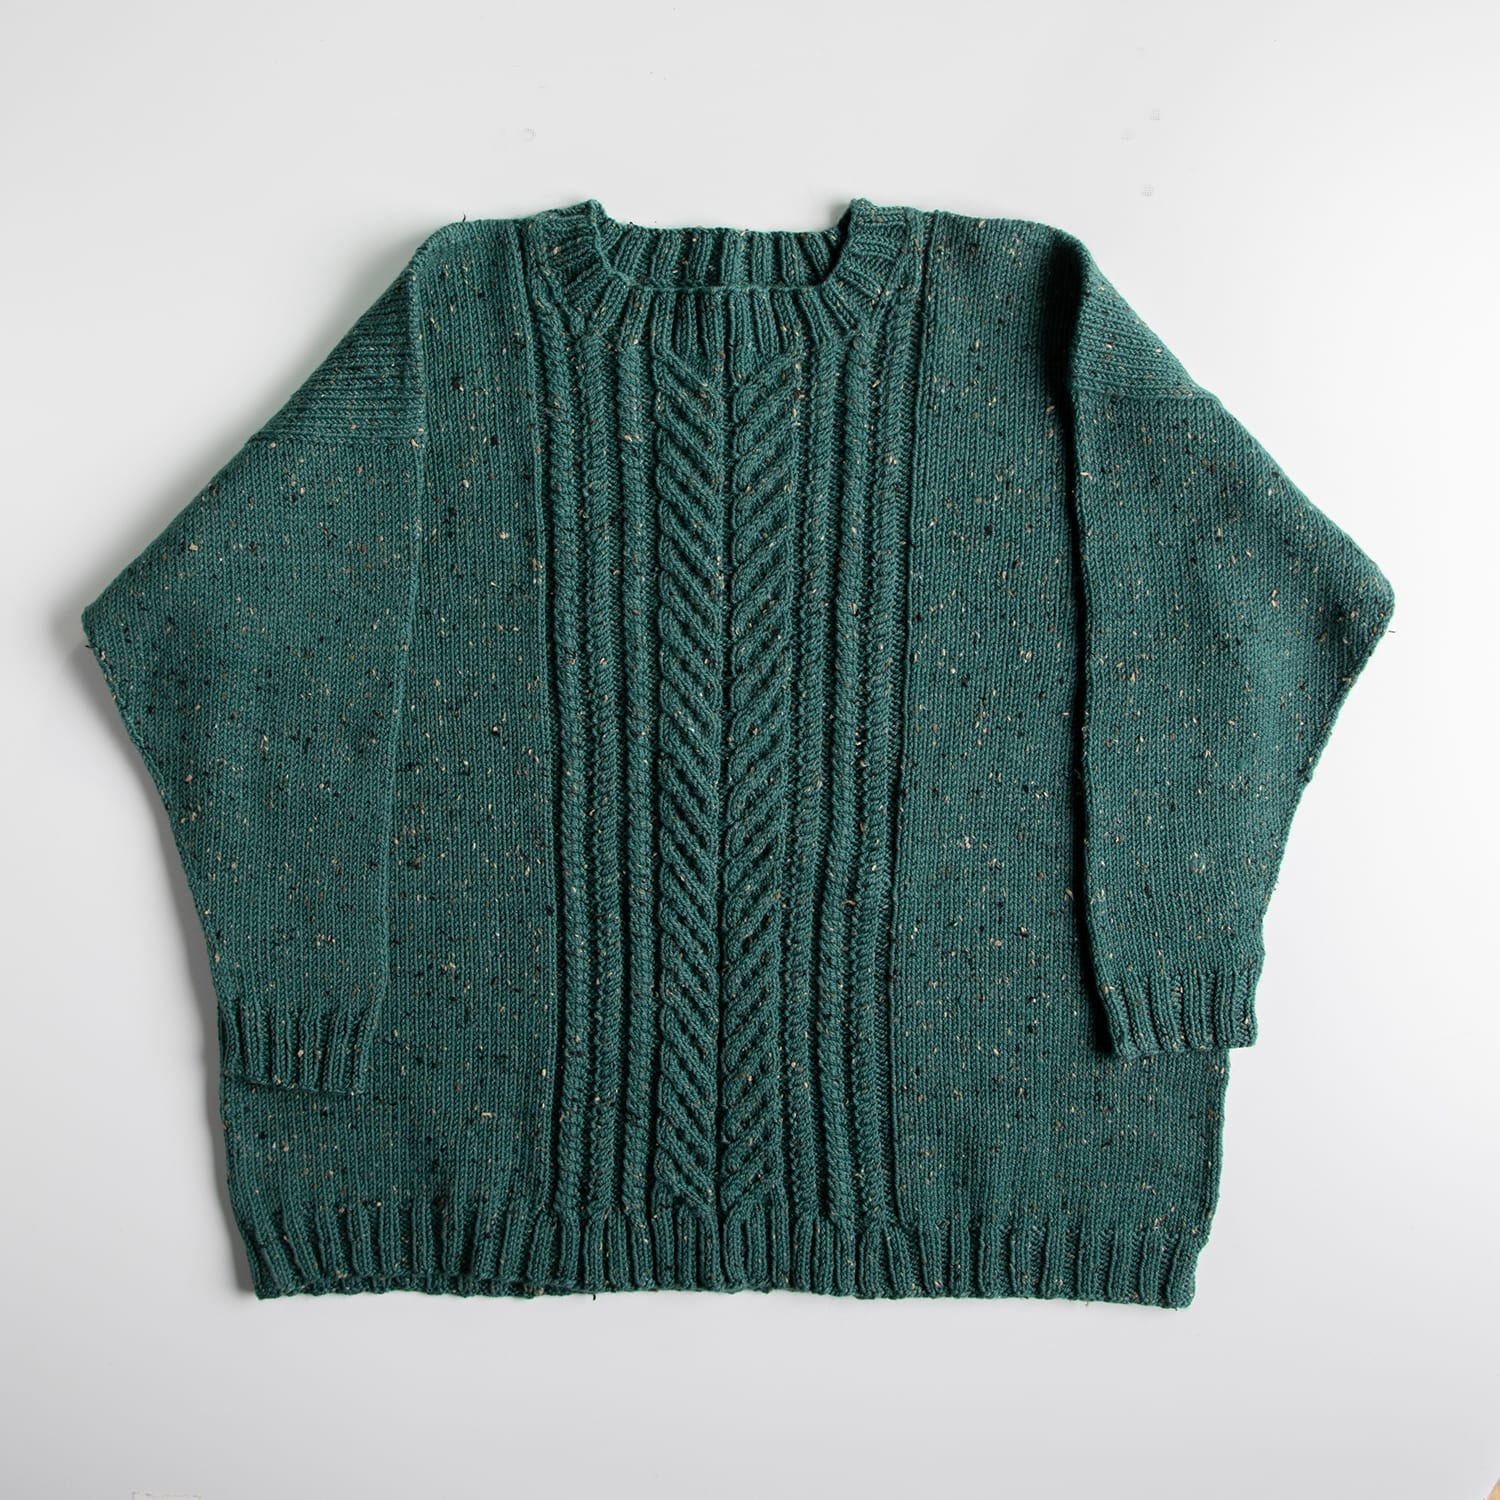
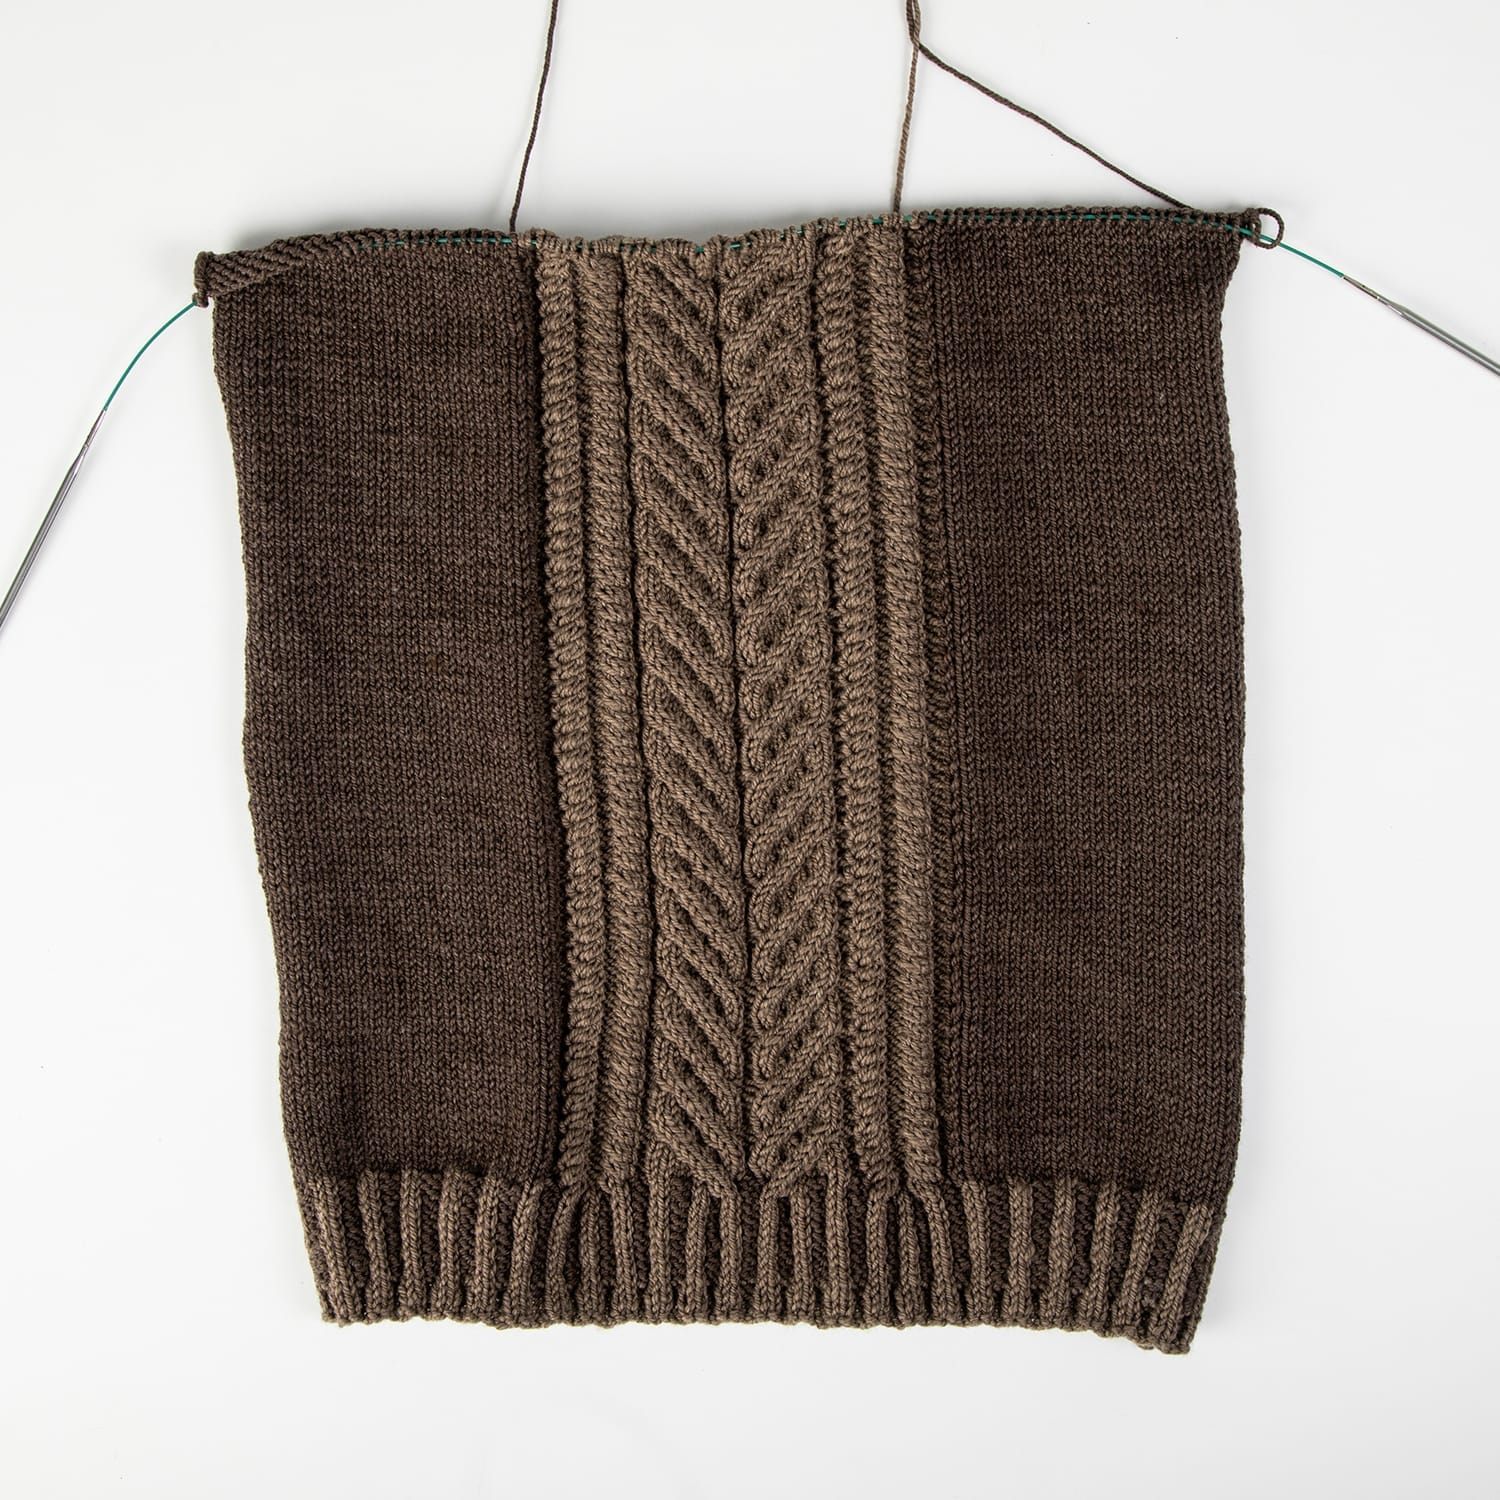
Although the Axiom Sweater by Claire Slade looks like it has four distinct cables, all the cables are created with 2×2 cables crossing left or right, and it uses different spacing and different combinations of knit and purl stitches in between to create dramatically different looks from the same handful of skills. Many cables are deceptively simple like these, but it’s not until you review the chart key that you might realize how few techniques are used to make gorgeous, complex-looking cables.
Below you’ll find an overview on cabling from Knit Bits: How to Knit Cables and tutorials on the left and right 2×2 cables, which are the only methods used to make up even the larger cables on Axiom. 2×2 cables are made up for four stitches, with two stitches crossing over another two stitches. Here’s everything you may need to know about knitting them!
It’s the perfect time of year for quick knits, and we were so delighted to feature several patterns from George of 10 Hours or Less in our latest stash-buster pattern collection, Déjà Yarn: Single Color Stashbusters. You can probably guess what kind of patterns George specializes in (ones that take less than 10 hours to make), but you’ll be amazed to hear about his long career in the knitting industry that predates digital patterns. George also shares a glimpse inside his design process as he explains how he created his Art Deco Artisan Headband (shown above) and Rolling Ribbing Hat for Déjà Yarn.
Plus, Lee, Stacey, and Andi chat about their current projects, the Axiom KAL, and knitting while watching movies or reading.
Can you believe there are less than 12 weeks until the start of the holiday season? In this episode, Lee and Stacey chat about our annual 12 Weeks of Gifting, a series of free patterns released once a week leading up to the winter holidays. They share the concept behind it and how it began as well as how patterns are selected for it. Both of our hosts also created new designs for this year’s set of 12 patterns and describe their creative process for them.
In addition to 12 Weeks of Gifting, there’s so much more going on! The Axiom KAL just started, so producer Andi hopped on to join Stacey in discussing starting the sweater. Lee and Stacey also talk about two new pattern collections and oodles of new yarns and new yarn colors.
Today is the day to cast on your Axiom Sweaters! Because the pattern is knit in pieces and seamed, the order you knit the four pieces is up to you. If you’re new to knitting cables, we suggest starting with your back or sleeves to get you feeling confident about your project, and we’ll have some tips for working the cables later this month on this blog. To stay on track, we recommend aiming to take about 15 days per piece, leaving you plenty of time for assembly and finishing by the end of the KAL on December 15th.
Be sure to check out our Learning Center for resources, and use the hashtag #AxiomKAL on Instagram to share your progress with us!
Axiom is a great pattern to try changing from seamed to seamless, and many Knit Picks team members are planning to do that with their own projects. Patterns can be followed precisely, or they can be used as a creative jumpstart, to be adapted as each knitter prefers. Like with most pattern modifications, when converting from seamed to seamless, a lot of frustration can be avoided by asking the right questions before getting started and doing a pinch of prep work.
To get started, there are a few questions to ask ourselves to determine if a seamless adaptation will work for a particular pattern.
Does this shape lend itself to being knit seamlessly?
Axiom is a drop-shoulder sweater, which means it can be converted to seamless without major changes to the design. Raglan sweaters can also be easily converted, but traditional set-in sleeves do not lend themselves to being made seamless without substantial changes and would need the sleeve construction redesigned to become seamless.
Does this pattern have details that won’t work in the round?
With Axiom, the answer is no, there are no techniques that prevent the design from being seamless! Some patterns use techniques like intarsia that are easiest worked flat, but most cables are just as easy to work in the round as they are flat.
Are there stitch patterns that need flat and in-the-round versions planned?
Axiom’s cable instructions are all written to be knit flat, so if you prefer following written instructions, the wrong side rows must be rewritten to be worked in the round. If you prefer to use charts, all you need to do is read them from right to left on every row of the chart to work them in the round.
What direction are the pieces originally knit?
Noting the direction the pieces are knit is helpful for creating your modification plan. All pieces of Axiom were designed to be knit from the bottom up. The body pieces can easily be adapted to be worked seamlessly from the bottom up, but seamless drop-shoulder sleeves have to be knit from the top down. In order to avoid seaming, stitches have to be picked up and knit from the top down, so the direction will need to be reversed.
Will it be noticeable if the sleeves are worked in a different direction?
Some stitch patterns have an obvious direction, like Axiom’s cables. If the cables were also on the sleeves, changing the sleeves from being knit bottom-up to top-down would significantly change the look, but because the sleeves are plain stockinette and 2×2 rib, the direction can be changed without it being obvious.
How many selvage stitches are involved?
Seamed sweaters typically have an extra stitch at each seam edge that hides on the inside after sewing. If they’re not subtracted from the stitch counts, that adds up to 4 extra stitches on a pullover like Axiom, a little less than 1” (2.5cm) to the circumference of the body. These must be subtracted from our adjusted stitch counts, so that the finished sweater is the desired size On the sleeves, although there are only 2 selvage stitches, the extra stitches must be subtracted because the extra stitches do not correspond with the 2×2 ribbing.
If all of the answers to these questions align like they do for Axiom, the pattern can be adapted to be seamless!
Adjusting Axiom’s Stitch Counts
The following stitch counts should be calculated as follows and noted down. These are the only key stitch counts that need readjusting, and although they are tailored to Axiom‘s instructions, they provide guidelines that can be used for any drop-shoulder sweater.
Front CO + Back CO – 4 sts from selvage = Body CO
Front CO – 2 sts from selvage = Front Sts
First set of knit sts in Set Up Row 1 – 1 st from selvage = Adjusted Set Up
1st Front BO – 1 st from selvage = Beginning of First Underarm BO
1st Back BO – 1 st from selvage = Beginning of Second Underarm BO
1st Front BO + 1st Back BO – 2 sts from selvage = Full Underarm BO
Final sleeve stitch count – 2 sts from selvage = Sleeve Pick Up Count
Total sleeve length in inches – 2 inches of rib cuff – (((1st set of increase x 2 if applicable) + (2nd set of increases x 4)) / rows per inch) = Unshaped Upper Arm Length
Sleeve CO – 2 sts from selvage = Wrist Sts
Working Axiom’s Body Seamlessly
Using the Body CO determined above, cast on that number of stitches, join in the round, and place a marker to indicate the beginner of the round.
The first round of the body should be worked skipping the first stitch, a selvage stitch. This means it should be knit as follows, to accommodate the removed selvage stitches: K1, (P2, K2) to last 3 sts, P2, K1.
Throughout the whole body, WS rows should be replaced with rounds worked evenly in pattern, so knit the knit stitches and purl the purl stitches as they were established in the previous round.
On the next round, work the Front Sts determined above as established in the previous round, place a marker, and then work as established in the previous round to the end of the round. The section after the beginning of the round marker is the front, and the remaining section after the second marker is the back. To check your work, there should be 92 (100, 108, 116, 128)(136, 144, 152, 160) stitches for your front.
After the ribbing is the length indicated in the pattern, work the first section of the set up row one stitch fewer to accommodate for the removed selvage stitch, the number we determined above as the Adjusted Set Up. To check your work, that means Setup Row 1 should begin as follows with the adjustment: K21 (25, 29, 33, 33)(37, 41, 45, 49)…
After adjusting the Set Up Row, the body can be knit as written up to the underarm BO, keeping in mind that the front’s instructions should be worked first, followed by the back’s instructions on every round, and that WS rows should be replaced with rounds of working evenly in pattern.
Working the Underarm BO Seamlessly
When you reach the Underarm BO rows in the instructions, the two BO rows will be combined into one BO round, so one more even round should be worked.
Next, work across the front until the number of stitches that remain before the marker equals the Beginning of First Underarm BO number determined above. BO the Full Underarm BO number determined above, removing your stitch marker as you cross it.
Now work across the back until the number of stitches that remain before the marker equals the Beginning of Second Underarm BO number determined above. BO the Full Underarm BO number determined above, removing your stitch marker as you cross it, and not breaking the yarn.
The yarn will be in position to continue knitting the front, starting with a RS row. The fronts and back will be knit flat and joined at the shoulders, so from this point on, the front can be knit exactly as written in the original pattern, starting after the BO rows, until the shoulders. For the remainder of the front, the stitch counts will match the stitch counts given in the pattern.
Note that there is a section instructing knitters to work even for several inches after the set of BO rows that is easy to miss if you’re not following the pattern instructions closely.
Once the front is completed, rejoin the yarn for the back and follow the pattern instructions for the upper back, starting after the BO rows, until the shoulders.
Knitting and Joining the Shoulders
The shoulders of Axiom are shaped slightly by binding off in two sections over 2-3 rows, and the shaping must be either replaced or eliminated.
The easiest way to convert the shoulders to seamless is to skip the shaping and place all stitches on hold to later be joined using a 3-needle BO.
If you’d like to keep the shaping, the BO set can be replaced with one short row that’s the length of the first BO section, and then once again, the stitches can be placed on hold to later be joined using a 3-needle BO.
Once both the front and back are completed, to seamlessly join the shoulders, place the right front shoulder stitches on a needle and the right back shoulder stitches on another needle, and hold them together with their RS facing each other and WS facing out. Join yarn and use a third needle to work a 3-needle BO. Repeat with the left shoulder.
Knitting the Sleeves Seamlessly
Because the sleeves are designed to be knit from the bottom up and have to be converted to top-down to be seamless, they require more substantial adaptation.
Starting at the center of the Underarm BO and working evenly around the armhole, pick up and knit the Sleeve Pick Up Count determined above, and join to work in the round.
Work evenly in stockinette until the sleeve measures the Unshaped Upper Arm Length determined above, measuring from the picked up edge. To check your work, that means you should knit approximately 4.25 (4.25, 5.5, 2.5, 3.25)(2.75, 2.75, 3.25, 3.25)”. If you’d like to add extra length to your sleeve, this is also the ideal place to do so.
With the unshaped length completed, shaping can begin. The same shaping rates given in the pattern should be used, but in reverse order and with the increases replaced with a K2tog at the start of each shaping round and a SSK at the end. That means the shaping that’s worked every 4 rounds should be worked first, and then the shaping worked every other round should be worked last, if applicable for your size.
Double check that you’ve included the correct number of decreases using the Wrist Sts determined above, and then work 2×2 ribbing by simply repeating (K2, P2) to the end of each round. BO using a stretchy method.
Repeat for the second sleeve, and don’t worry about blocking any pieces yet.
Neckline and Finishing
The neckline is already written seamlessly, so it needs no modification. Knit it as written, and BO using the same method as you used on your sleeves to tie them together.
Weave in your ends, block your sweater, and your project is completed!
Will you be converting your Axiom project into a seamless knit? Do you have any other modifications planned?
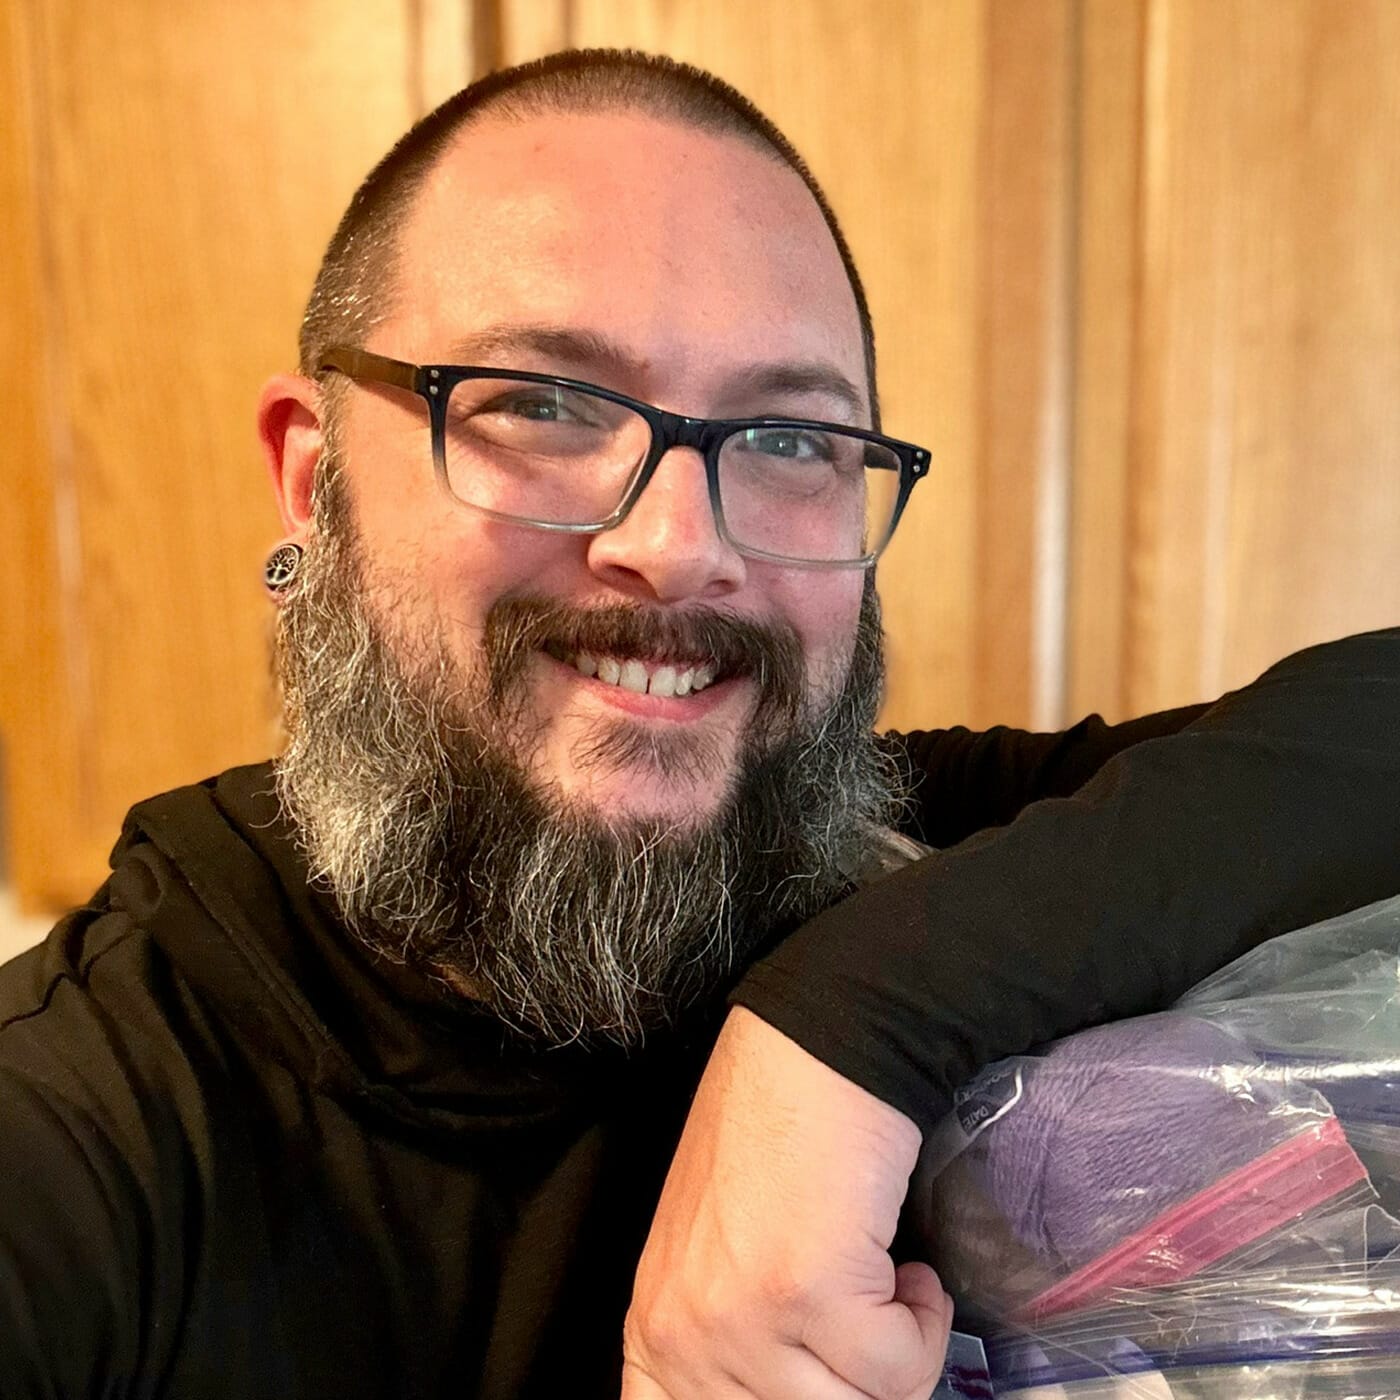
Every knitter ends up with yarn they don’t plan to use and don’t know what to do with, and that’s the problem Zeb from Disco Fibers is looking to solve! He joins our hosts Lee and Stacey to talk about starting a yarn thrift store in the Portland, OR area that helps get unused yarn out of the back of the closet and into the hands of knitters that will love it.
Plus, Andi joins Stacey to discuss our upcoming KAL, where we’ll all be knitting the Axiom Sweater by Claire Slade! Andi and Stacey chat about their yarn choices and some modifications to the pattern.
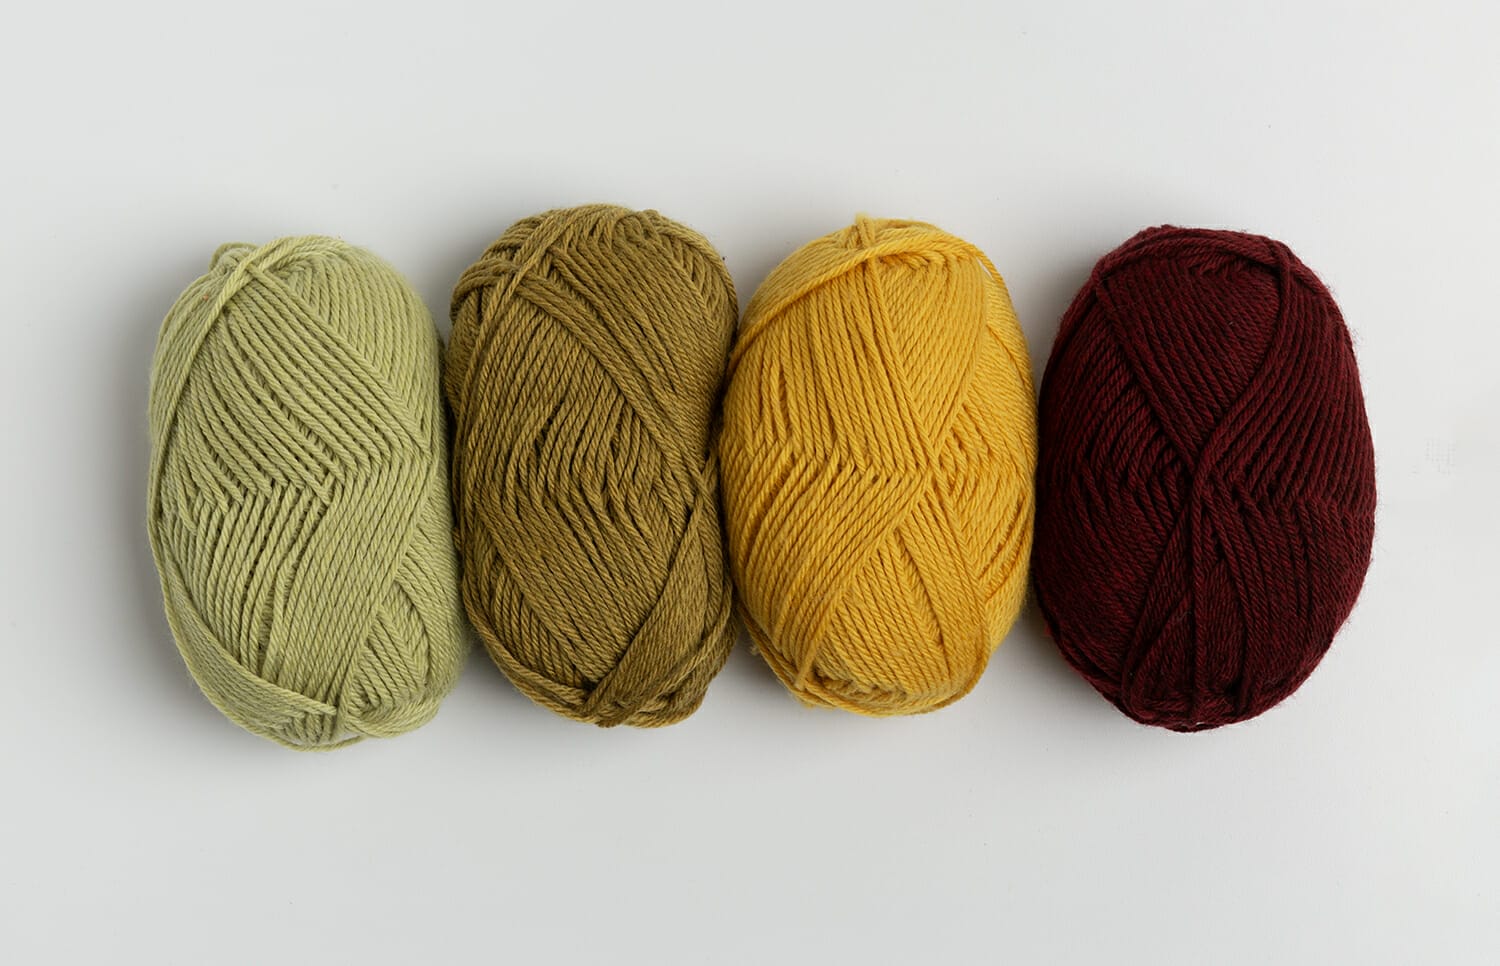
The Axiom KAL begins October 1st, 2023, so now is the best time to begin picking out yarn to have it ready to cast on by the 1st! The Axiom Sweater was designed using Wool of the Andes Worsted, but this pattern lends itself to substituting other worsted weight yarns that cable well. The key attributes to look for are good stitch definition and elasticity to make well-defined cables and ribbing that holds its shape. Here are the yarns we think are best to use and why!
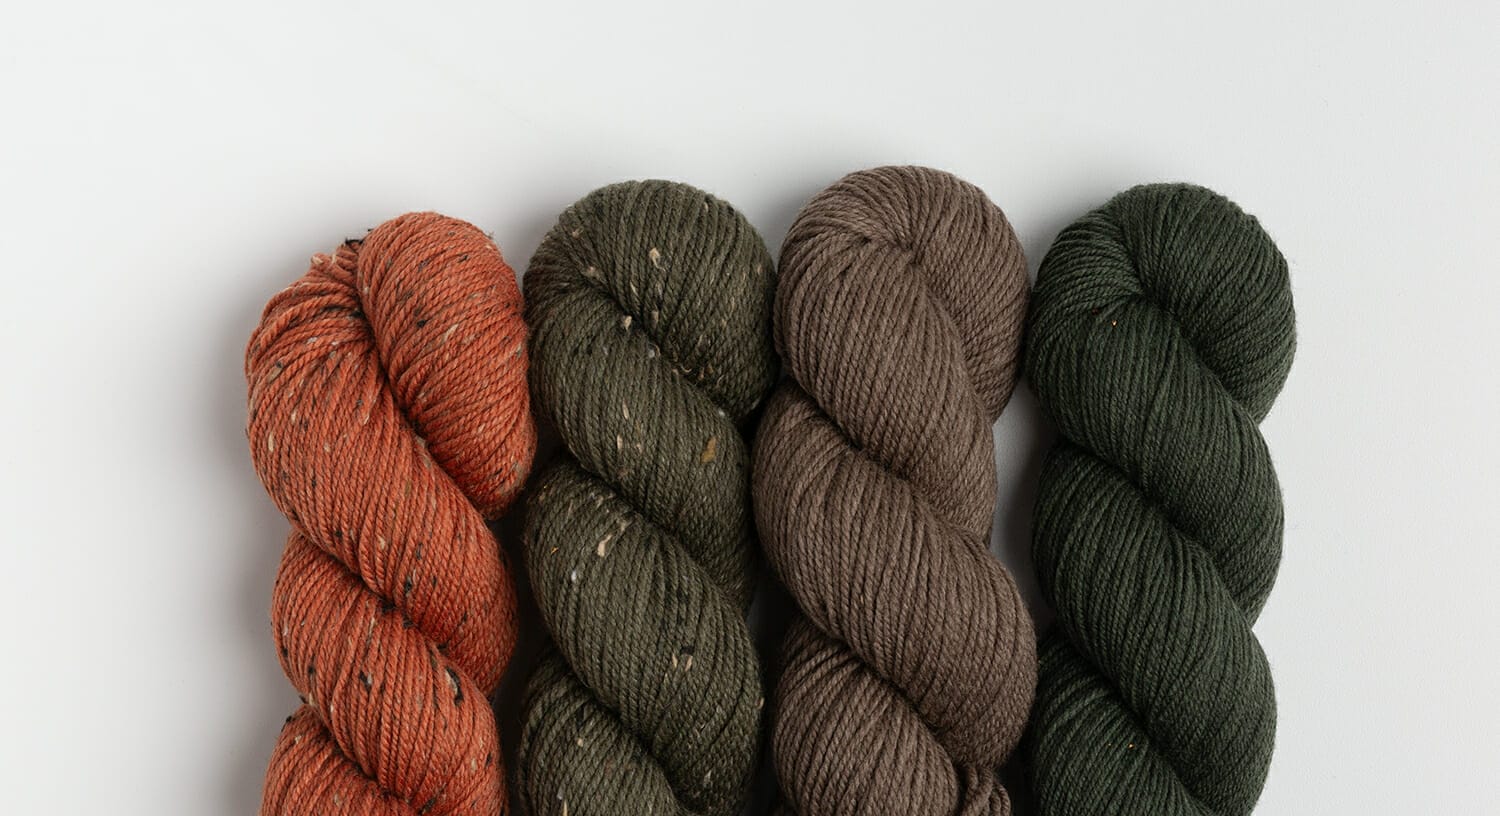
One of the two suggested yarns, High Desert Tweed is a great yarn to pair with this pattern! We love our 100% American wool yarn, and it was a popular choice among Knit Picks staff for their own Axiom Sweaters. High Desert’s twist makes bouncy, beautiful cables, and it’s decadently soft. Andi, Stacey, and Alena all picked High Desert Tweed for their KAL projects, and Regan will be using heathered shades of High Desert Worsted.
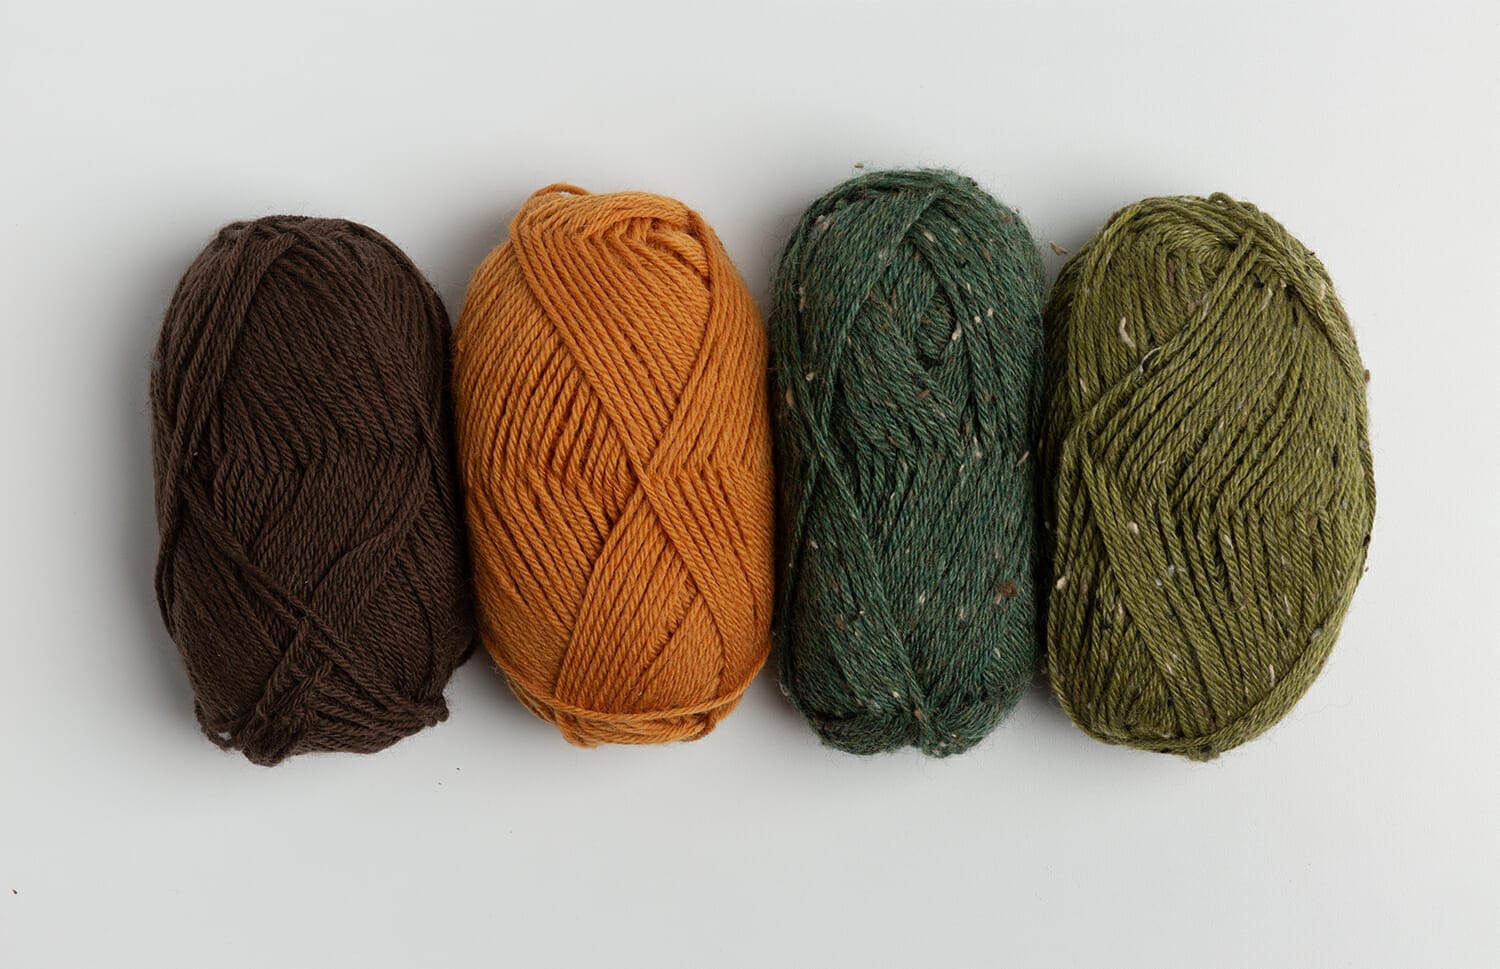
Use Axiom‘s other suggested yarn, Wool of the Andes Worsted, in your favorite shade, and your project is sure to turn out just as cute as the sample photos. Or use its sibling, Wool of the Andes Tweed, for a no-fuss substitution. Both yarns are great for cables, as you can see! The Knit Picks team is loving tweeds this fall, and Carlene will be using Wool of the Andes Tweed for her Axiom.
Wonderfully soft Swish doesn’t just make lovely cables; it’s also easy to care for because it’s machine washable. Swish has truly beautiful stitch definition, and it’s beyond cuddly and cozy. Alexis chose Swish Worsted for her project for both its convenience and softness.
If you’re not a wool fan, Brava Worsted is a great alternative and produces lovely cables. You can even join in our office’s current tweed infatuation by using Brava Tweed! Although no one on our team chose to use Brava, we’re confident it’s a great substitute for this project.
No matter what yarn you choose to use—to set yourself up for success—knit a swatch, wash it, and block it like you will your final sweater to check your gauge. If it doesn’t match the pattern’s gauge, repeat with different sized needles. The gauge listed in the pattern is used to calculate all the stitch counts, so if you match the listed gauge after washing and blocking, your finished sweater will be just the right size, even if you used a different yarn!