

We’ve been talking about dyeing your own yarn a lot lately, and with good reason: it’s a very fun way to take your fiber art to the next level! Want to learn how to dye yarn with indigo? Read on for tips and tricks for working with this ancient plant-based natural dye.
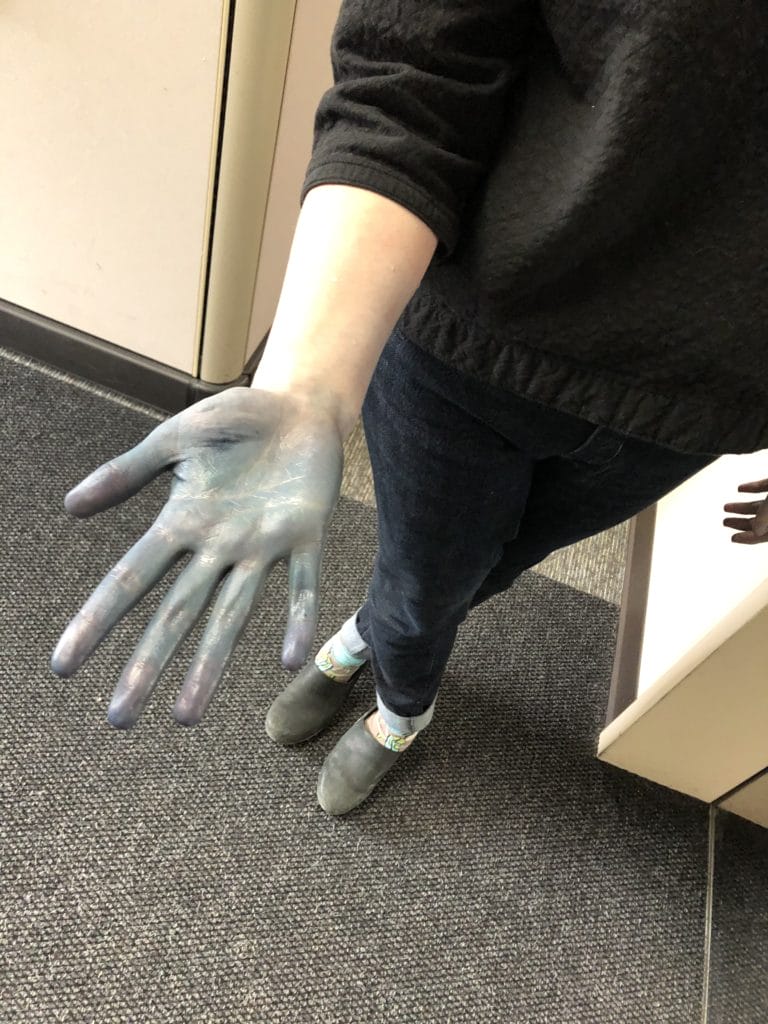
One of the benefits of working for Knit Picks is working with creative, fiber-loving gals that are excited to teach us new skills. Our lovely Brand Director Hannah organized an Indigo Dye Day for all of our employees and taught us the basics of how to dye yarn with indigo. We all walked away with blue hands and a few hanks of beautiful hand dyed yarn.
Indigo Dyeing: Materials needed
- Bare yarn of your choice
- Indigo Dye Kit
- A 5 gallon bucket with a lid
- A stirring stick
- A large tub filled with clear water
- A place to dry your skeins of yarn
- A tarp to cover your work area
- Extra gloves, as needed
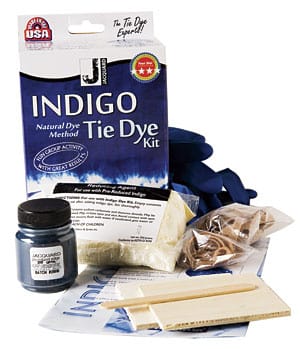
Hannah set us up with an Indigo Dye Kit. The kit comes with everything you need to explore Indigo Dying. Just add water!
This kit makes natural dyeing with indigo quick and easy, and is our recommendation for the beginner indigo dyer because of its ease of use as well as its affordable price.
This kit uses pre-reduced indigo, so you only need to soak your yarn in the indigo mixture for a few minutes. You can dye 5 pounds of yarn or fabric with the dye included in this kit, and the dye works on both plant and animal fibers. The Jacquard Indigo Dye kit contains indigo dye, a reducing agent, 1 pair of gloves, wood pieces, 2 sizes of rubber bands, and an instruction booklet.
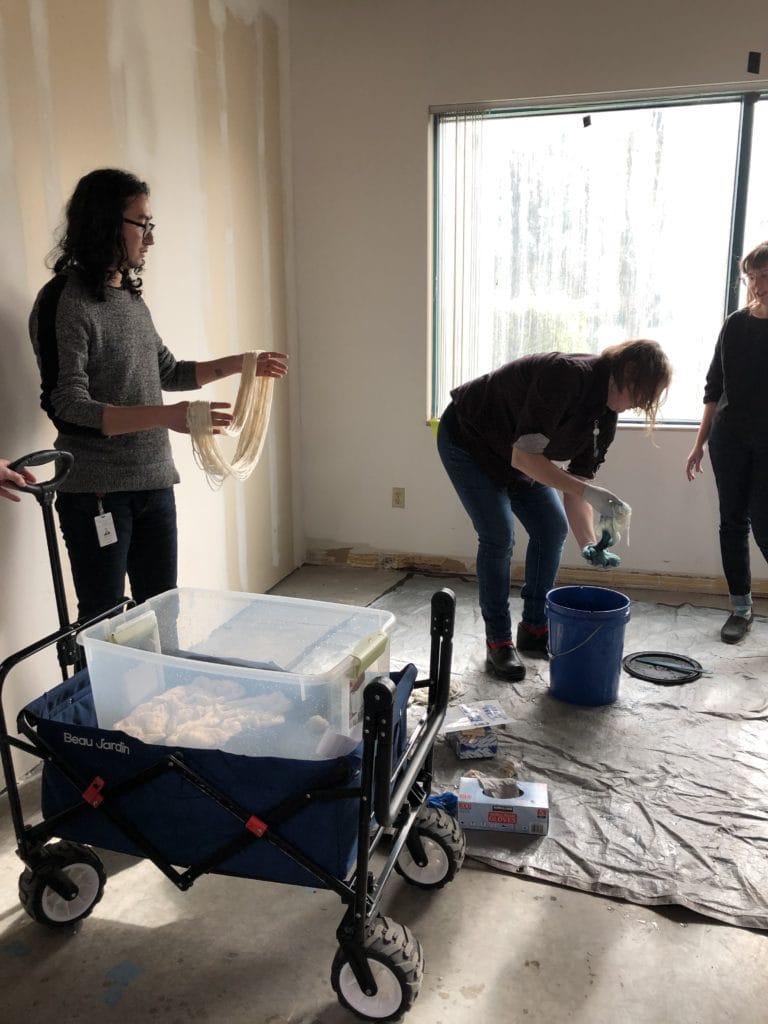
Step 1: Prepare your work area and supplies, and mix the indigo dye

- Cover your work surface with a tarp to protect from any spills (there will be drips and spills wherever you work!)
- Put on your gloves!
- Prepare the indigo dye in a 5 gallon bucket with water, as instructed in the kit.
- Fill up another tub with clear water.
- Set up a drying rack nearby, if you have one.
Step 2: Prepare the bare yarn to be dyed!
Now you’re going to prep your bare yarn for dyeing! Un-twist the hanks, leaving them tied. Depending on how well the hank is tied already, you might want to add extra ties at this time. Tie loosely, or more tightly if you want to create a resist (where the dye will penetrate less, like a tie dye or shibori effect).
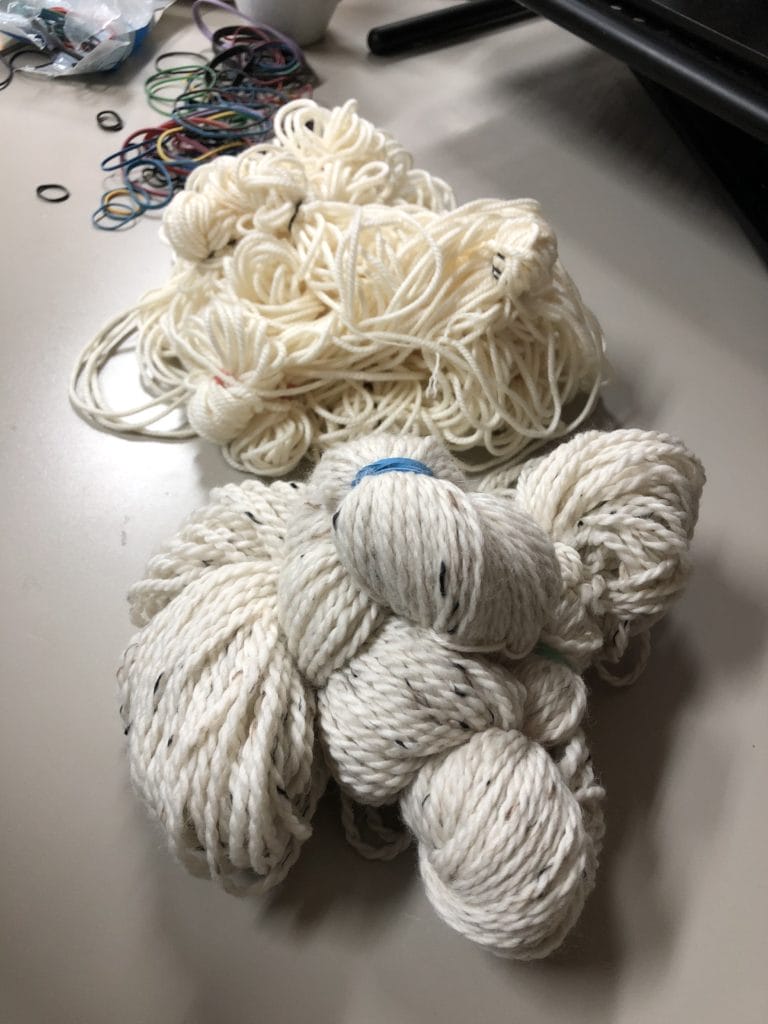
We started out by deciding how we wanted the hanks to be dyed. Lee is a creative rock star and experimented with rubber bands to add a tie-dye effect to her yarn. I can’t wait to see what she knits with her yarn!
Step 3: Soak the bare yarn in clear water
- Next, put the bare yarn in plain water to soak. Push it gently under the water and let it sit for several minutes until it is saturated completely.
- Once the yarn is saturated, remove it from the water and gently squeeze out excess water.
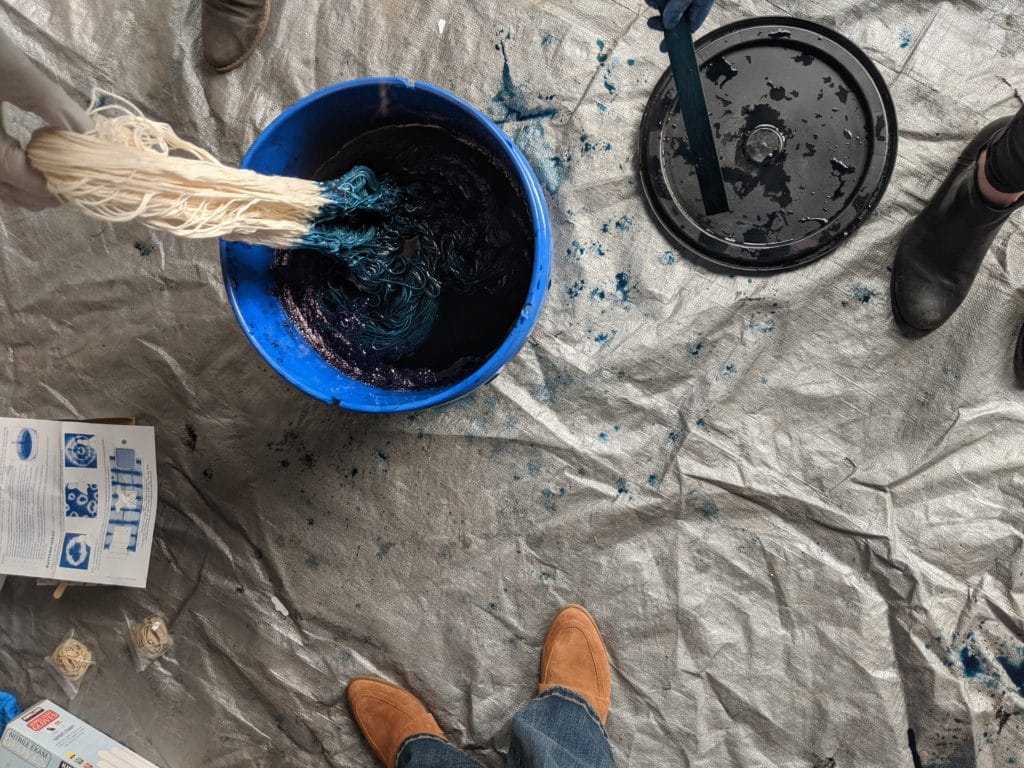
Step 4: Time for Indigo!
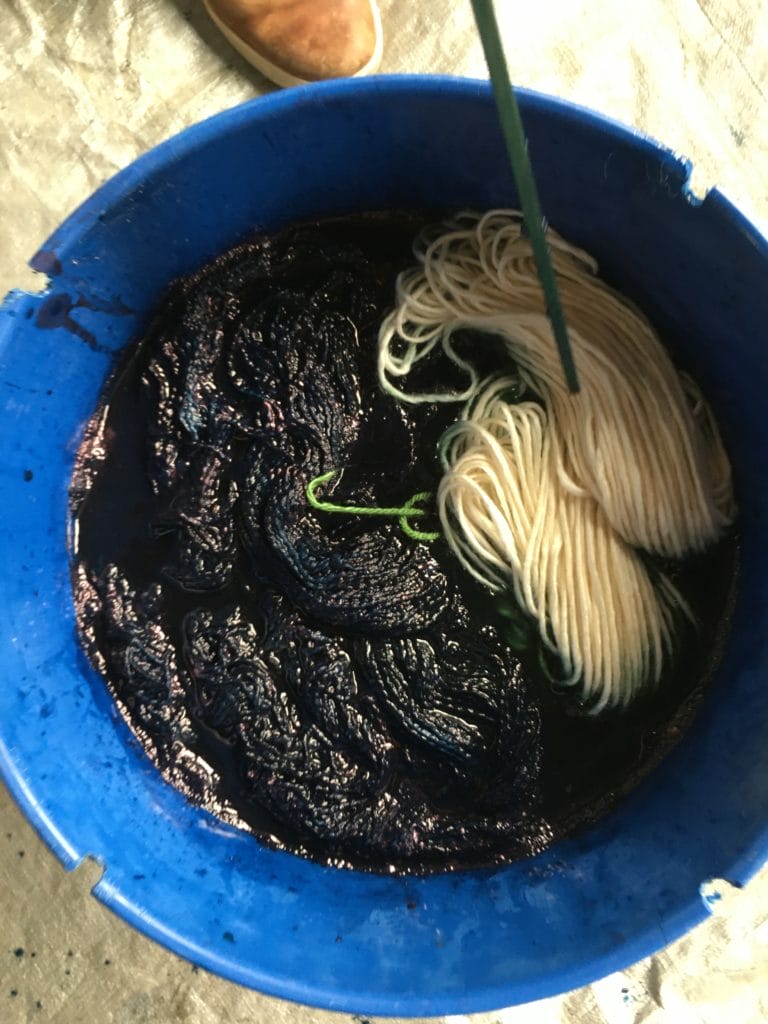
The actual dye process is quite simple! After you soak your yarn in clean water, stir the dye in the pot, then place your yarn in the vat. The longer the yarn is in the dye pot the darker the result.
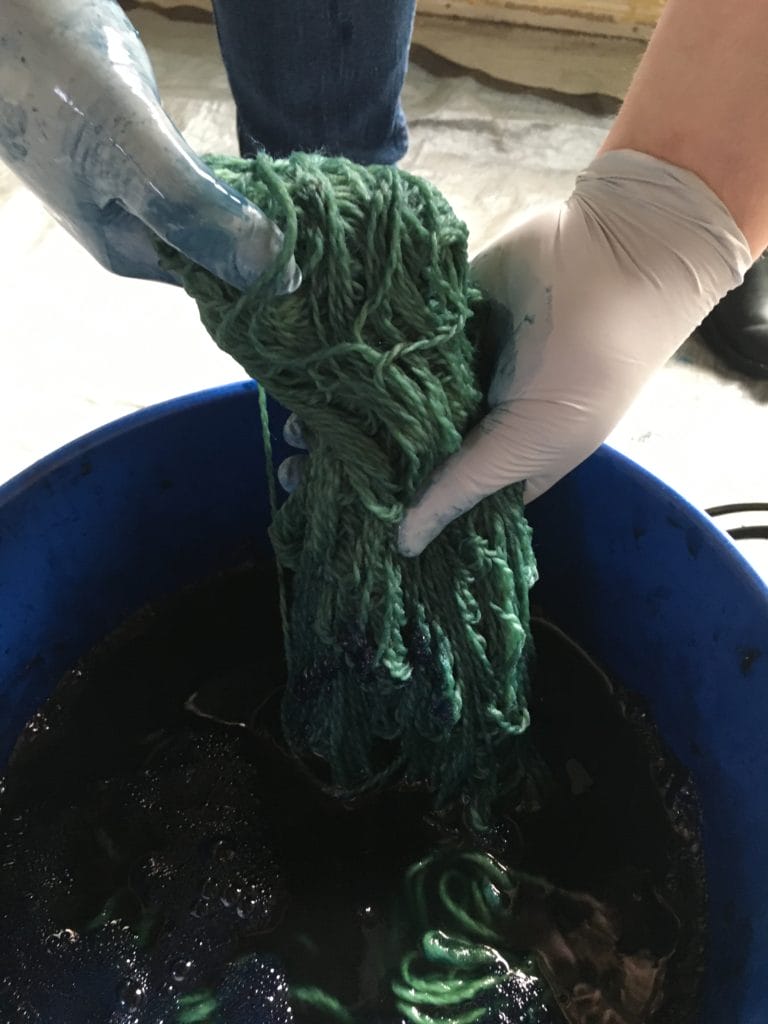
The pot of indigo dye is a greenish color, and might have bubbles and sediment on top — this is part of the indigo process (and the sediment is called “the Mother”). Don’t worry if they get on your yarn. They’ll just add an interesting effect to the final yarn.
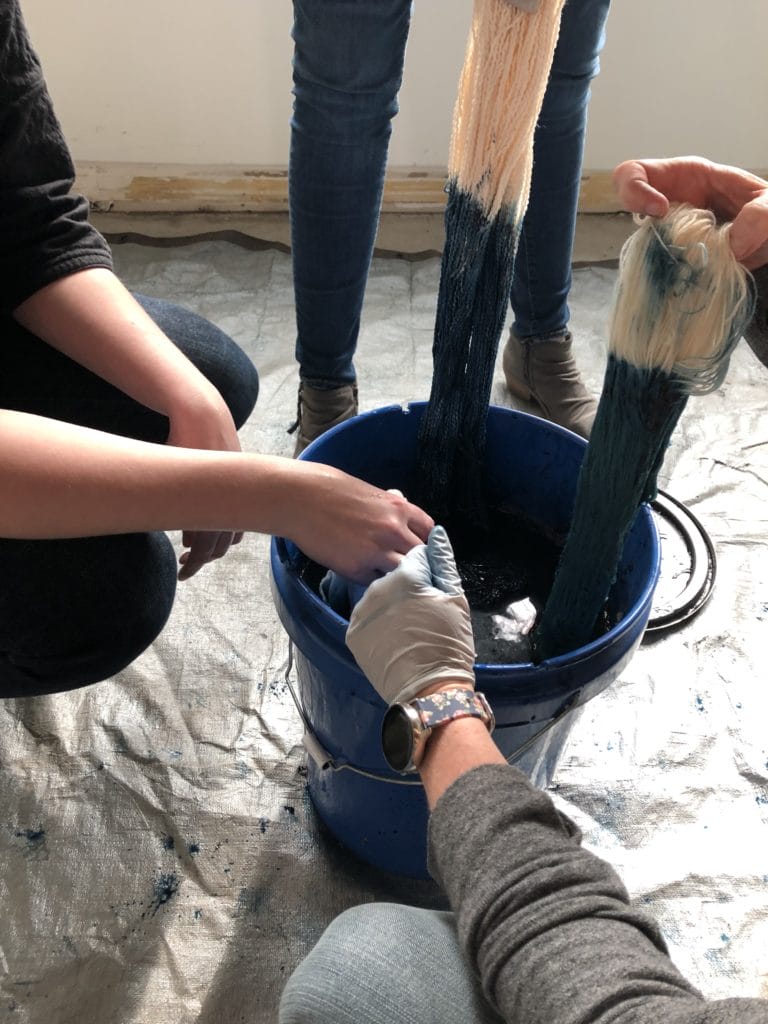
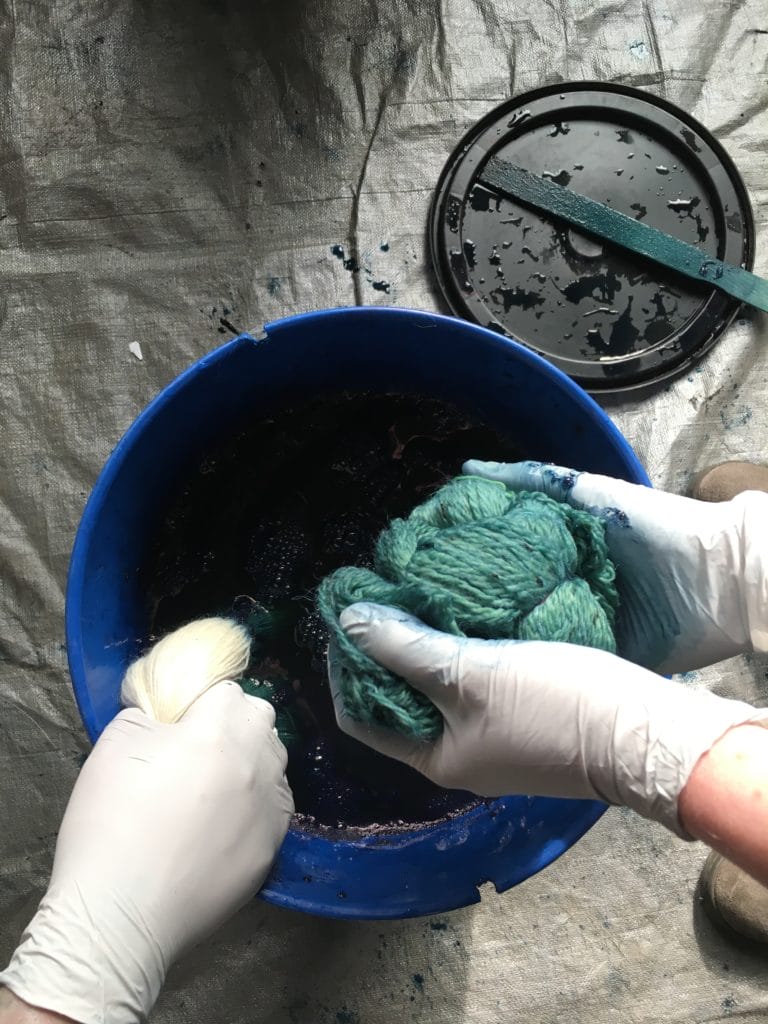
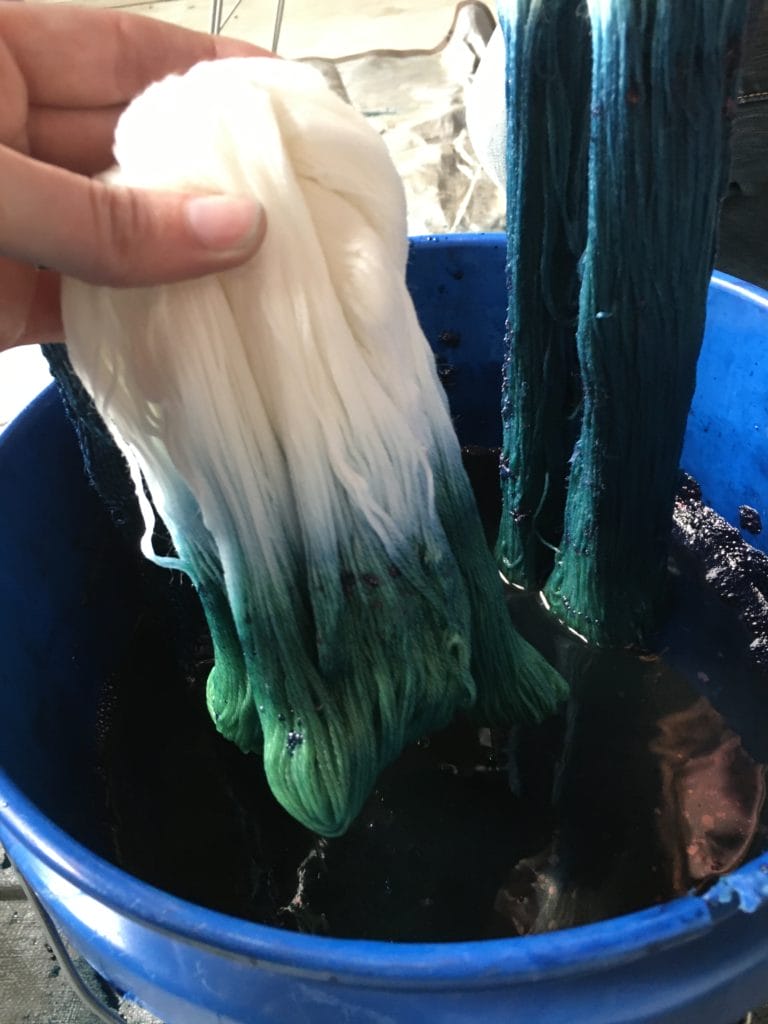
When you take your yarn out of the dye bath, it oxidizes and the color changes from green to blue! To create a deeper blue color, dip your yarn in the dye bath again. Dye your yarn a solid color by immersing it completely, or create patterns such as an ombre (by gradually pulling the skein out of the vat over time) or tie dyed effect (by tying or rubber-banding sections of the skein together).
When your desired color is achieved, remove the yarn from the pot, gently squeeze the indigo dye out (you have your gloves on, RIGHT?), and hang to dry.
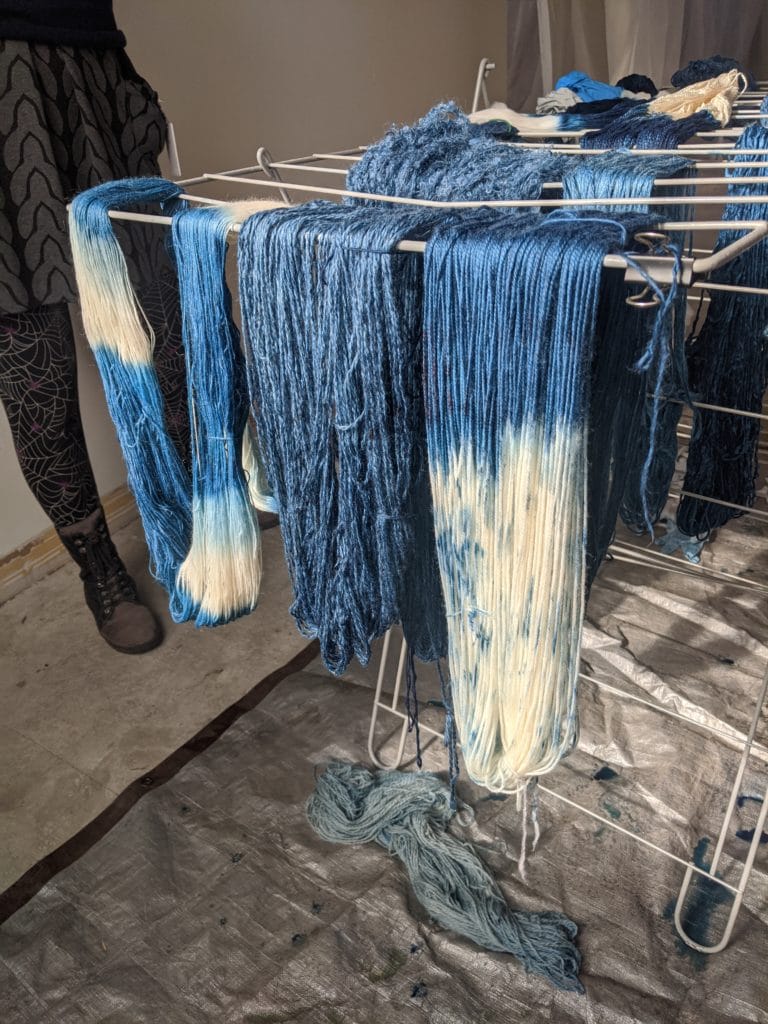
Step 5: Let it dry

Set your dyed yarn aside in a safe place where it can dry, undisturbed. It will take about 24-48 hours, and it will likely drip a bit. We set up a box fan near our drying rack, to help it along.
Step 6: Rinse well!
Once the indigo-dyed yarn is dry, run your yarn under water until the water runs clear. Make sure it’s really clear! Then hang the yarn to dry again for a couple of days.
Step 7: Enjoy your Indigo Yarn!
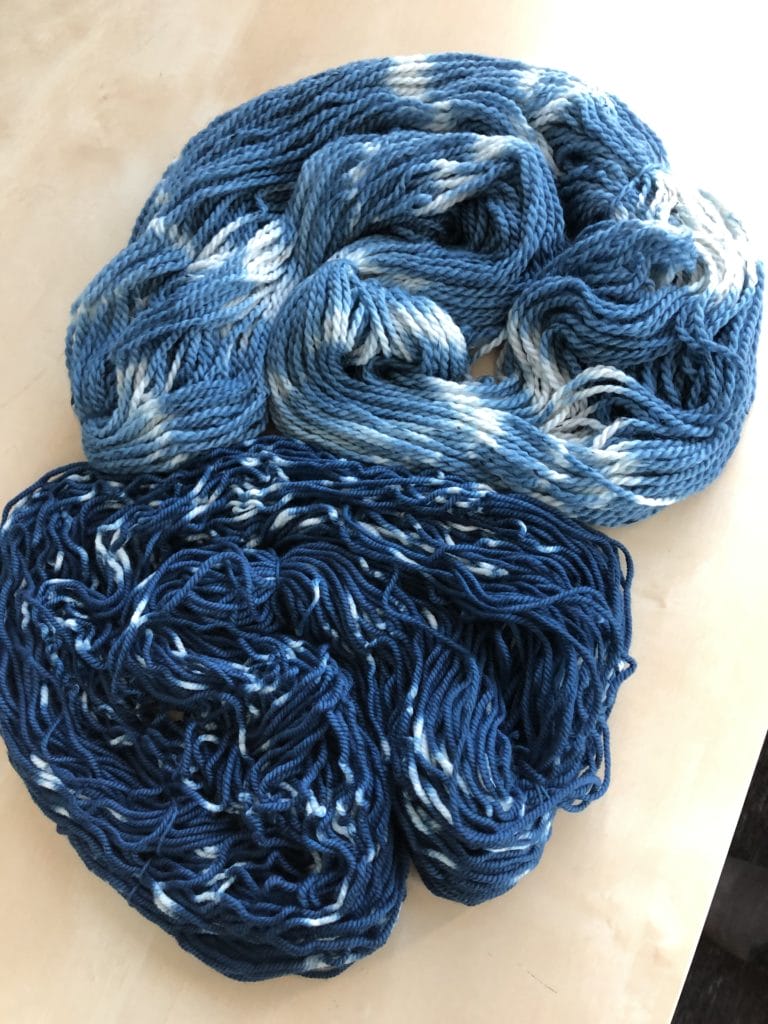
Here are the final results of our staff Indigo Dye Day:

The indigo dye gets lighter the more fiber you dye (up to 5 lbs of fiber), or depending on how long you let it soak in the vat. The plant-based fibers seemed to result in much deeper indigo blue tones, while the animal-based fiber (and fiber blends that contained nylon), resulted in lighter denim blue shades of blue.
We had such a great time exploring indigo dyeing! I hope that this inspires you to try out this fun and easy technique.
