

Welcome to the amateur dyeing adventures of me, Regan, one of the photographers for Knit Picks! I want to preface this by saying that this is not a tutorial. I’m just having a fun time experimenting! So join the ride as I create a mess of my kitchen.

Muse // Woodland Tweed // Twill
For this journey I used Knit Picks Bare Muse, Bare Twill, and Bare Woodland Tweed. I’ve recently discovered that I love 100% Merino wool, so Twill and Muse have been two of my favorite yarns. I chose Woodland Tweed so I had some variation from my obvious favoritism. All in all, I had six of each yarn (18 total) to experiment with.

I’ve had a small amount of experience with natural dyeing, but this is my first time on a large scale. To aid in my adventure I used the Earthhues Botanical Dye Kit. The kit comes with everything one might need, which includes:
- Cutch – a coffee, caramel color
- Madder – burnt orange
- Cochineal – red
- Logwood – purple
- Osage – yellow/red
- Mordants: alum, cream of tartar, and calcium carbonate
- Iron (used with logwood)
- Pair of gloves
- Mask (to protect from all the powders)
The kit also comes with instructions and different ratios to achieve specific colors. However, me being me, I decided to completely disregard instructions and wing this entire operation.
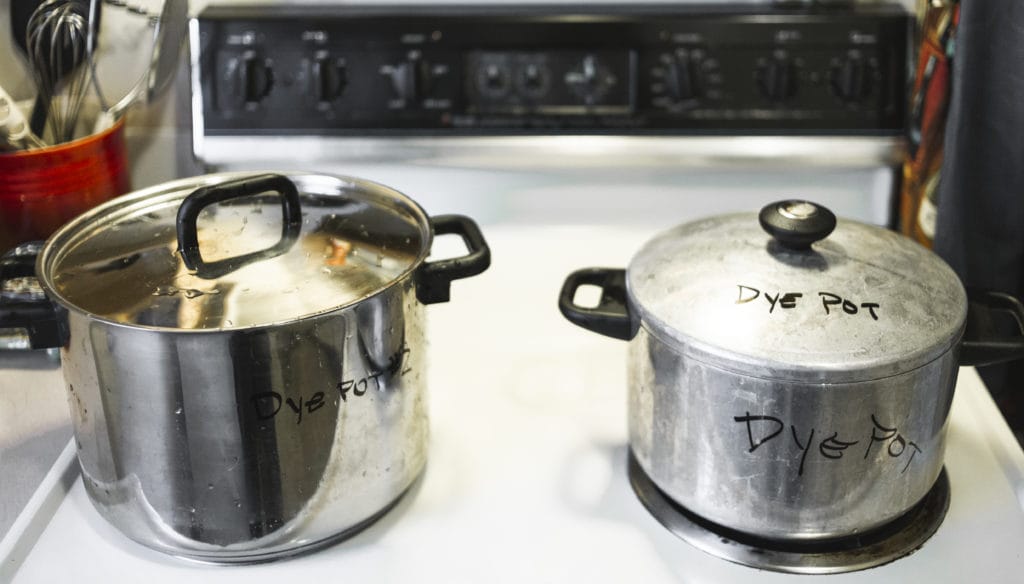
My two pot setup
I definitely didn’t want to use a pot I cook with for this, so I used two pots I found at Goodwill. That way, these can get as messy as needed and can stay designated for dyeing-specific needs. This goes for any other tools I used as well.
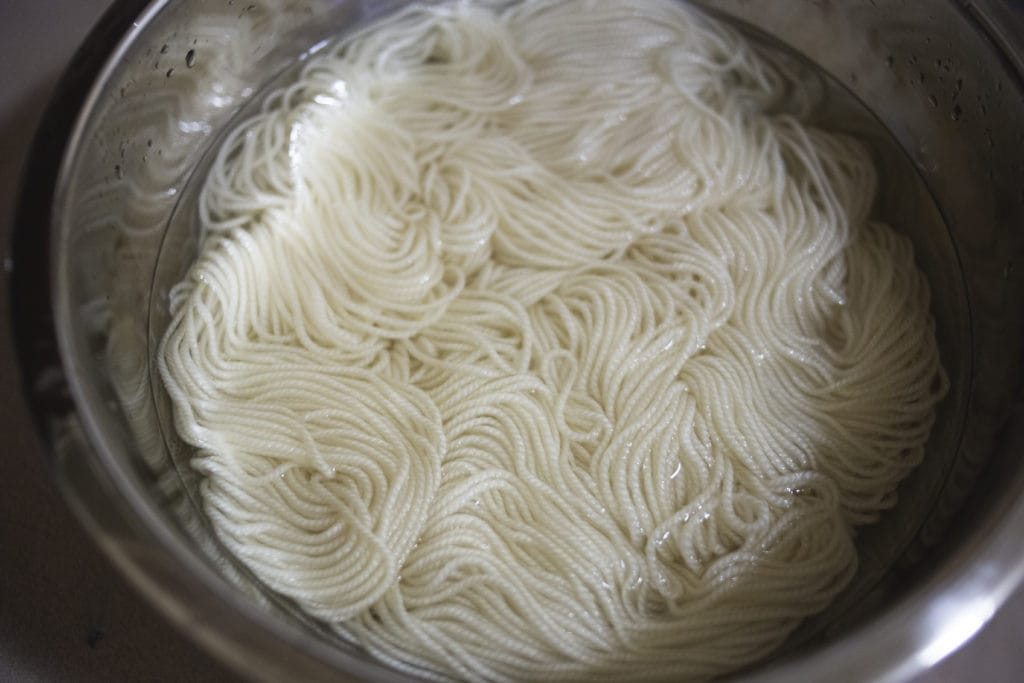
My first batch of dyeing were the six Bare Twills. To begin I dissolved my mordants in water and threw my yarn in there to soak. I’m really looking for that spaghetti consistency to make sure it’s fully saturated.
Pre-soaking the yarn is a great way to apply mordants and also makes it easier for the fibers to absorb the dye. After letting the yarn soak for an hour or so, I squeezed out the excess water to prepare submersion into the dye.
I also want to quickly note, if you live with others you might consider cracking a window or turning on a fan. There was quite an aroma created from the dyes, and it definitely fills the air.

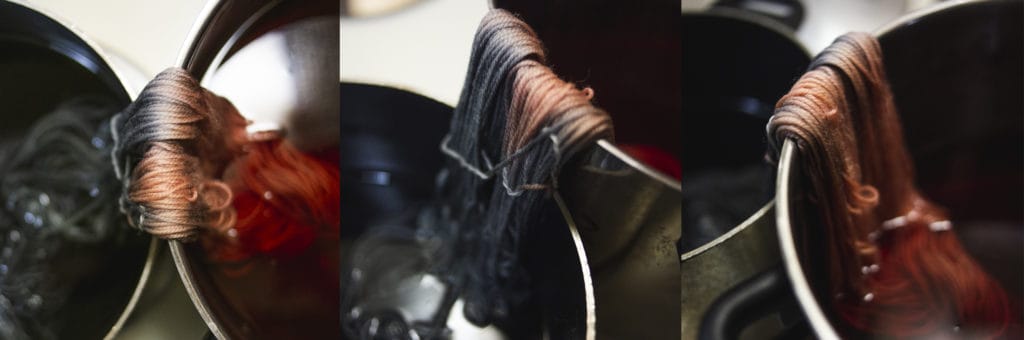
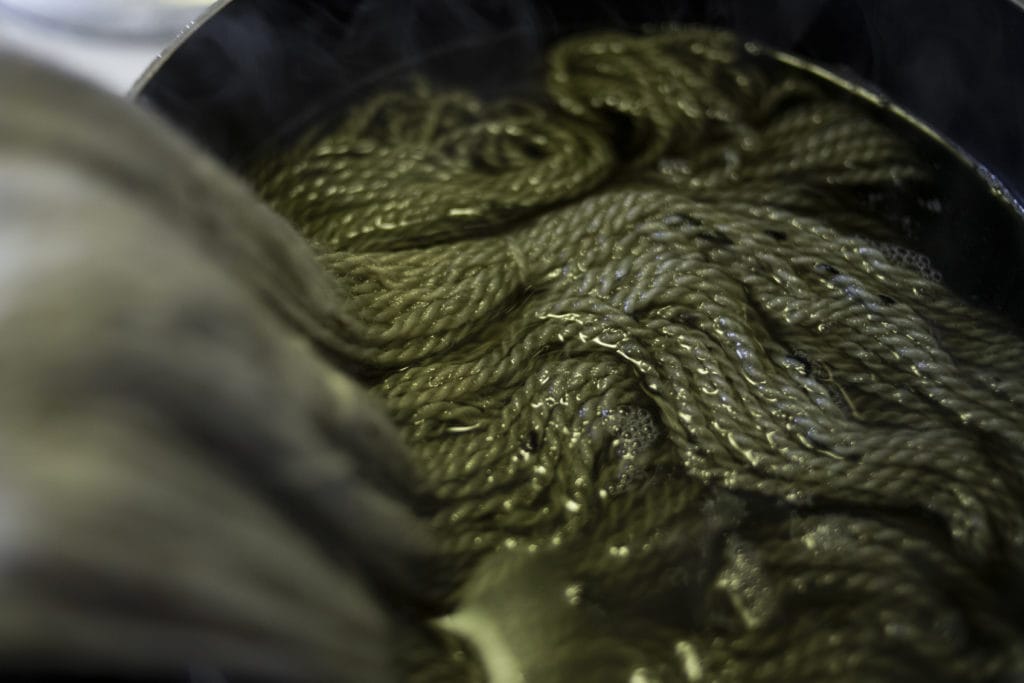
First putting in the yarn and at the 30 minute check-in
I didn’t take photos of every color and yarn. But for this first batch I used two color concoctions:
- Cochineal, madder, and cutch to create a darker red.
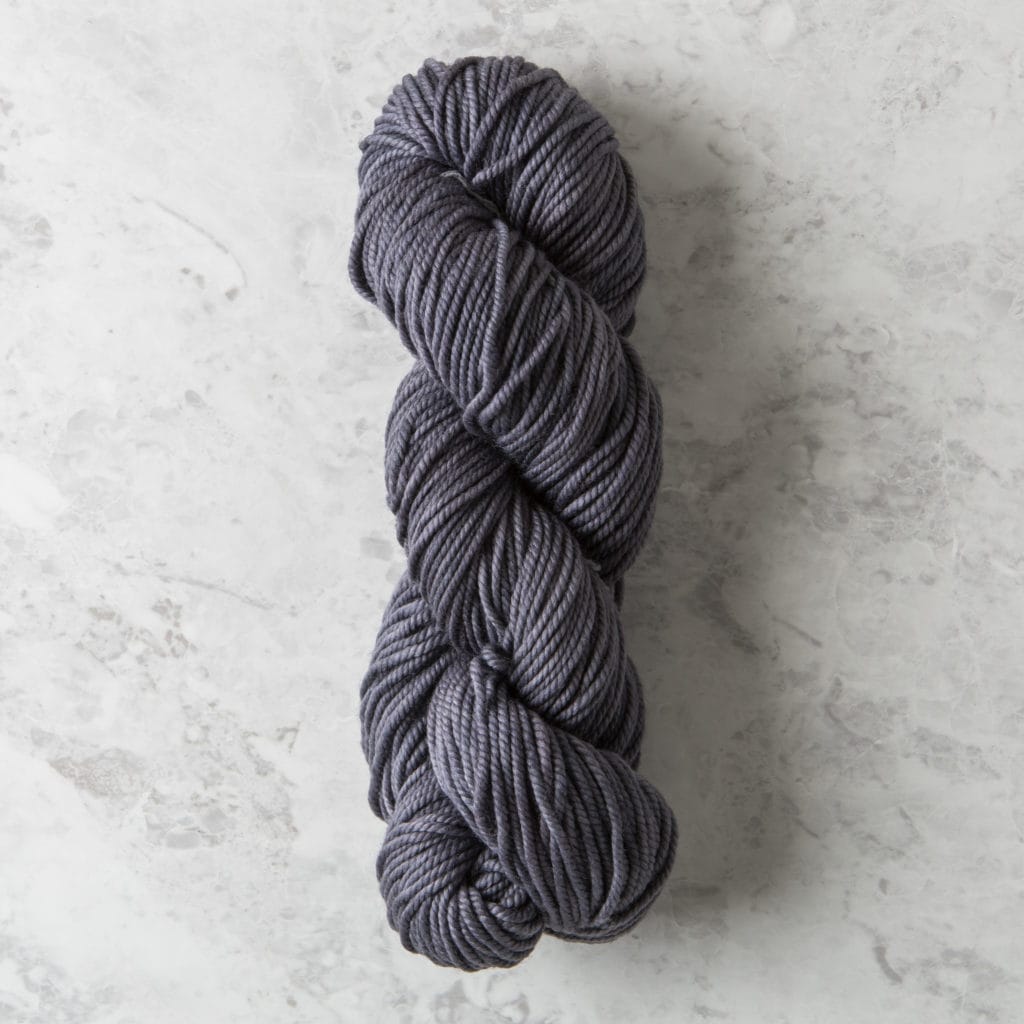
- Logwood and iron to create a grayish blue.
With the red, I put in two full skeins of yarn as well as two skeins that were still twisted together. A quick side-note is that I put in the twisted skeins completely dry. My hope here is that the color would soak the outer layer and still leave some of the bare in the middle for a true kettle dye color effect.

Gloves for safety!
After letting the yarn soak in the dye for about an hour and a half, I let it cool down and rest for another half hour. The image above shows that my twist had worked, at least partially. I was left with some bare showing, which I intended to overdye with the logwood.

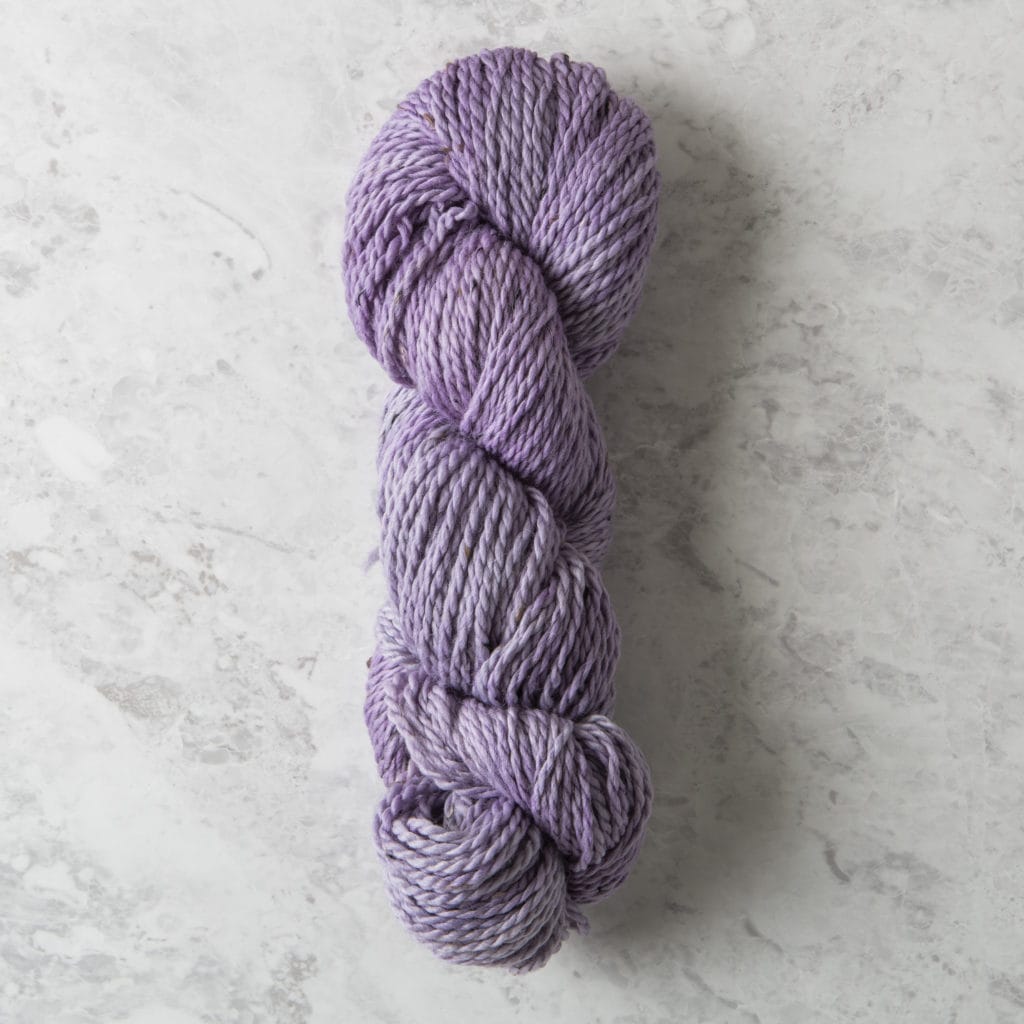
Logwood is normally a purpley red, but by mixing in the iron oxide, it turns into a more blueish gray. With the logwood concoction ready, I put in one full hank, as well as the two half dyed yarns to overdye.

Closer look at the results of the overdyeing
While the overdyeing didn’t come out exactly as I had intended, I was still happy with the results. The cooler tones of the logwood mixed with the cochineal and created a beautiful purple. And since I had left some of the yarn bare, there was a nice mixture of the more gray tones of the logwood.

cochineal // cochineal overdyed with logwood // logwood-iron
Once the yarns soaked up as much of the dye as they could, I rinsed them out and hung them up to dry. I moved them around the house throughout the next few days for more air exposure.
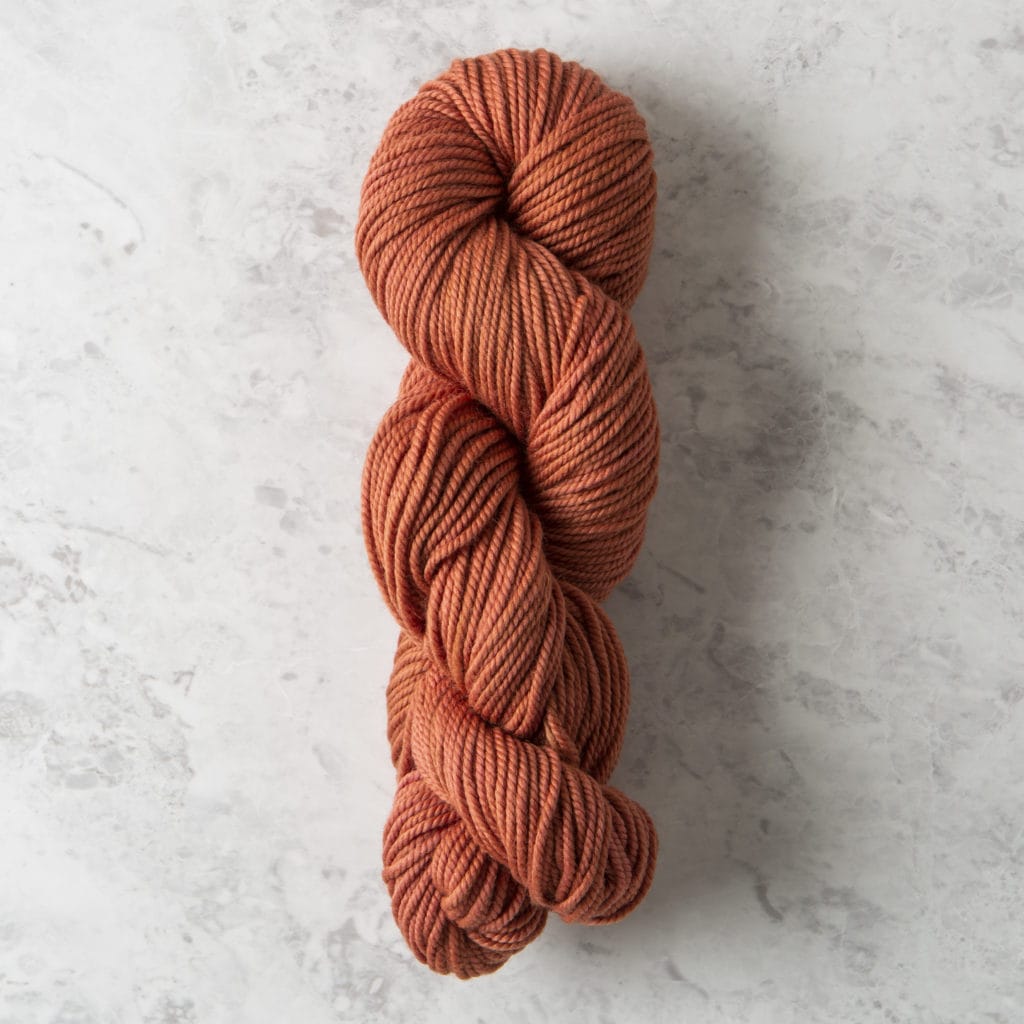
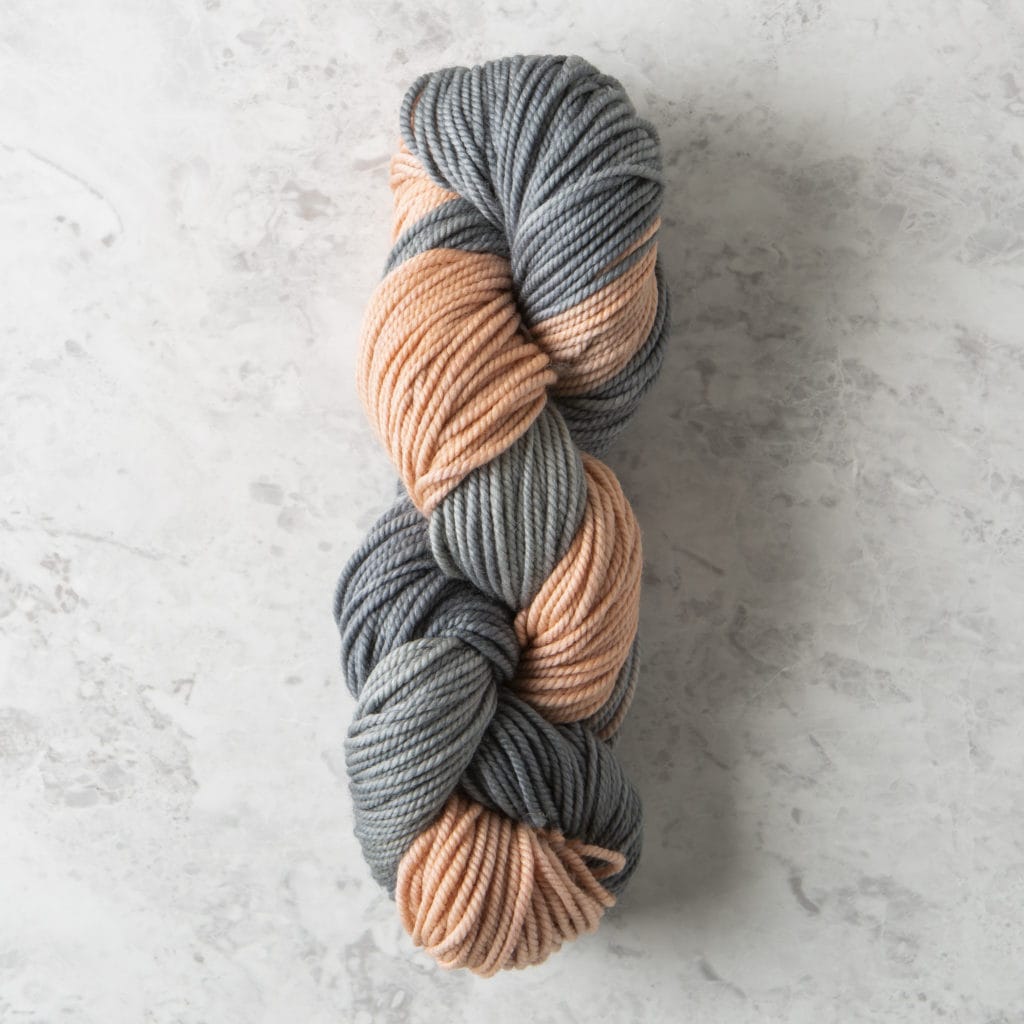
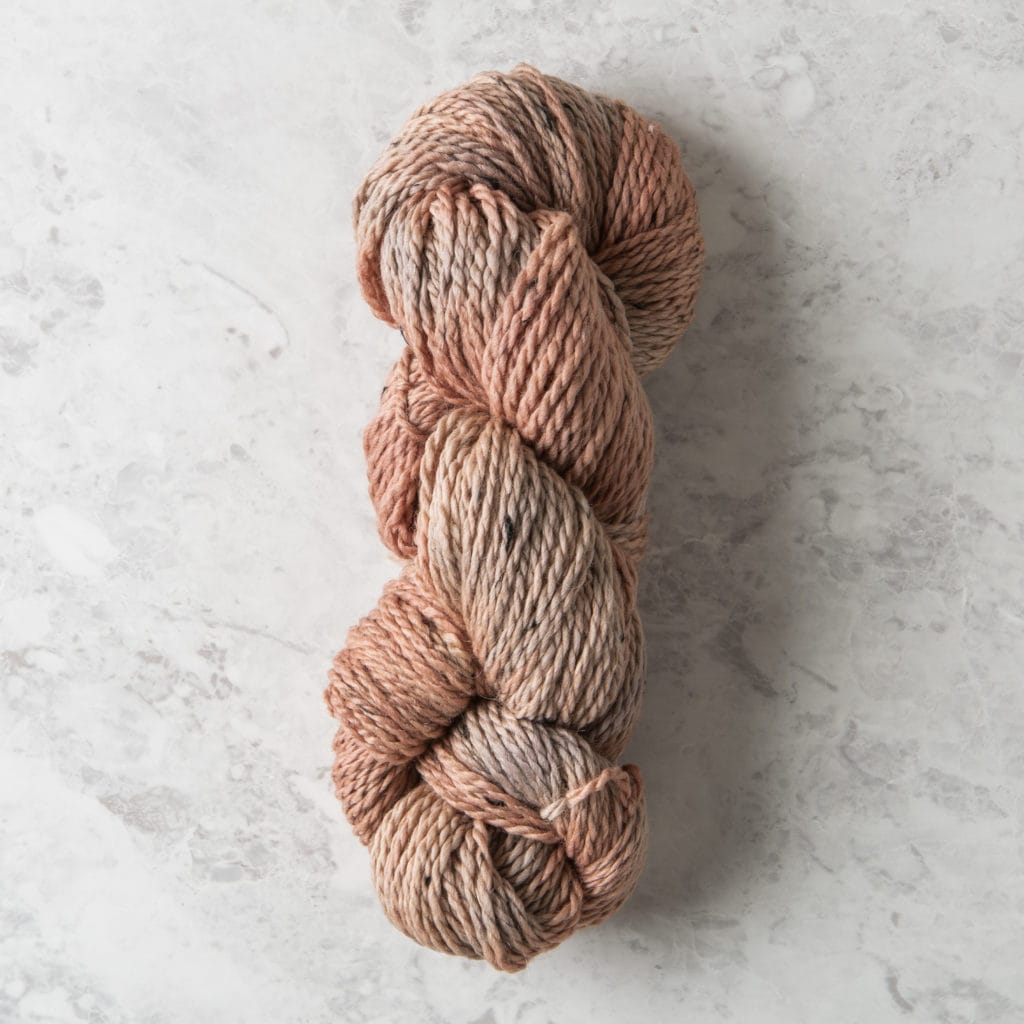
With the leftover dye in the pots I had one last twill skein to use, so I let it soak in both pots to create a two toned outcome. It’s amazing how much dye is soaked up in the initial bath. The final result of this experiment was much less saturated but still created a beautiful coral and light gray. It can be seen in the group shot below (6th yarn in from the left).

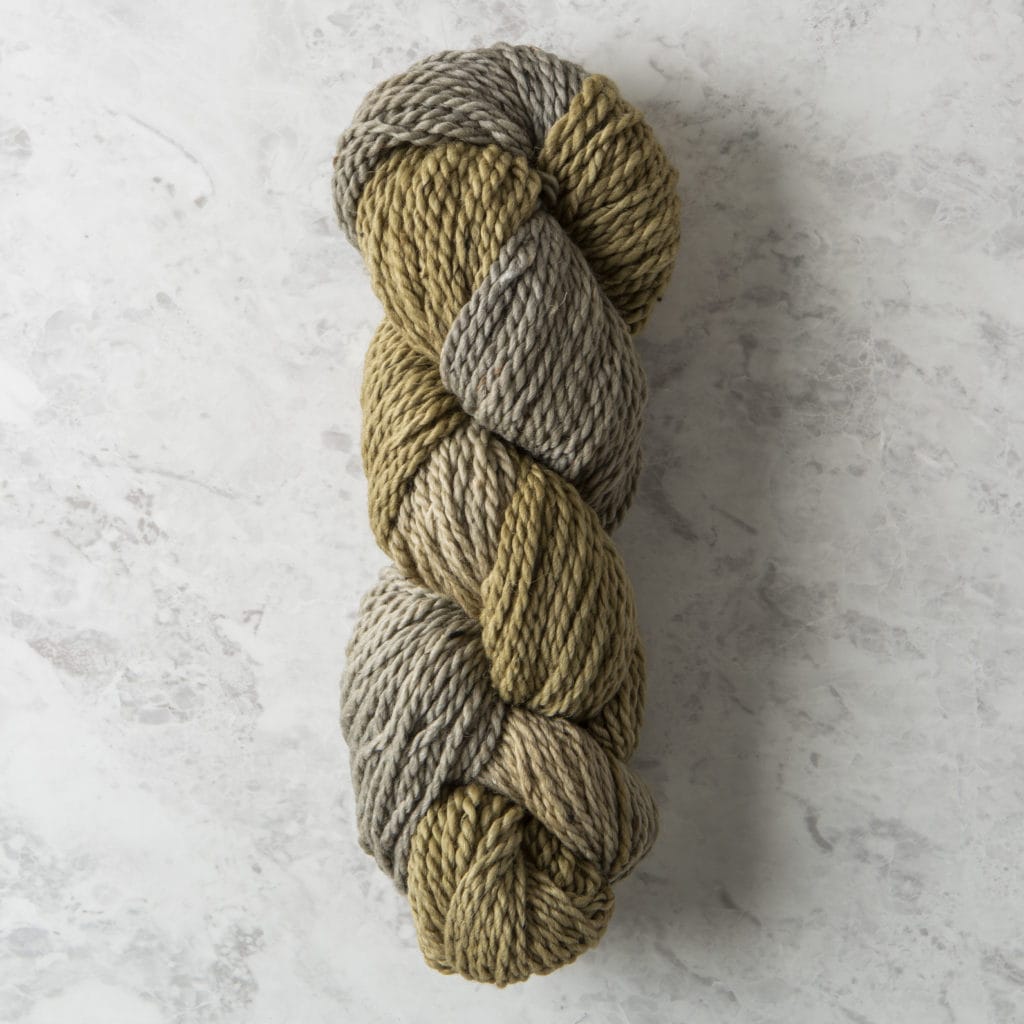
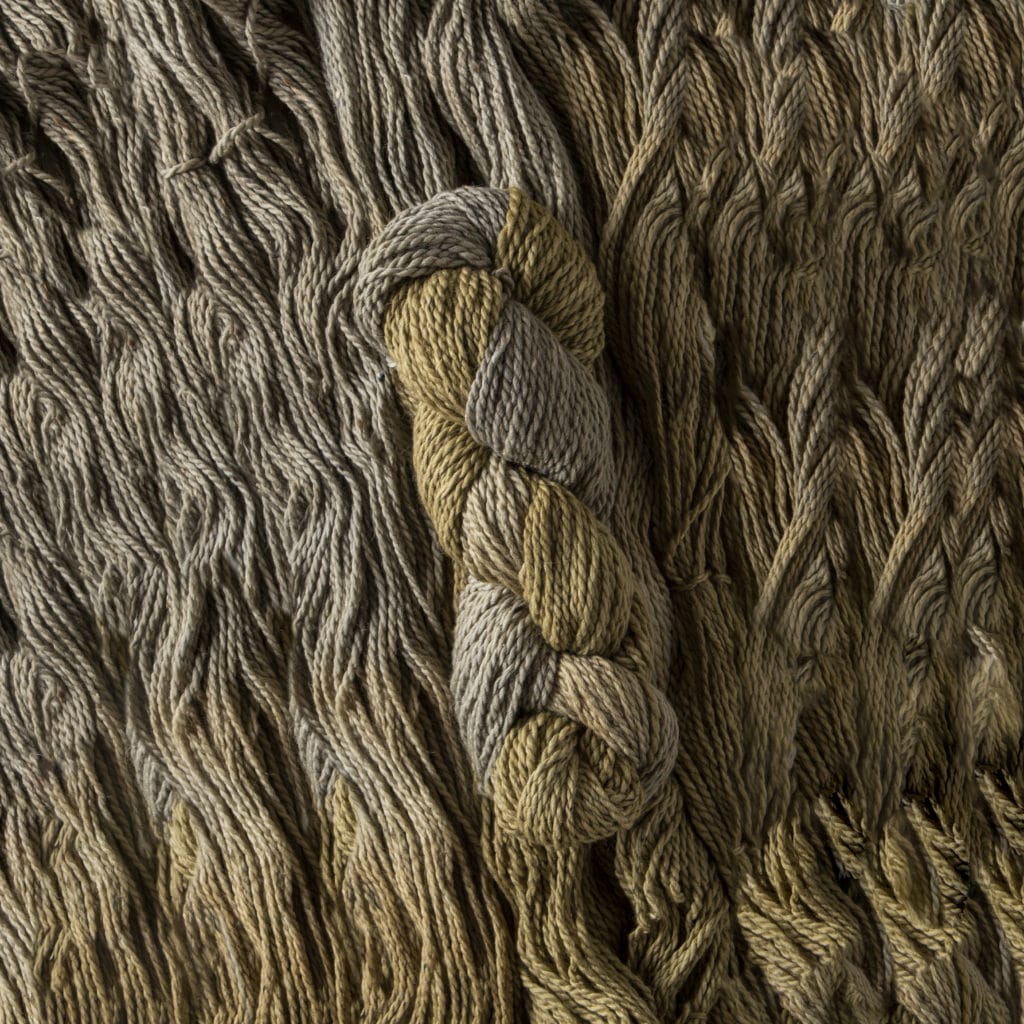
For my second batch, I brought out the Woodland Tweed. This yarn has a more gray undertone compared to the yellow undertones of Muse and Twill. I kept this in mind as I went forward with the next color experiment: mixing dyes. Using my art degree to its fullest, I knew that mixing blue and yellow would give me a green, and on top of the gray undertones of Woodland, I was hoping for a darker moss. The logwood and iron creates a blueish gray, though it stays on the warm side, and I had the osage and madder. I figured by mixing the two I could create some kind of greenish color.
I started out by mixing in a smaller container so I didn’t waste a bunch of water/dye if it didn’t work out. Going back and forth, I would add a bit of osage or madder to bring more saturation and some cutch to try and make it darker/muted. This combination gave me a warm kind of olive color, and at some point I realized I wasn’t going to break the color threshold that I had created. Since the logwood and osage/madder are both warmer tones, it was pretty much impossible to create anything like a forest green. I ended up with more of a warm mossy green, and while it may not have been the most attractive color, I decided I wanted to try it out.

To help and balance it out, I created a two tone with the mossy green on one side and the logwood/iron on the other. It made it more neutral in tone, and added a bit more interest. The end result was alright; it’s not my favorite of my outcomes, but I am happy that I tried achieving a different color that was not originally part of the package.

On the third batch I used the Muse. At this point, I didn’t take any more photos since I didn’t feel like I needed to show the same process. So here’s a giant paragraph to read instead:
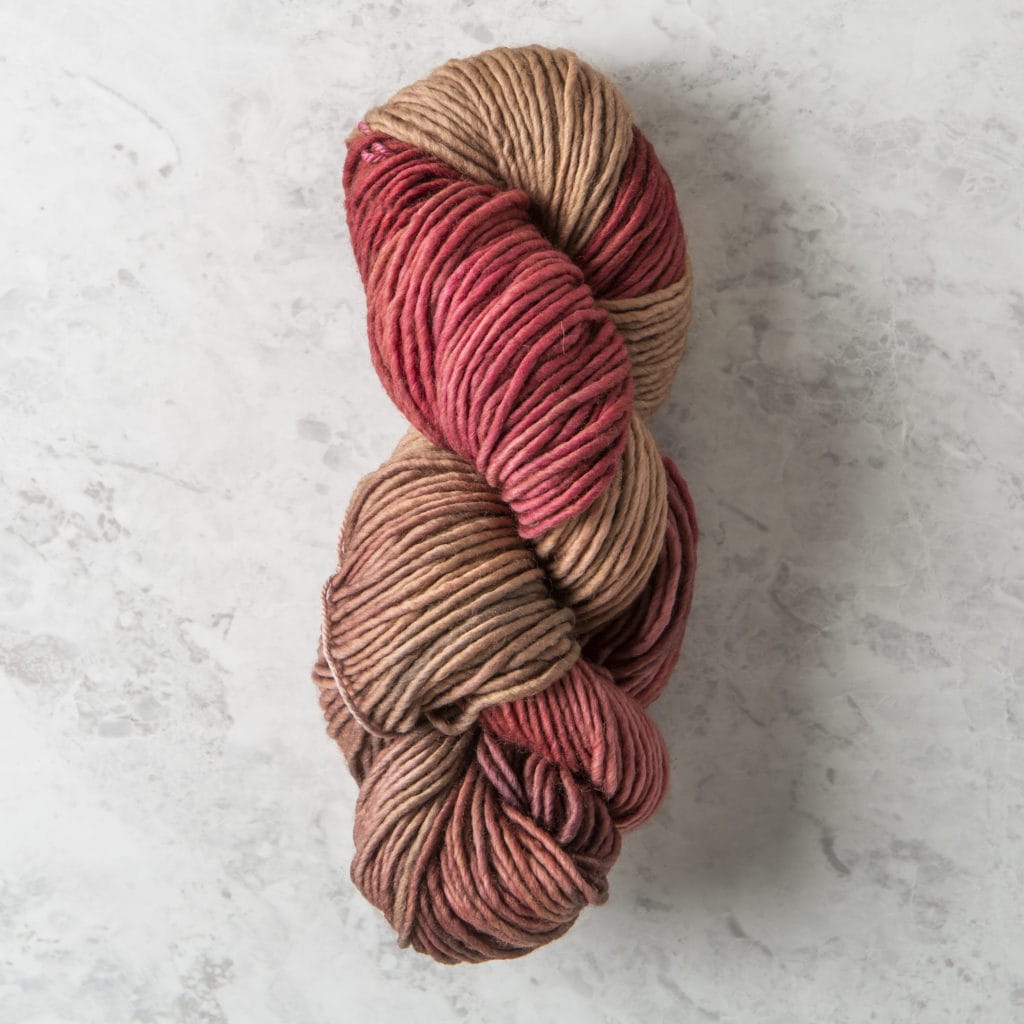
For the Muse I wanted to try a higher saturation of color. Up until now, I had been playing it fairly safe with my ratios and dye amounts, but I needed to see what could be accomplished. I did two different dye sets, a more “Regan” palette with red/brown and a royal set with purple/gold. My previous dye with red (featuring Twill) created a more orange-red, but dipping into the saturation of cochineal, I was able to create a more ruby for the Muse. On the flip side, I used a lighter amount of cutch to make a warm brown. I had actually used some logwood/iron to try and create a more gray brown, but the dye seemed to separate and clump together. In the end result, there are just some patches of almost black where the logwood/iron clung onto.
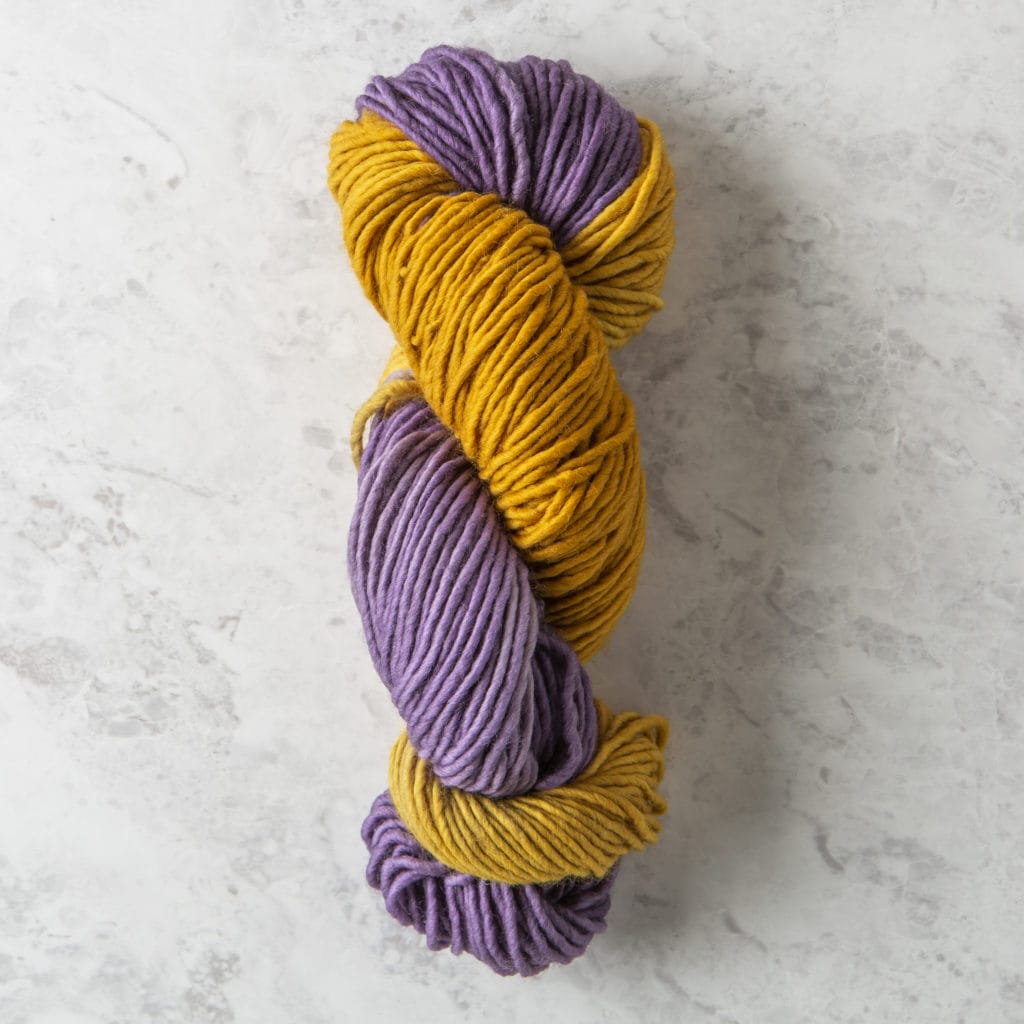
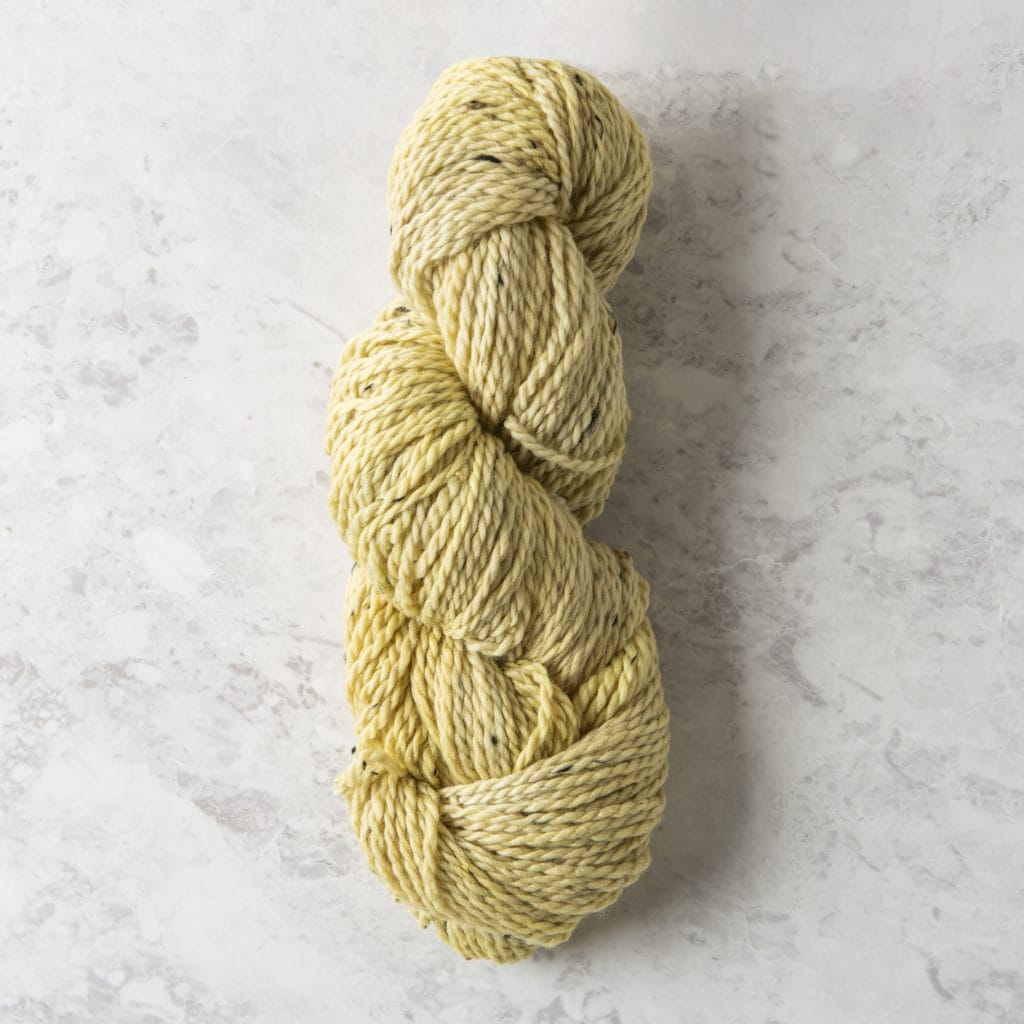
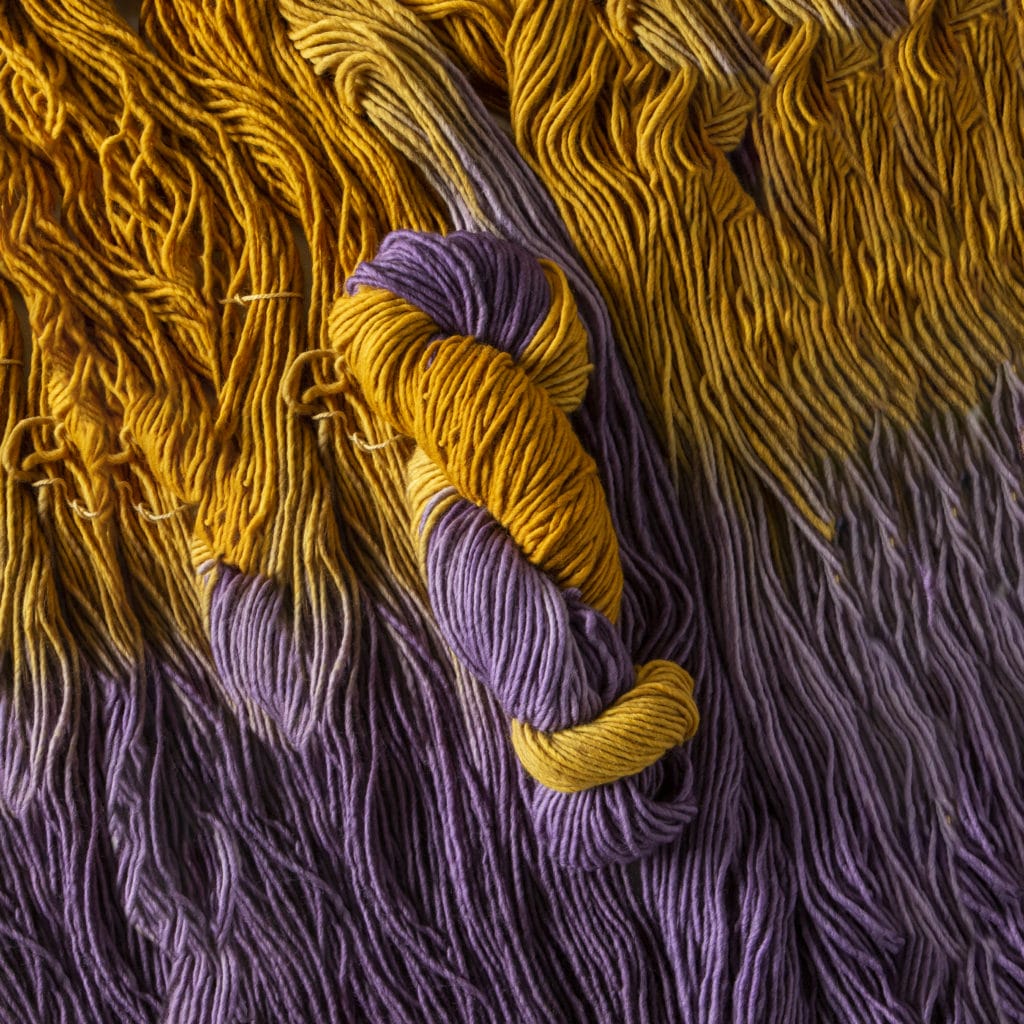
For the purple and gold, I stepped out of my usual color comfort. My whole journey I was adding iron to the logwood to create that gray color, but this time I used just the logwood and some alum to make the rich purple. And then I didn’t want just a yellow, I wanted a gold. Balancing out the osage and madder with a hint of cutch, I was able to finish off with a lovely marigold-esque vibrancy.
To finish this all off, I used the last of my Woodland Tweed (three skeins) and soaked up the leftover dyes from the cochineal, logwood, and osage. With that, all 18 skeins were dyed and drying.
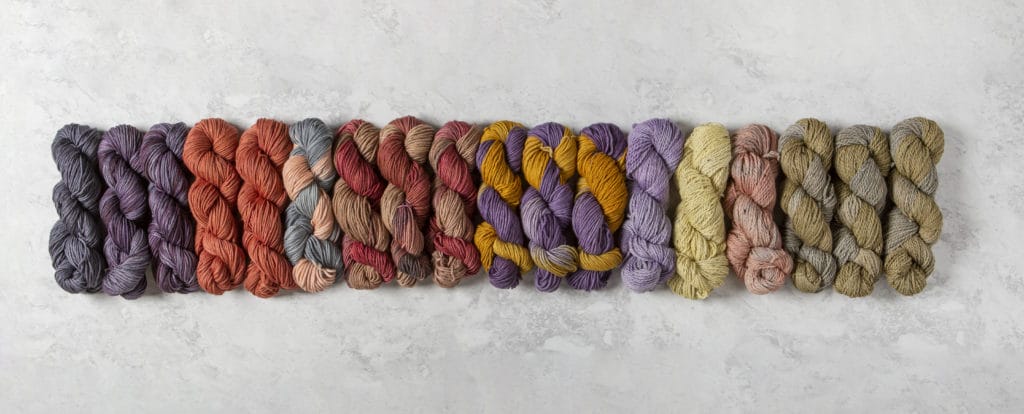
Left to right:
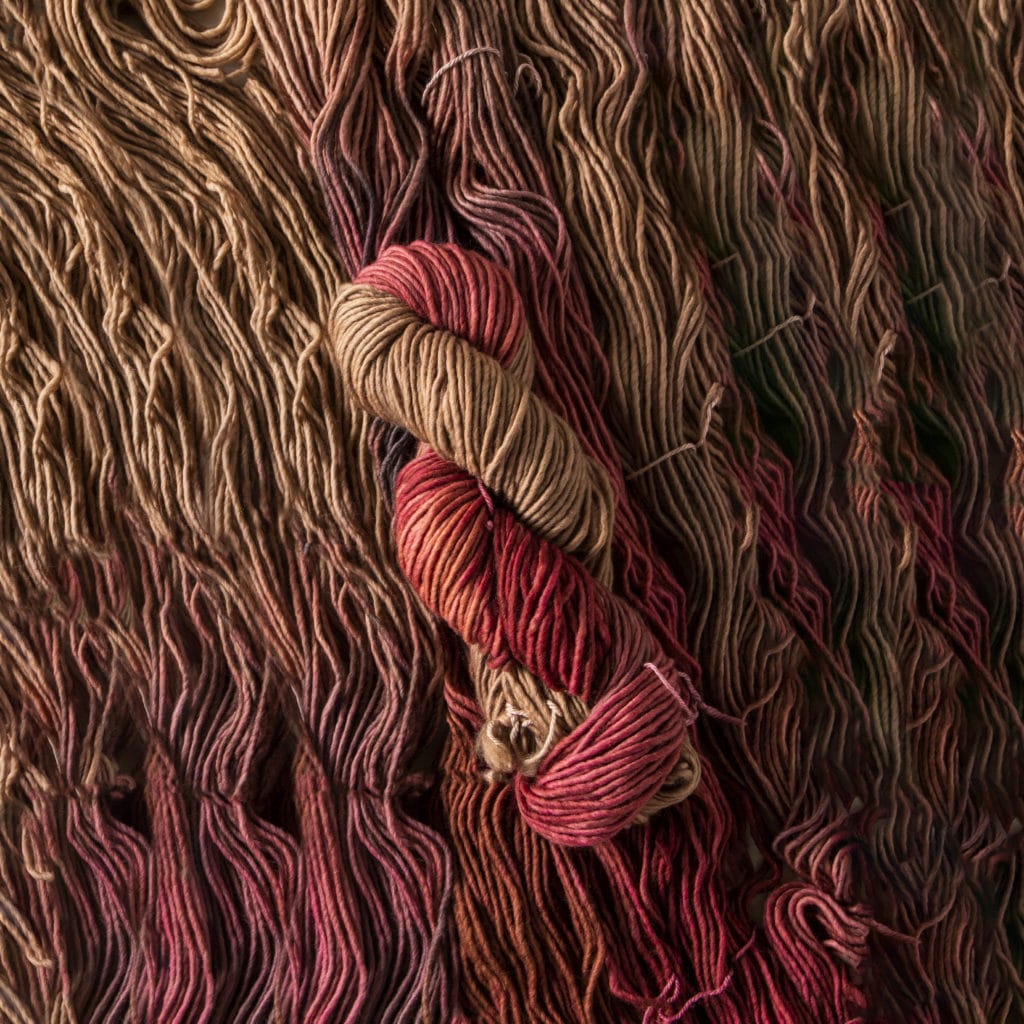
Twill Logwood-Iron // Cochineal overdyed with Logwood // Cochineal conconction // Leftover dye from logwood and cochineal concoction Muse Cochineal and Cutch two toned // Osage and Logwood two toned Woodland Tweed Logwood leftover dye // Osage leftover dye // Cochineal leftover dye // Logwood-Iron and Logwood-Iron-Osage two toned
Looking at them all next to each other, I’m amazed by the amount of color variation I was able to achieve with only five natural pigments. At first, 18 skeins looks and sounds overwhelming, but there are so many possible colors; I didn’t have enough yarn to do everything I wanted!

cochineal-cutch // osage-logwood // logwood-osage + logwood-iron
My final thoughts are that dyeing yarn is extremely fun, especially if you like playing with color. The real beauty of it is that I was able to cater my yarn and color choices to my specific preferences. Obviously for this adventure I was trying to get a wider range of color variation, but I think if I were to do it again, I’d stick to my usual autumn color palette.

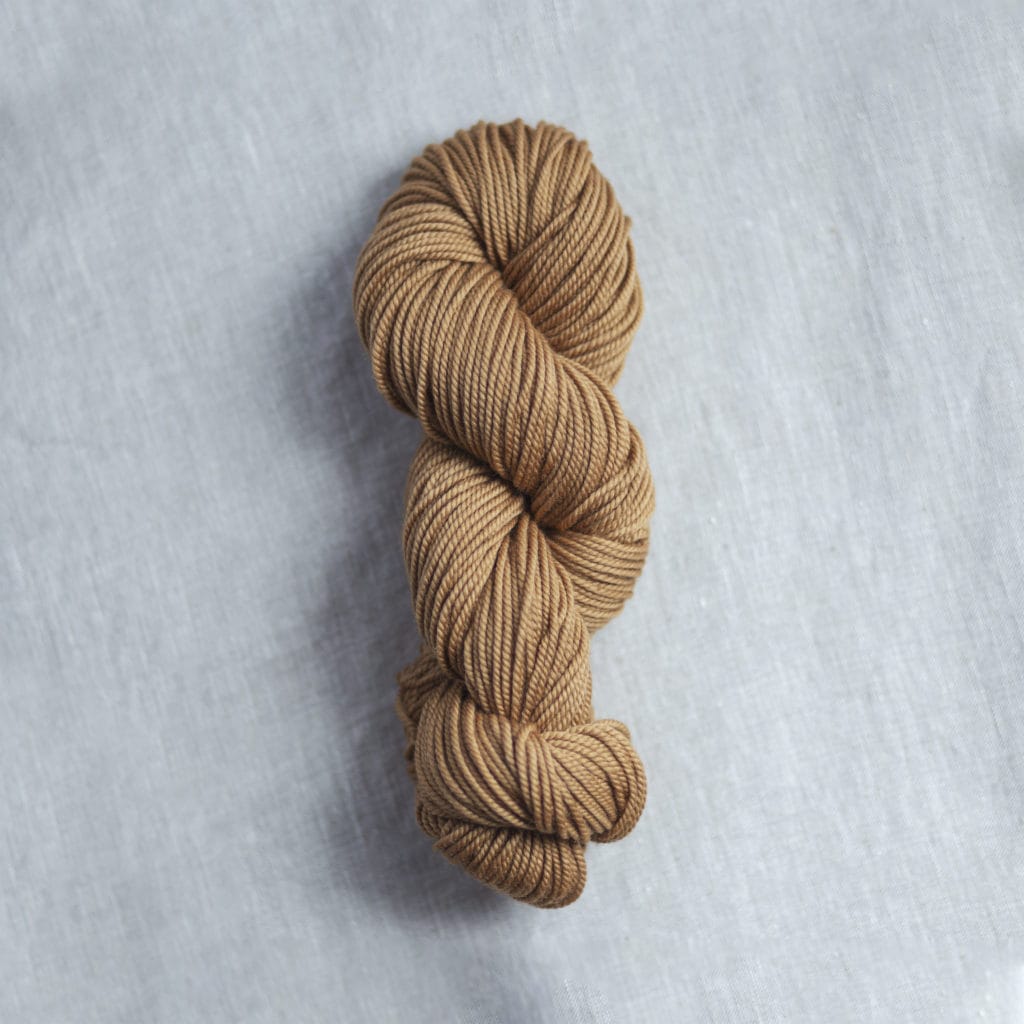
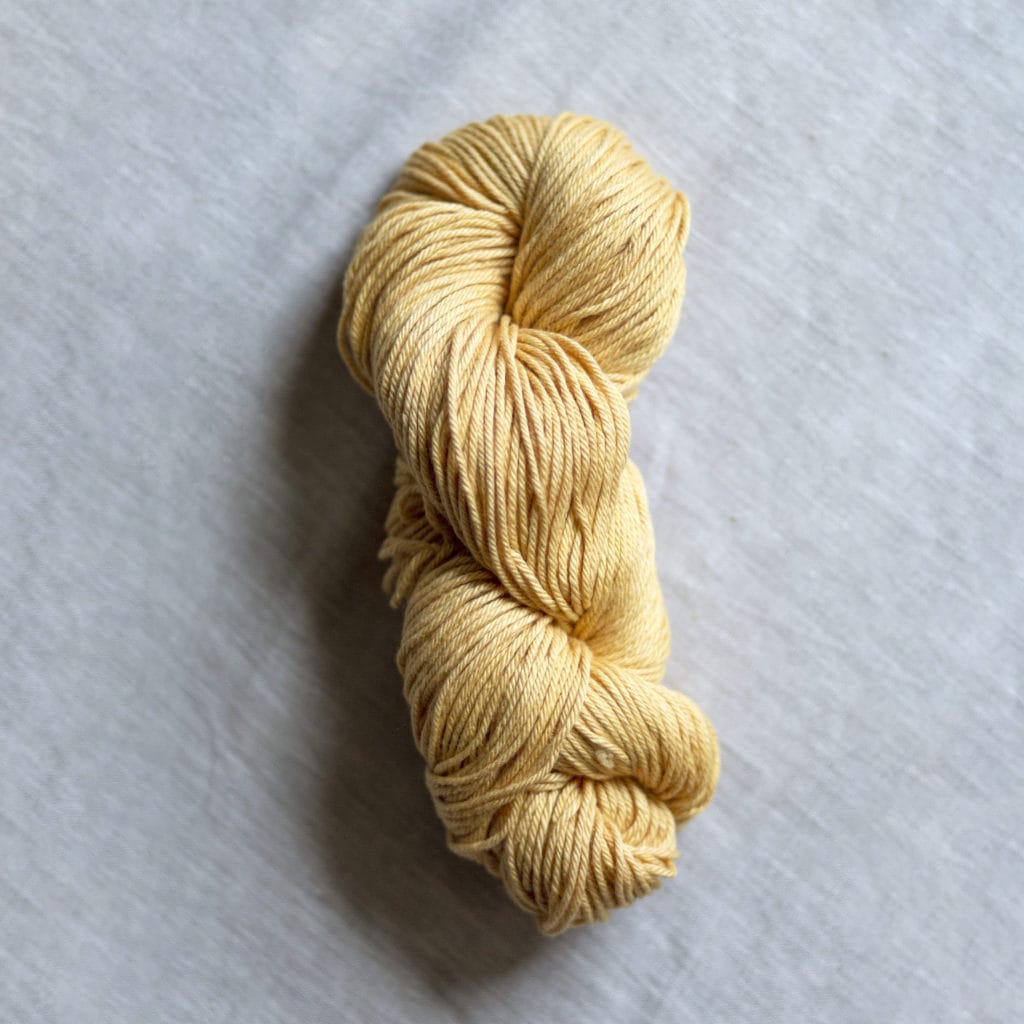
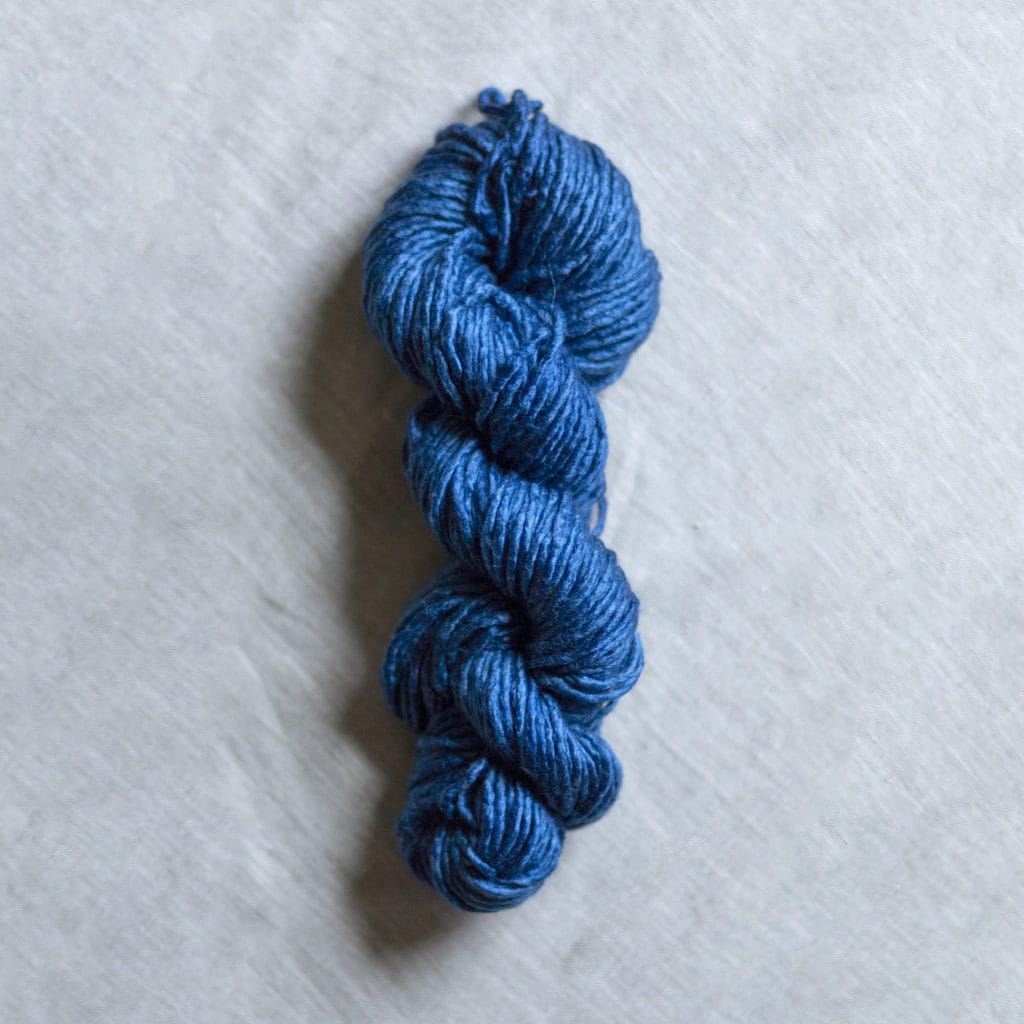
coffee // onion // indigo
As a little extra bit, here are a few natural dyes I’ve done on my own. On the left is a skein I dyed using coffee. It was a pretty easy and straightforward dyeing process, and the result was pretty much expected. The middle came from the onion skins of about five or six sweet yellow onions. I expected to get a yellow color, but I was not ready for the intensity that I achieved (much more saturated in person). Finally, we had an office dye-day here at Knit Picks using indigo! The last photo is the skein I used for the fun, and is the result of a couple dunks into the indigo vat.
I definitely think natural dyeing is fascinating, and I look forward to seeing what colors I can get from things just in arms length. And hopefully you’ve had fun seeing my process. It’s a lot easier than one might think, so if you’ve been feeling hesitant about it, I say go for it. If I can do it, so can you!
