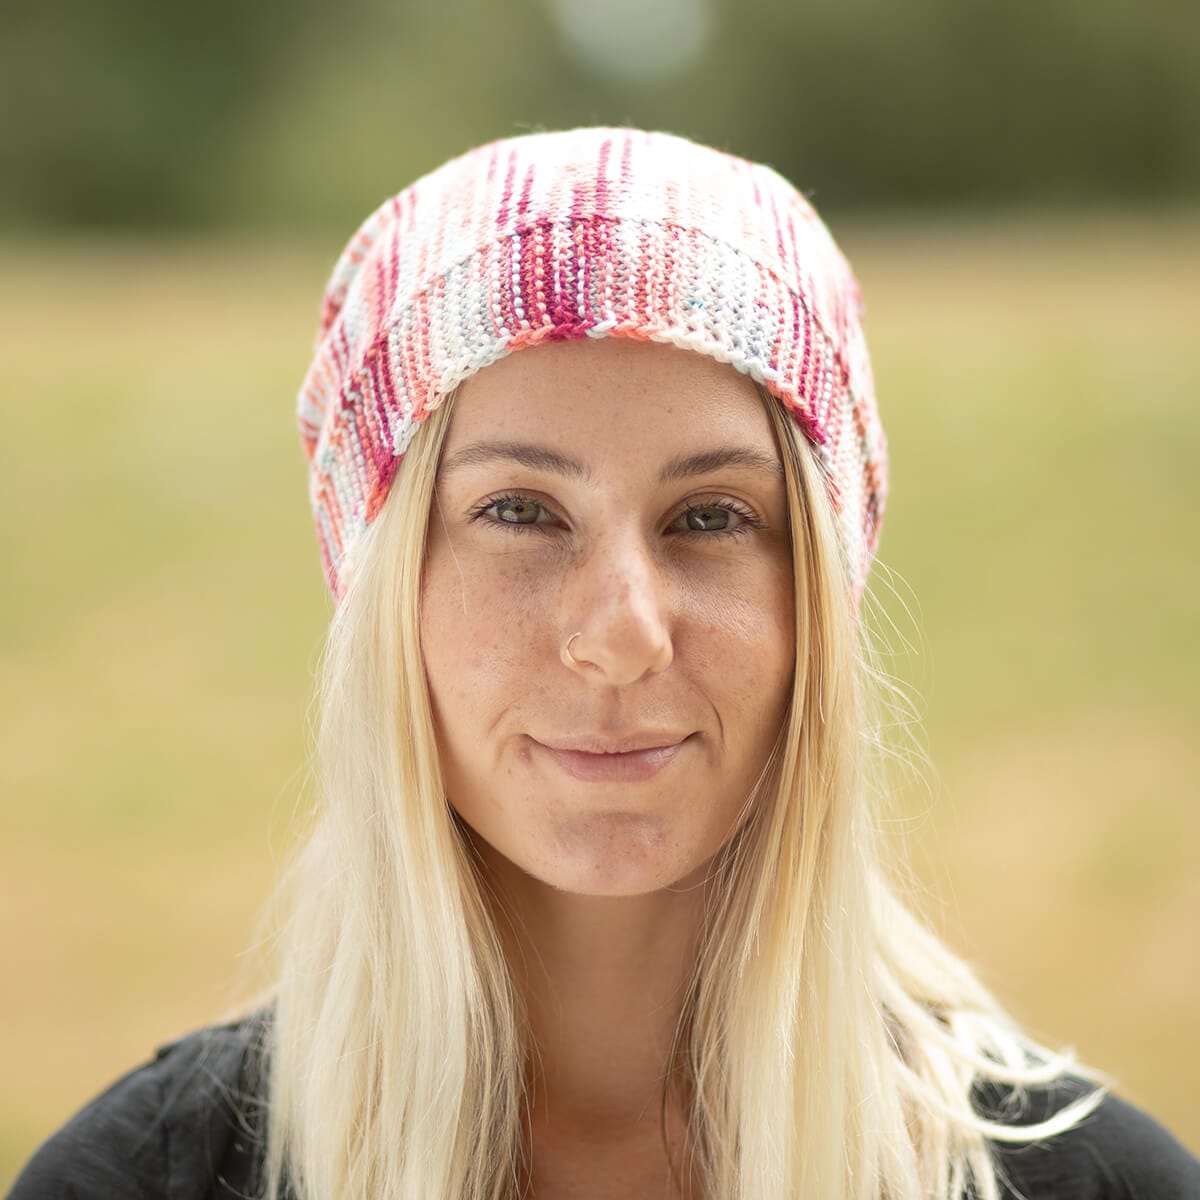


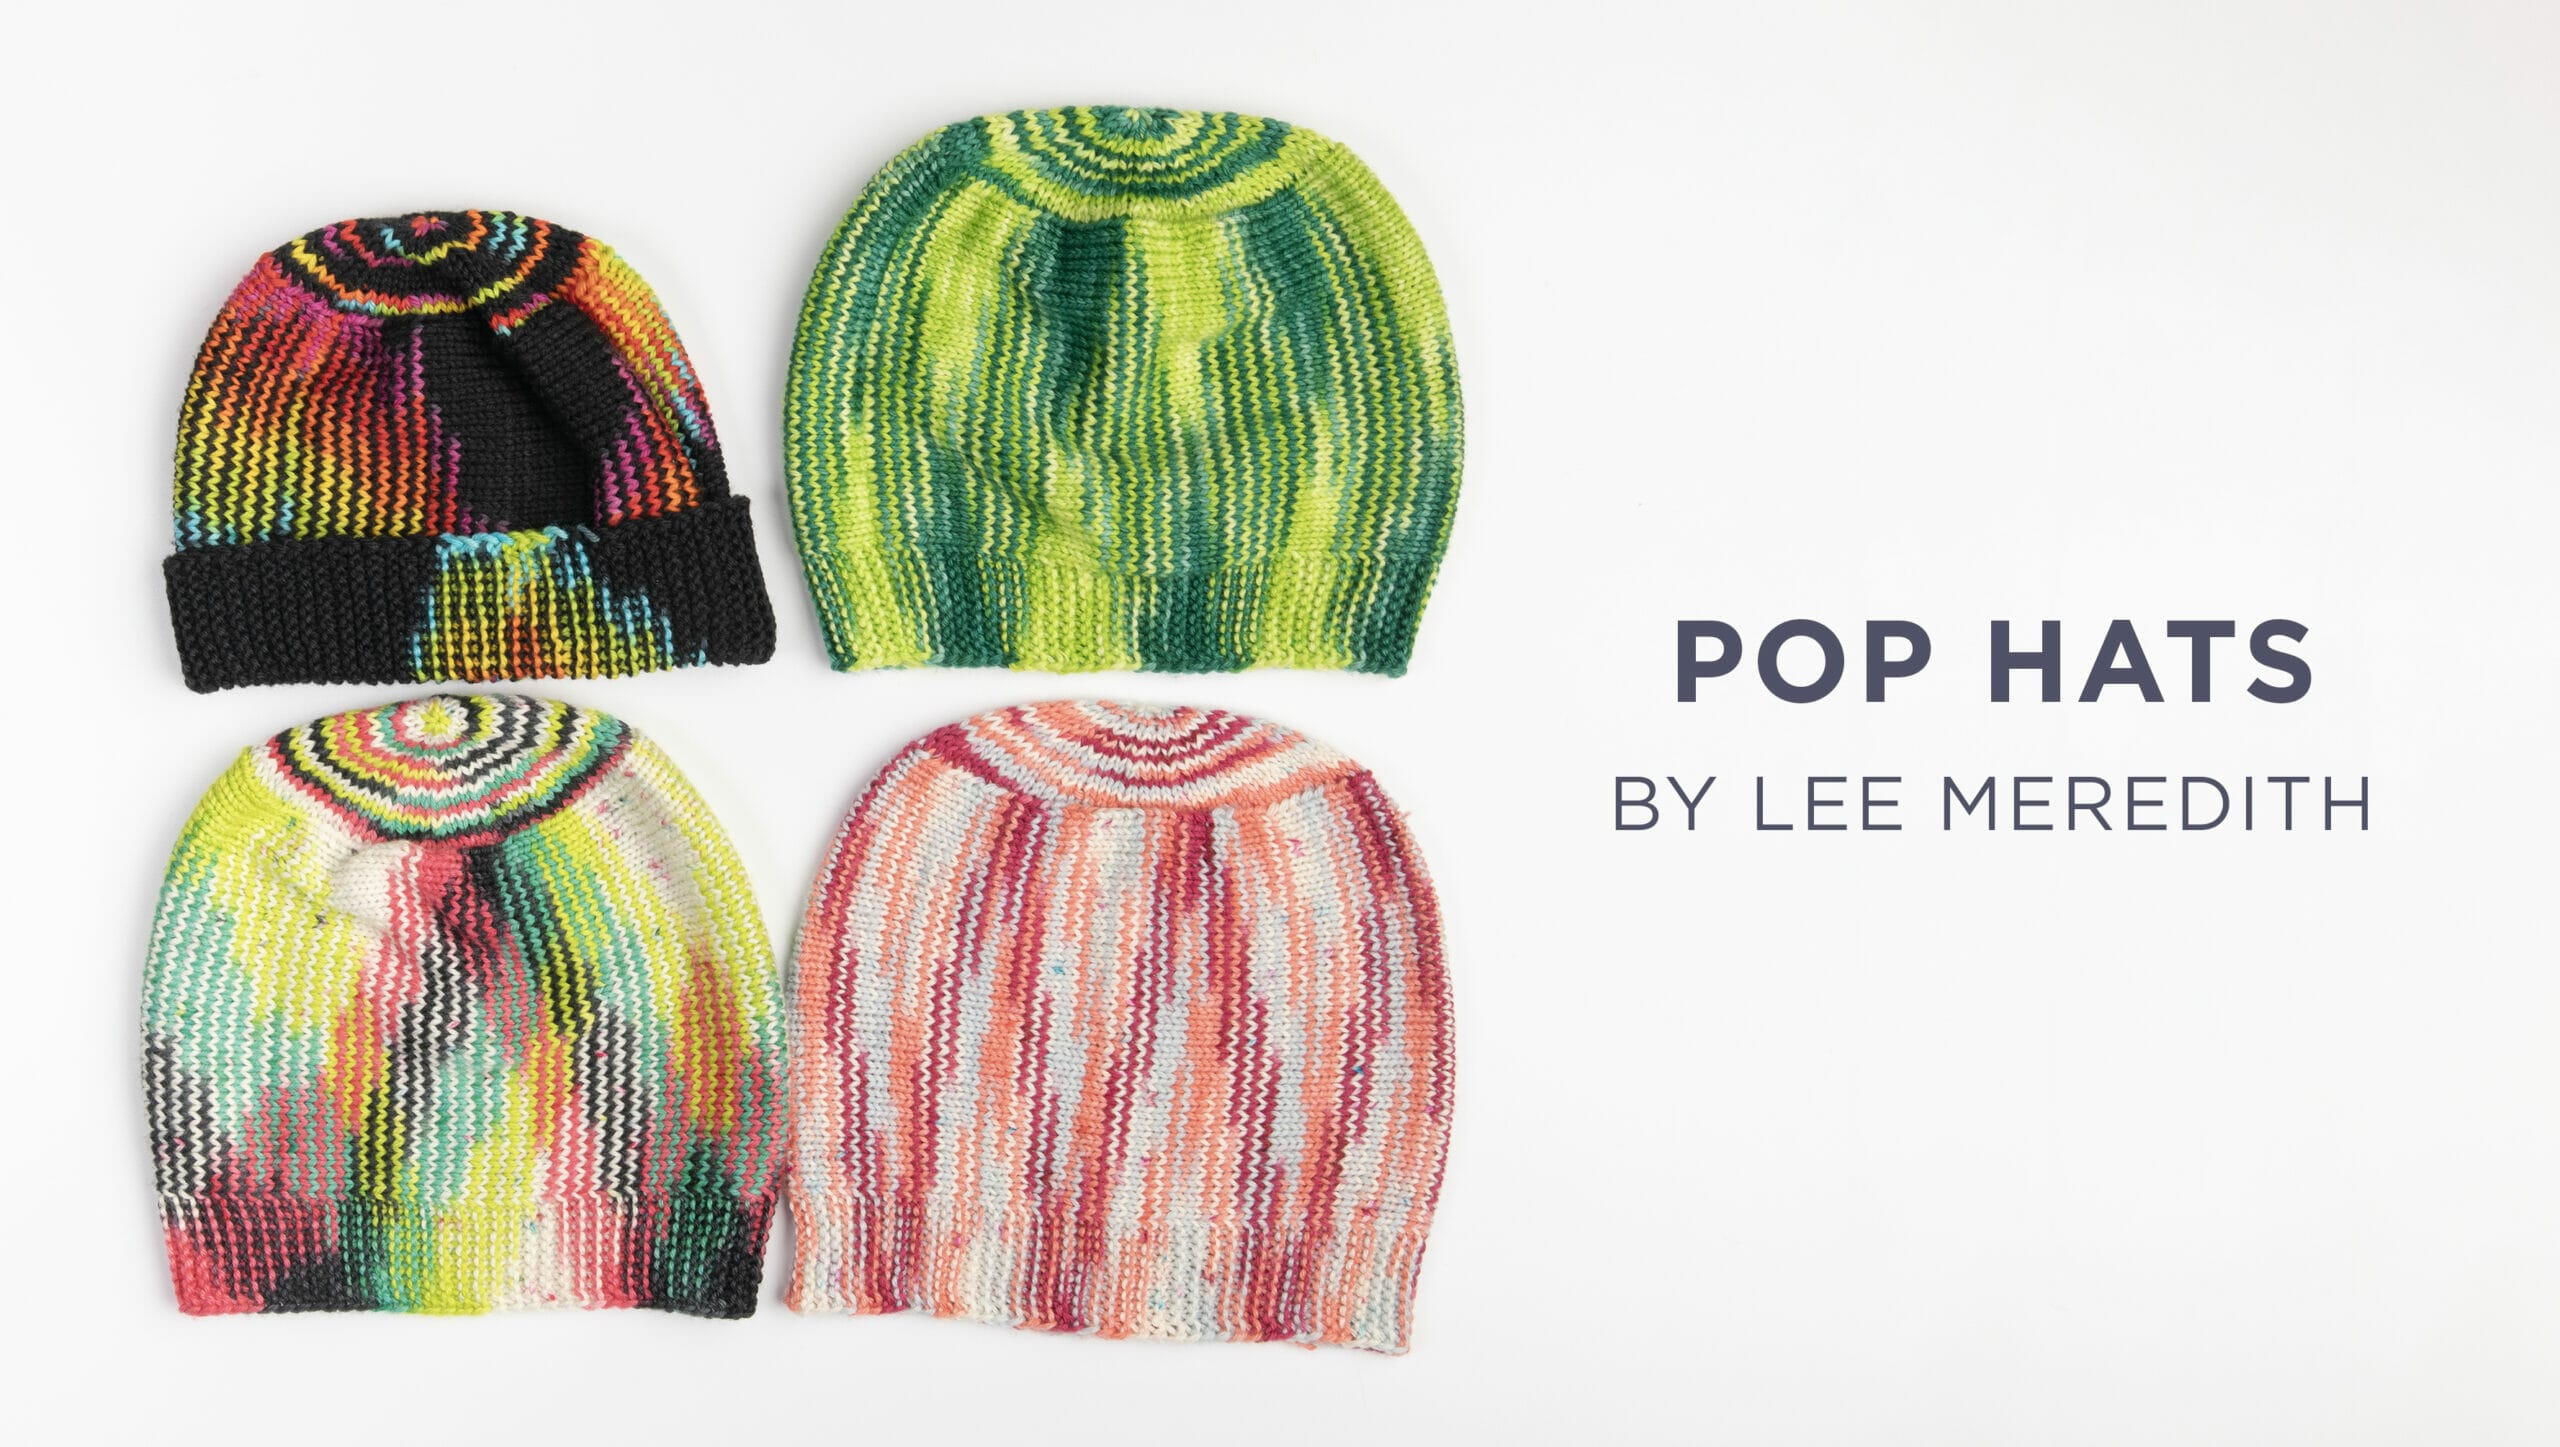
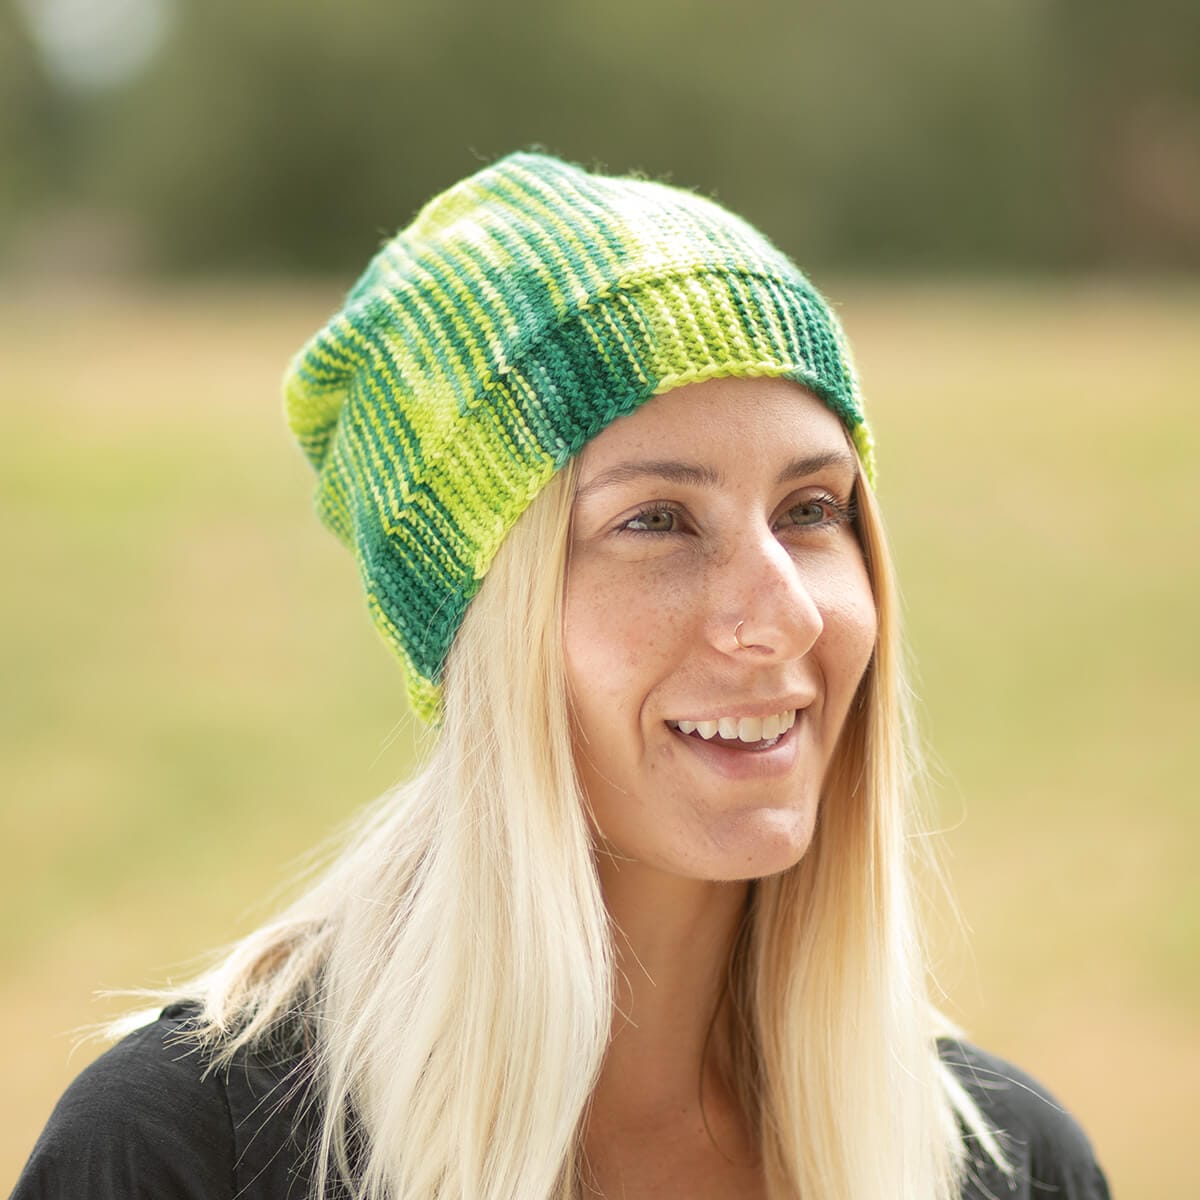
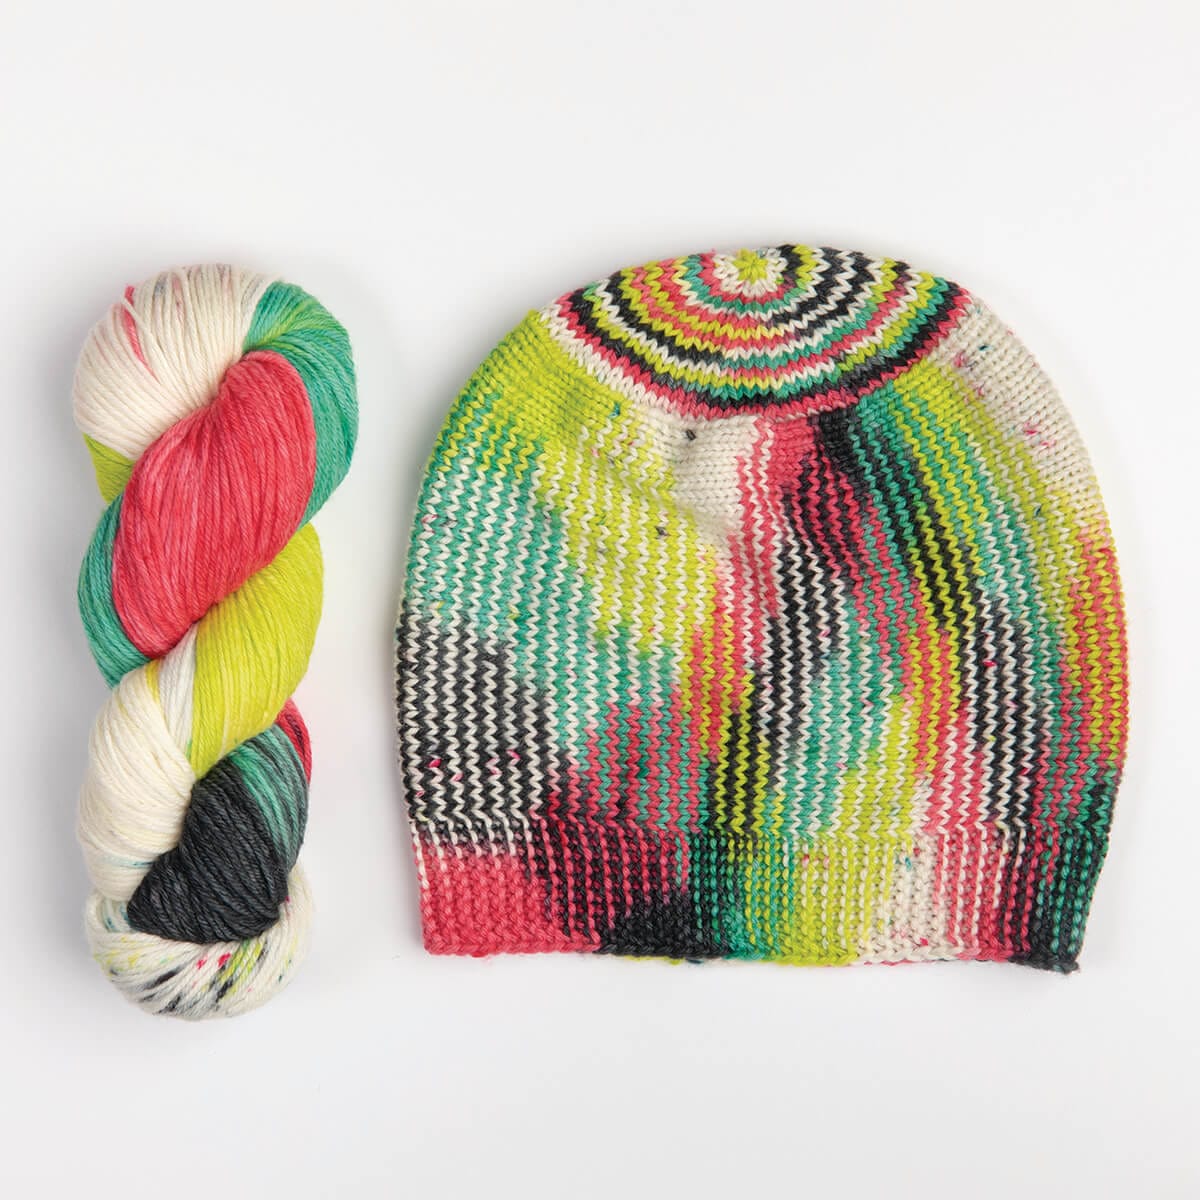
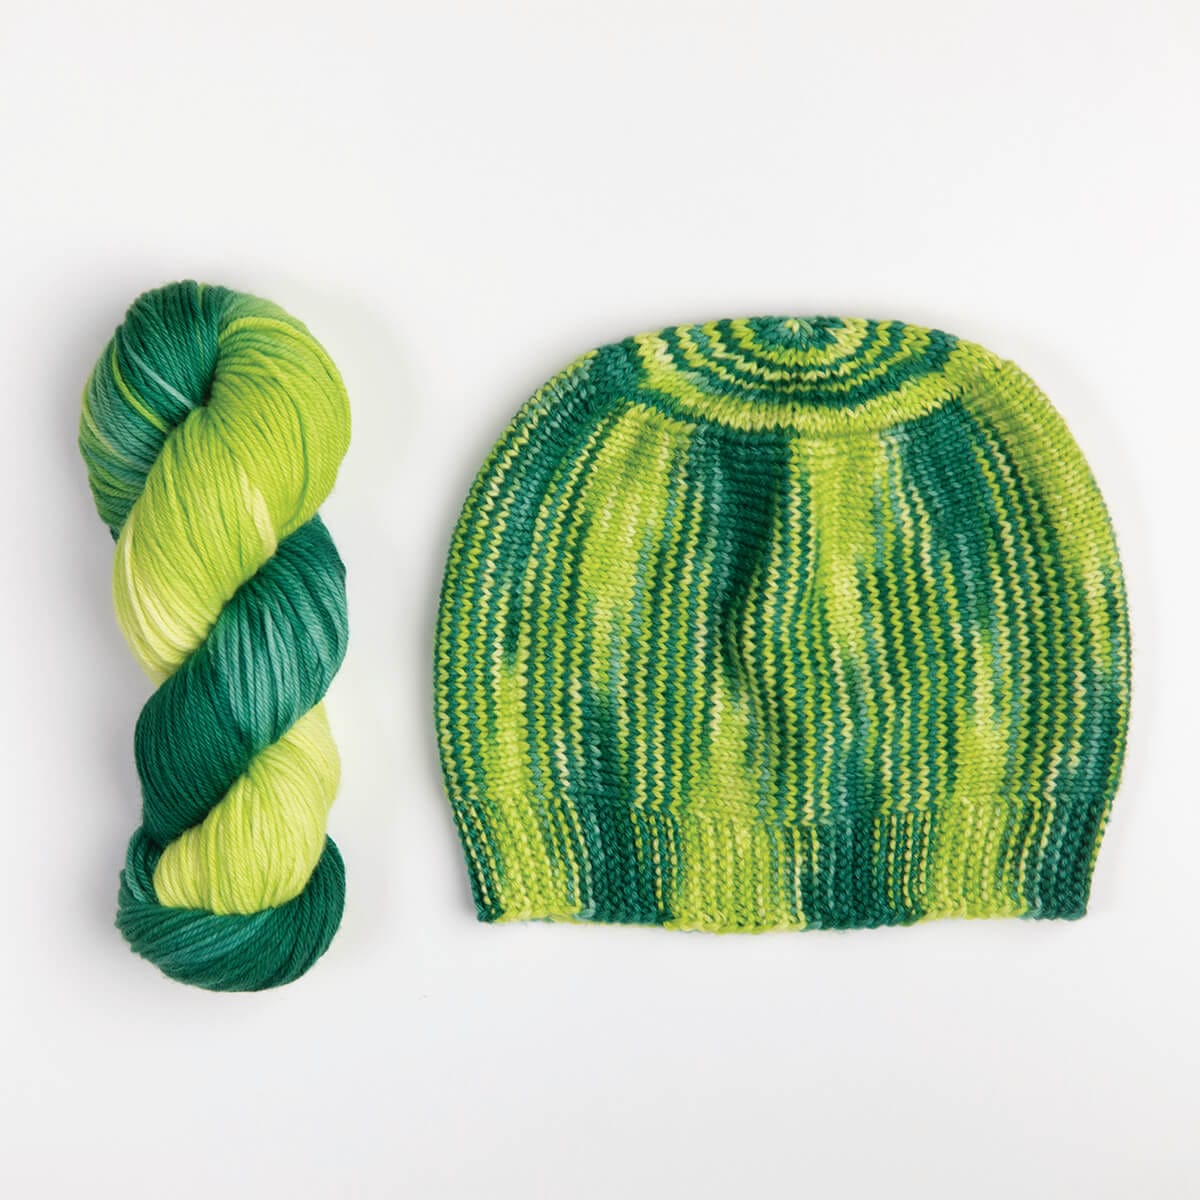
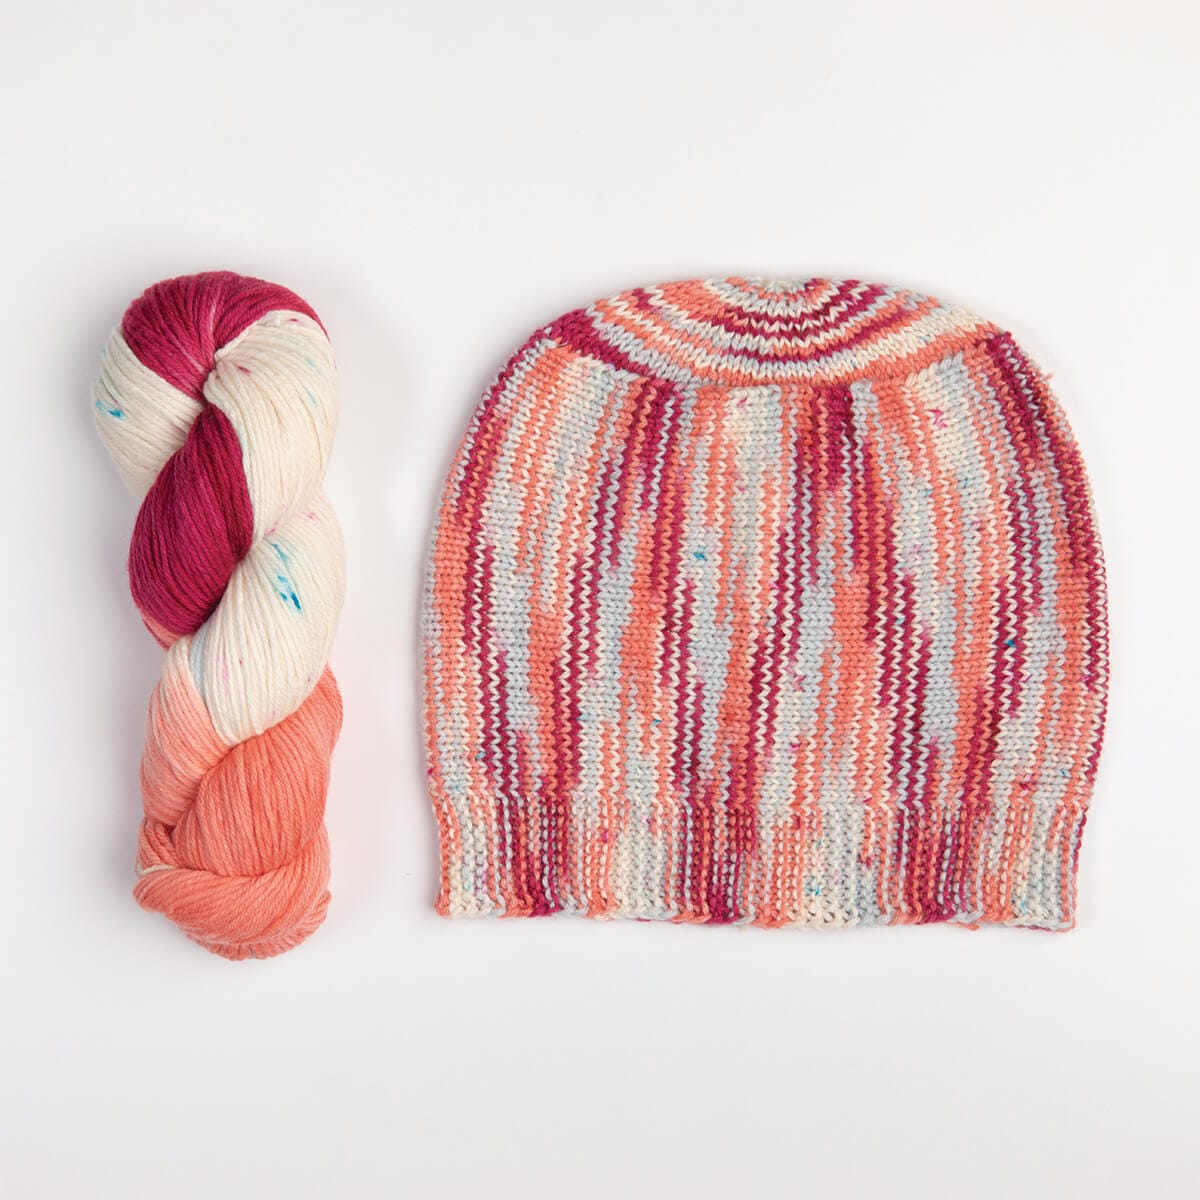
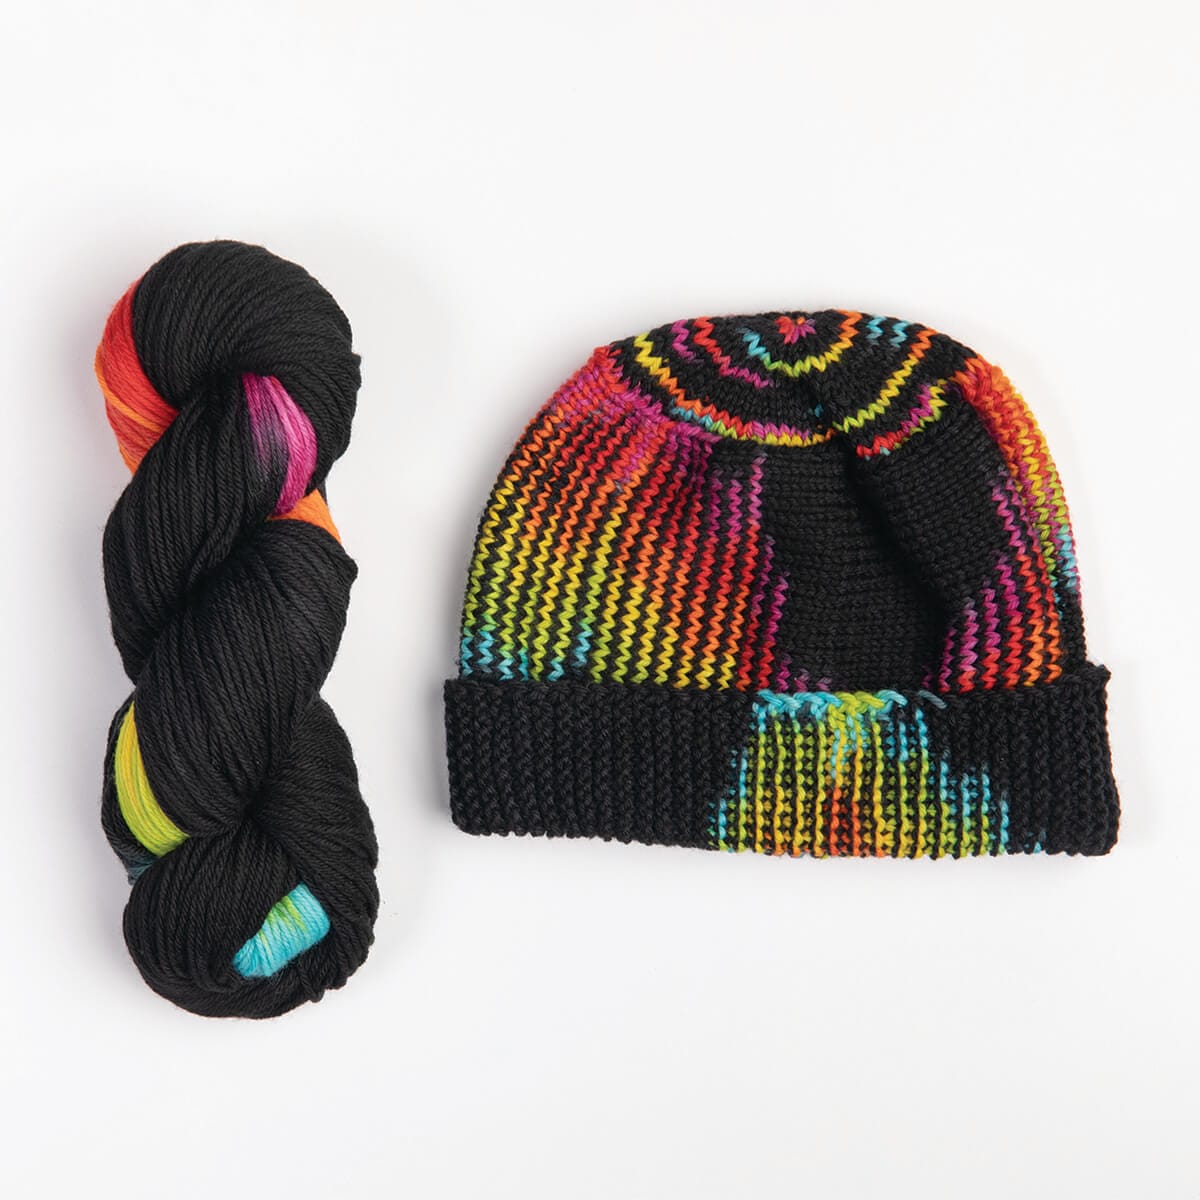
Make the most of Swish Pops’ many colors in this planned pooling hat! Planned pooling means working the yarn at a gauge and stitch count that causes the colors to line up with each other in an intentional-looking pattern. Depending on the colorway used and the exact gauge, this may be a wavy design, or it may resemble argyle or plaid, or it may be more of a color-block abstract painting kind of vibe. There’s no way to know what you’ll get until you start knitting!

The best way to test gauge is to cast on for the pattern and work as written, then check how the pooling is looking after an inch or two. With most Swish Pops colorways, the same color should land close to the same spot on every other row. If the pooling is looking great, then whether or not you matched the gauge given does not matter, as long as you like your fabric. If the pooling isn’t happening, measure your gauge, adjust the needle size, and try again. You may also choose to adjust the number of stitches to control pooling, if you don’t mind the hat being a bit shorter or taller.

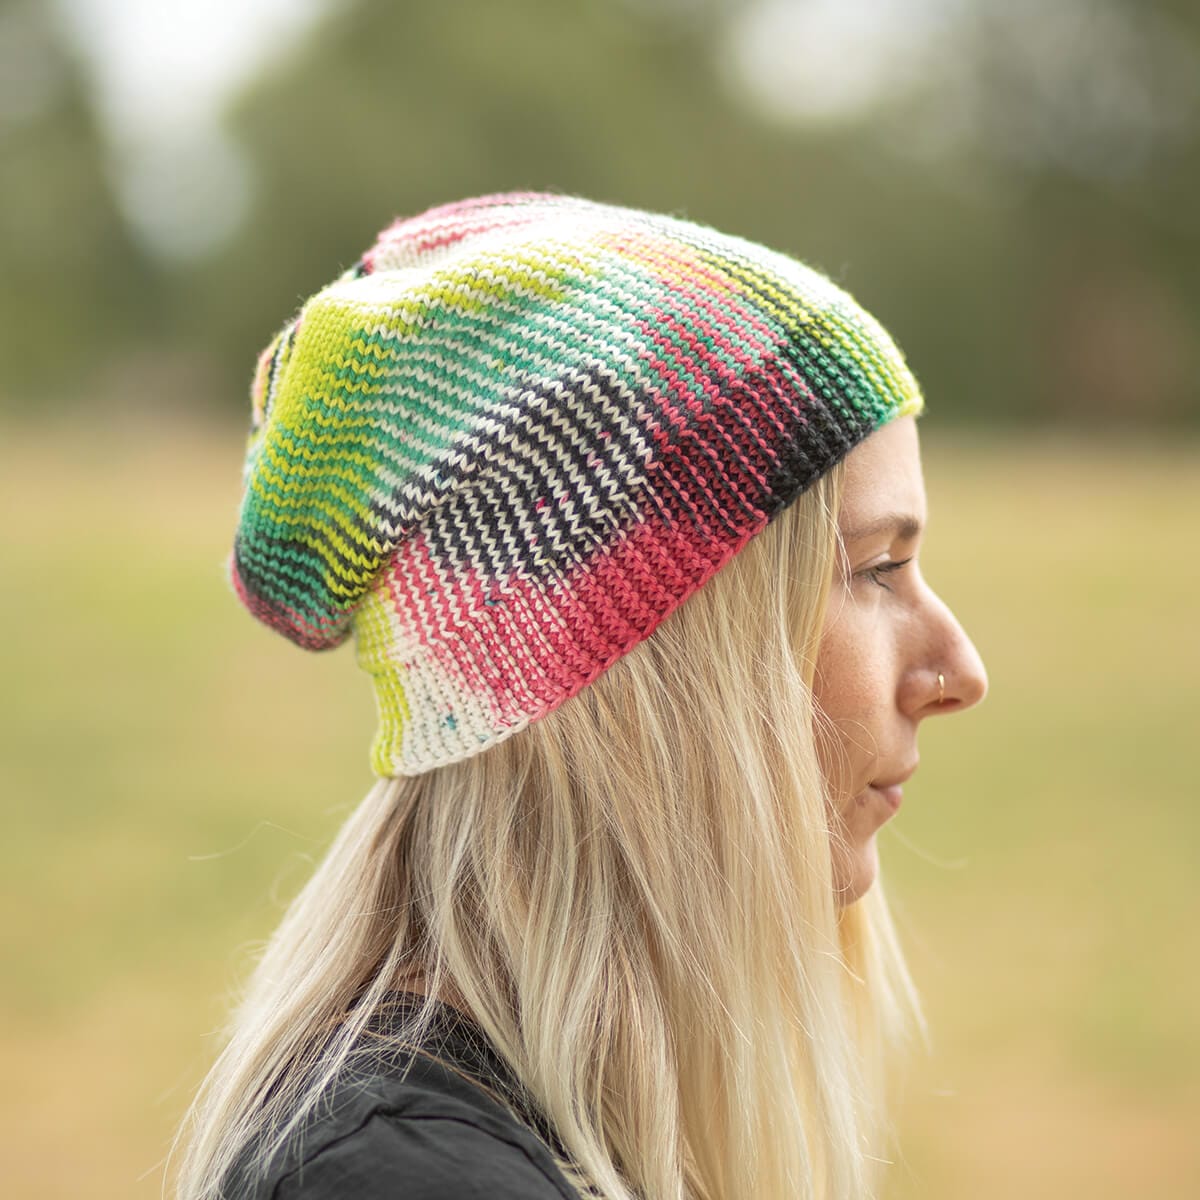
The body of the hat is worked flat, sideways, with a Garter Stitch brim. Multiple options are given for joining the cast on edge to the bind off edge before working the crown in the round: a Mattress Stitch seam, a 3-Needle Bind Off, or grafting with Kitchener Stitch. Choose whichever you’re comfortable with; they’ll all result in a great finished hat
Pattern Details
Finished Measurements
19 (21, 23)” circumference x 10″ height, to fit head circumference 20 (22, 24)” with 1″ negative ease
Yarn
Swish™ Pops (DK weight, 100% Fine Superwash Merino Wool; 246 yards/100g): Dreamwave 61090 or Techno 61099 or Lo-Fi 61096 or Glam Rock 61094, 1 hank
Needles
US 6 (4mm) straight or circular needles (any length), and DPNs or two circular needles for two circulars technique or 32″ or longer circular needles for Magic Loop technique, or size to obtain gauge
Notions
Yarn Needle
Stitch Marker
(Optional) Extra Needle for 3-Needle Bind Off or grafting
(Optional) Crochet Hook and Scrap Yarn for Provisional Cast On
Gauge
20 sts and 27 rows = 4″ in Stockinette Stitch, blocked without stretching
(see notes above)
- CO – Cast on
- BO – Bind off
- K – Knit
- P – Purl
- M – Marker
- PM – Place marker
- SM – Slip marker
- Sl – Slip
- WYIF – With yarn in front
- K2tog – Knit two together
- RS – Right side
- WS – Wrong side
- Sts – Stitches
- RND – Round
- DPNs – Double Pointed Needles
Modification Option
If you’d like a wider brim that can fold up, extend the Garter Stitch segment by working fewer stitches before placing the marker on the Setup Row. For example, P27, PM, K15 for a 15-stitch brim.
Directions

CO 42 sts using a provisional cast on method, or a standard cast on method if you prefer to sew the seam—if using a standard method or if planning to graft, leave a tail approx 45″ long.
Setup Row (WS): P32, PM, K10.
Row 1 (RS): Sl1 WYIF, K to end.
Row 2 (WS): Sl1 WYIF, P to M, SM, K to end.
Rep Rows 1–2 until piece measures 19 (21, 23)”, measured on St st section lying flat, or fits around head comfortably.
If planning to join edges tog with a 3-Needle Bind Off, stop after Row 2 (WS); otherwise, work Row 1 (RS) once more.
If a provisional cast on method was used, transfer provisional sts onto a spare needle. Join CO sts with live edge sts using choice of grafting or a 3-Needle Bind Off as follows.
If grafting, use long tail to graft with Kitchener Stitch from top edge to bottom (Garter Stitch brim), leaving working yarn unbroken at top. Cont to Crown.
If using a 3-Needle Bind Off, use working yarn to seam from bottom (Garter Stitch brim) to top, then do not break yarn and treat remaining live st as first st of Crown section. Cont to Crown.
If a standard cast on method was used, BO all sts on RS row. Do not break yarn; place remaining live st from ending BO onto locking M or safety pin to hold. Use long CO tail to seam CO edge and BO edge tog using Mattress Stitch. Place live st back onto needle and treat as first st of Crown section.
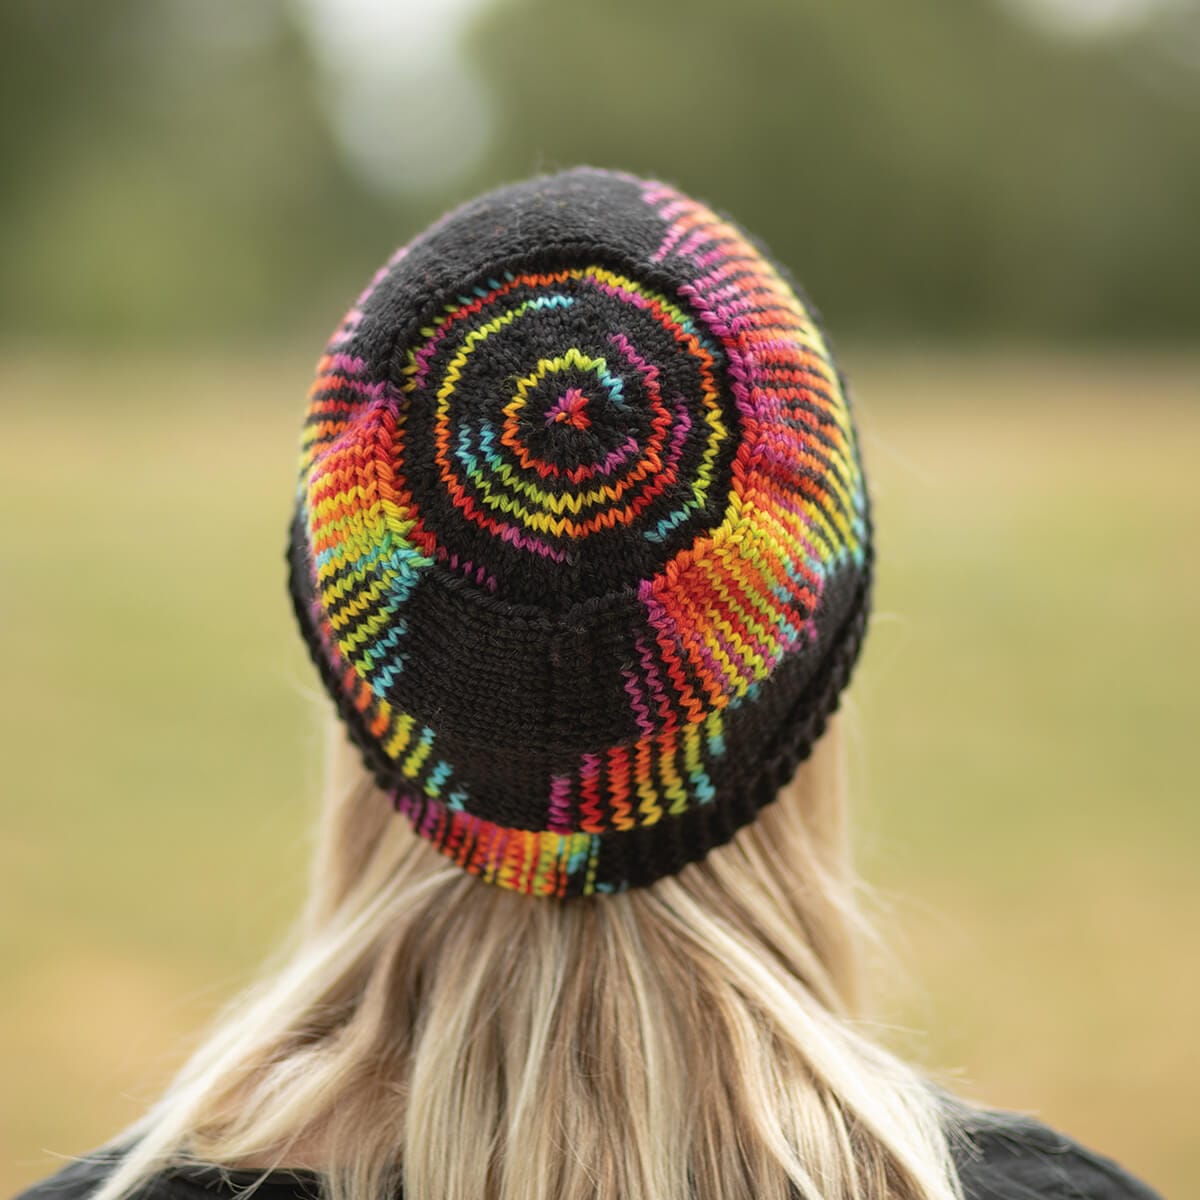
Crown
Switch to DPNs if using (or use Magic Loop method or two circulars).
PU sts around top edge, picking up 1 st into each slipped selvage st (1 st for every two rows). St count varies by size and exact row gauge. Join to work in the rnd; PM for BOR.
Setup Rnd: K all.
Count sts. Check how many sts need to be decreased in order to have a multiple of 5 sts.
Rnd 1: K all, working K2tog 0-4 times evenly around to result in a multiple of 5 sts.
Rnd 2: K all.
Rnd 3: (K3, K2tog) to end.
Rnds 4–6: K all.
Rnd 7: (K2, K2tog) to end.
Rnds 8–9: K all.
Rnd 10: (K1, K2tog) to end.
Rnds 11–12: K all.
Rnd 13: (K2tog) to end.
If st count is now 12 sts or fewer, skip the last two rnds.
Rnd 14: K all.
Rnd 15: (K2tog) to end.
Break yarn, thread through live sts, pull closed and tie securely.
Finishing
Weave in ends. Wash and block by lying flat (avoiding creases by readjusting position every few hours) or letting dry over a balloon or foam head.