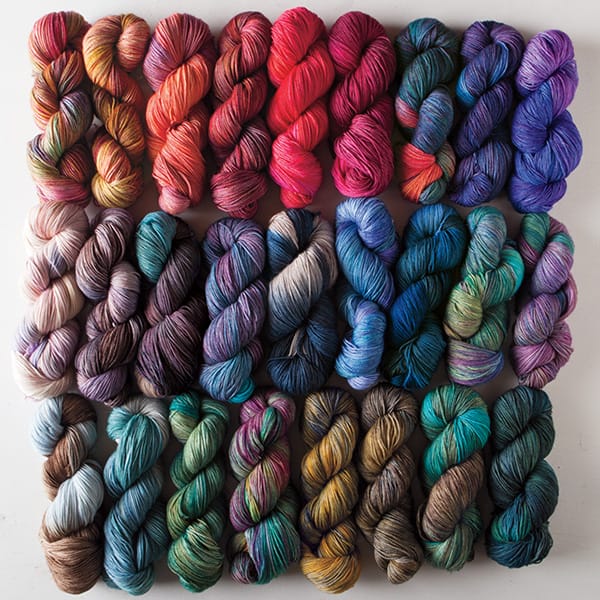
I adore Hawthorne.
I’ve worked with all of the lines (Multi, Kettle, Speckle, and our new Tonal) and I just love all of the finished projects. Since I’ve been using it in so many projects, I thought I’d reshare some of tips & tricks for working with what can be a challenging yarn to some people – Hawthorne Multi. While Tonal, Kettle, and Speckle will look great in most patterns, the colorful Multi can be an adventure to find the perfect project.
Hawthorne Multi is an even more interesting hand painted yarn than others you may have seen and used – it’s actually hand dyed in two stages, the first is tonal and the second multi-hued, to create a beautiful painterly effect with a bright pop of color. This yarn is all completely hand dyed – so each skein can be unique with awesome variations. They are lovely to look at – as well as to knit or crochet with. This is the Vancouver colorway all skeined up.
Pooling is the nemesis of many fans of hand painted yarns. This is where a color will stack up, creating a blotches in your project. Here’s an example with the Vancouver colorway again knitted up (and taken with my camera) – this swatch is 64 stitches across, knitted back & forth at 8 stitches per inch.
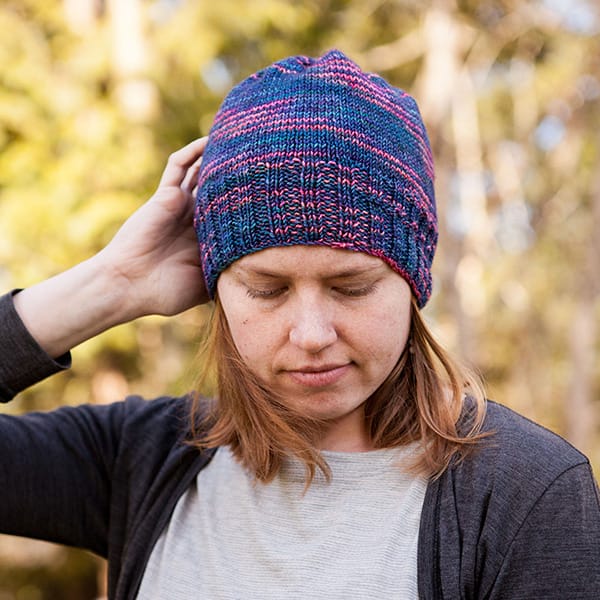
You can see this effect on my Sockhead hat I knit in Happy Valley, but I rather like it. The pooling reminds of lighting bolts. (Modeled by the lovely Emily).
But if you don’t want this look, there are a couple of things you can do. First is to swatch (I know, that’s boring) – use different needles and different stitch counts to see what you like. For example, for the swatch we used on the site for the Vancouver colorway, we went down to 32 stitches back & forth at 8 stitches per inch (to get a better idea of how it would look like at 64 stitches in the round).
Another thing you can do, especially for hats or larger accessories or garments is to alternate skeins – either from an additional skein, winding a skein into 2 cakes, or working both ends of the yarn cake. For working back and forth, switch every other row. For projects in the round, you’ll want to switch every round. I’m doing this on a vest I’m working on (slooooowly) in Rose City.
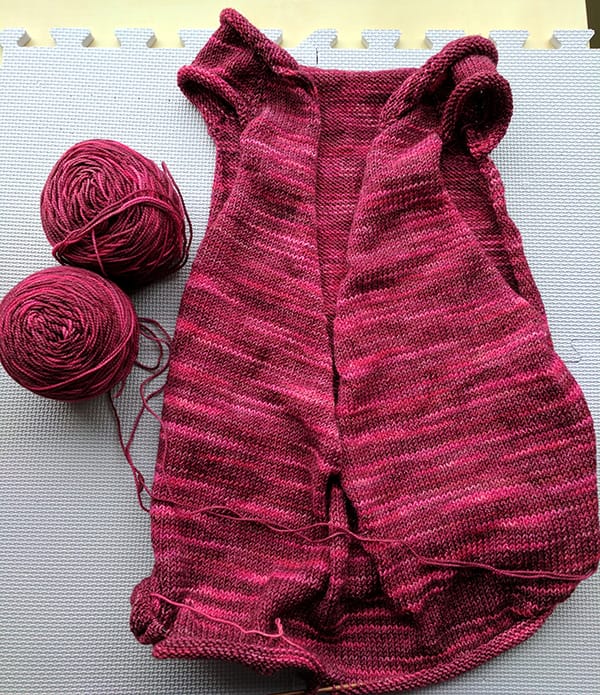
I just placed an extra marker on the side to remind me to switch yarns. It’s a simple way to break up any colors and if you carry your yarn up each round or row, you won’t have any additional ends to weave in. Since there can be color variations from skein to skein because of the hand dyed nature, this method is the best way to even out the color distribution.
There are also many sock patterns that have stitch patterns that are designed to show off hand painted yarns. Two of our books, Artful Arches and Toasty Toes, feature several patterns that shows off handpainted yarns to the fullest. I find highly textured patterns work best, such as Thermal. Mixing 2 different colors (either a solid or another mulit) works great too, such as in Twirla.
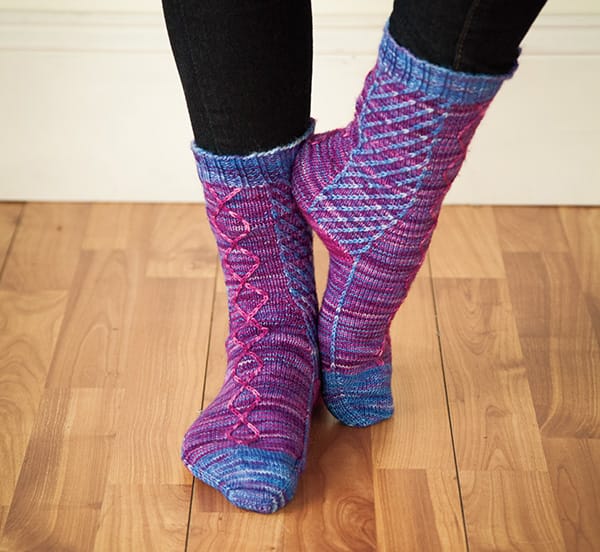
For my socks, I opted with an old favorite – Monkey by Cookie A. I’ve used this pattern a lot so I knew it was great for hand painted yarns. I went with the Alameda colorway for mine and I just love them so much.
See how the stitch pattern broke up any kind of pooling?
Another method some folks use is intentional pooling, where you deliberately pool the yarn into designs such as horizontal stripes, argyle, or other interesting patterns. This does take quite a bit of preparation (and swatching) but the results are incredible – check out groups on Ravelry such at pooled knits for examples of projects & tips on how to create these projects yourself.
Another great project I’ve found for these yarns is honestly little shawlettes in garter stitch. Sometimes simple is best! For instance, my current project is the lovely (and free!) Eponine Shawlette. I’m using Woodstock for the body and Hawthorne Tonal Sweet Home for the edging. I can’t wait to finish.
I hope this tips help you when choosing your next Hawthorne project!
Do you have other tricks for using hand painted yarns? Leave them in the comments!


