While you don’t have to use a special cast on method for Brioche projects, the 2-Color Italian Cast On will help your Brioche piece to have a nice, stretchy edge and also to look great, especially when it comes to 2-color Brioche.
Here's how you do it:
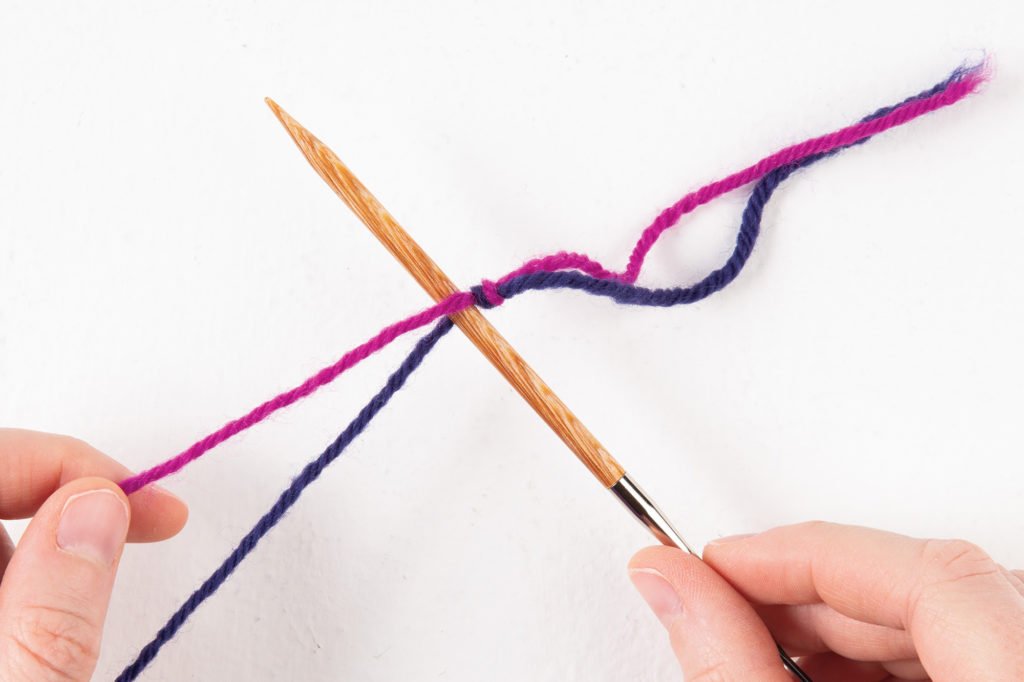
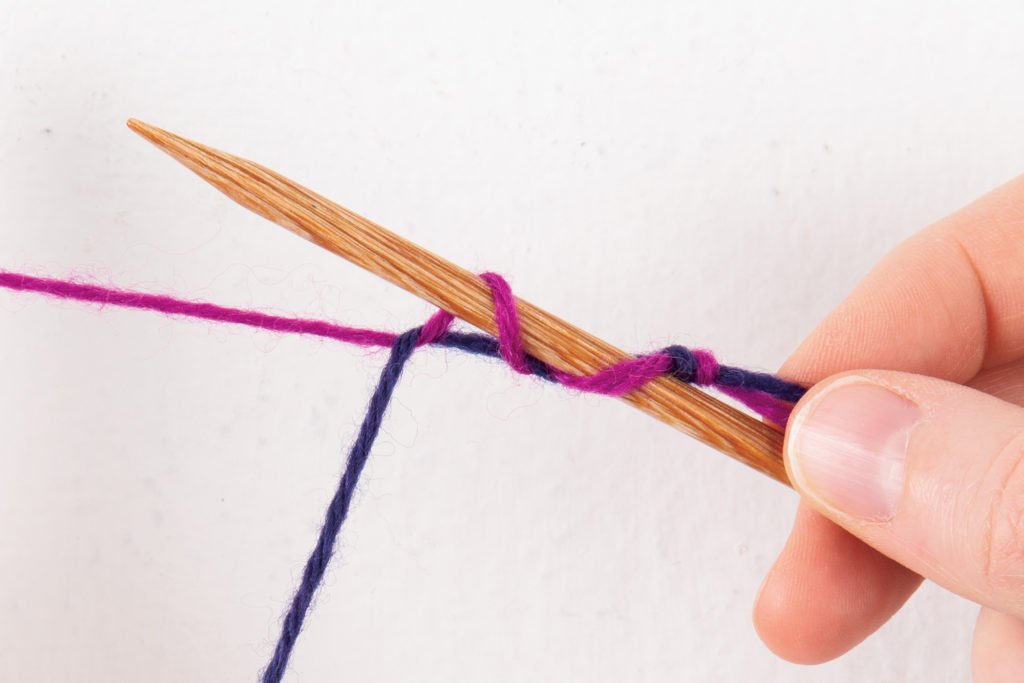
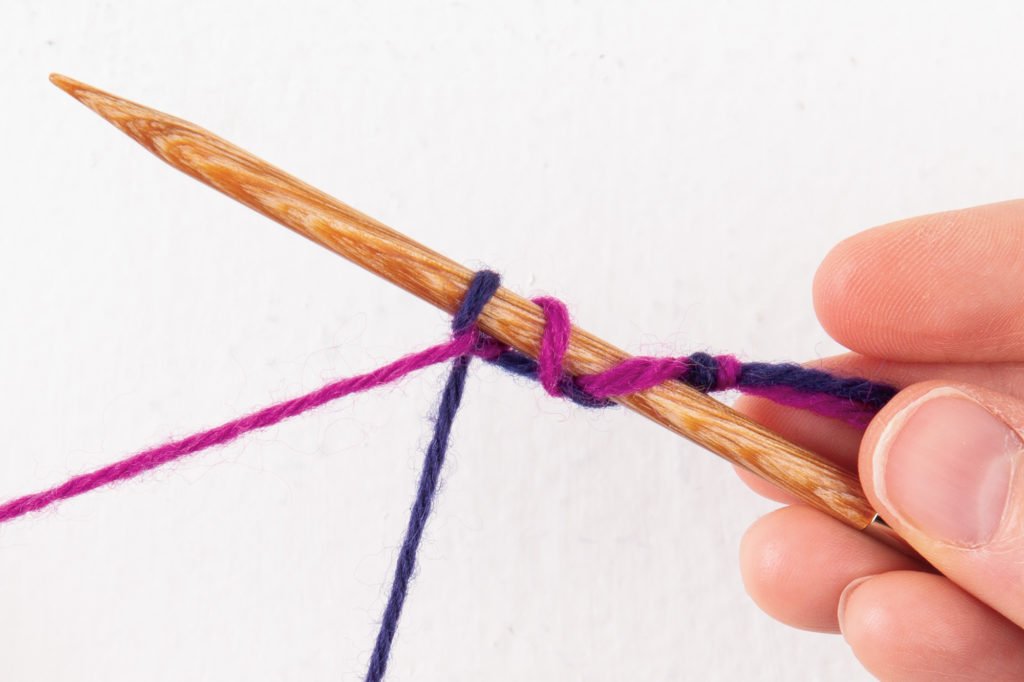
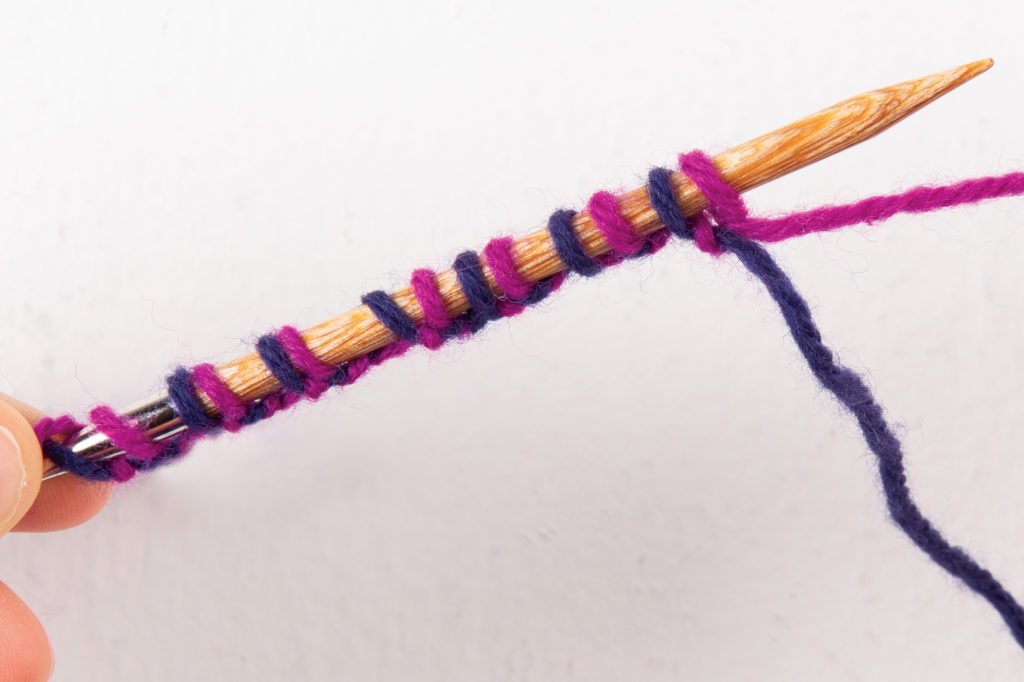
Step 1
Start by tying the two yarns together, and then placing them over your knitting needle, with the lighter color in the front. Throughout the tutorial, we’ll refer to “light” and “dark” yarns, which is the only reason you need to have the lighter color in front for now, as you learn.
Note: You can work this method for 1-color Brioche as well; just make a slip knot in your working yarn with a tail approximately three times as long as the cast on row, place the knot on the needle, and hold the yarn with the tail in place of the dark yarn here, then work it exactly the same!
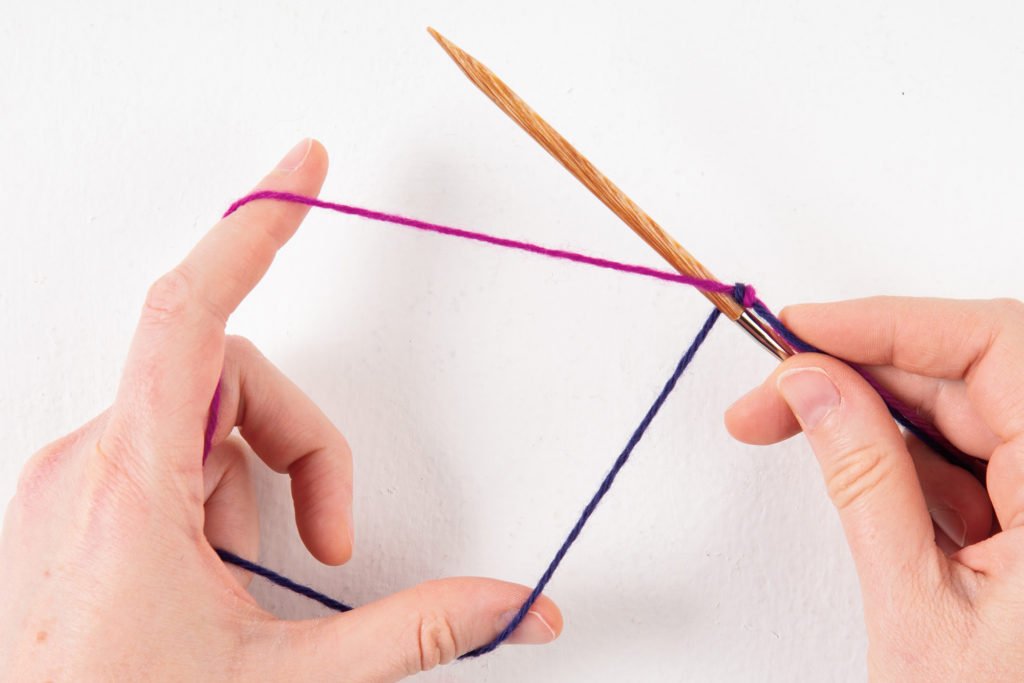
Step 2
Now hold the two yarns similarly to how you would for a Long Tail Cast On, with the light yarn going over your left-hand index finger and around the back, and the dark yarn going in front of and under your left-hand thumb, and then both yarns held in place in your remaining left-hand fingers.
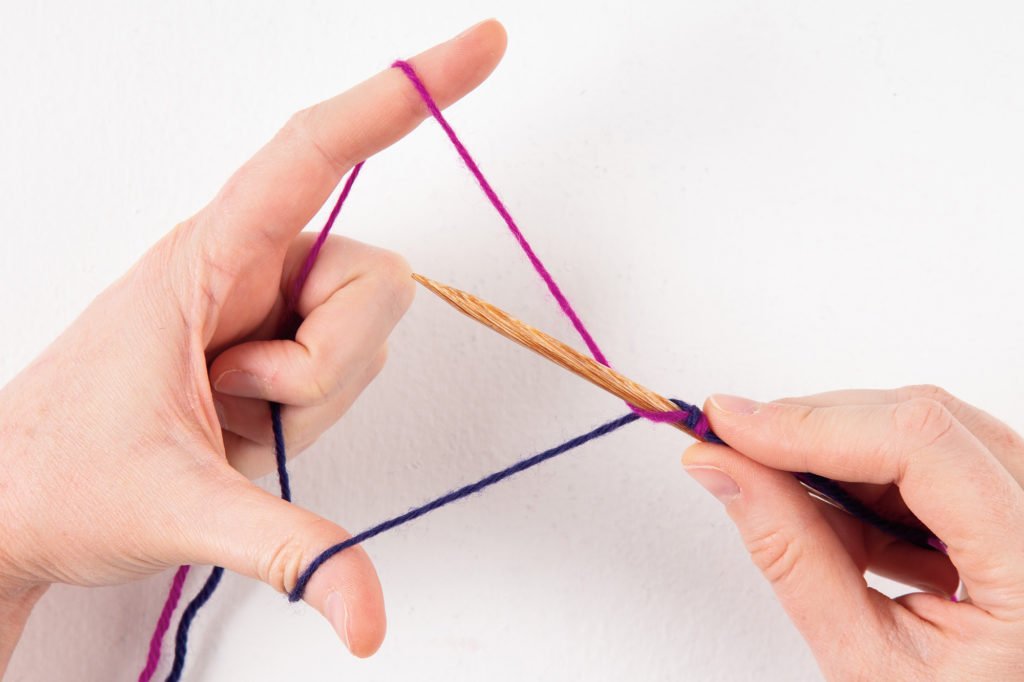
Step 3
Move your hand/needle so the needle is between the two yarns, and the yarns are now making a loop around the needle; from the knot on top, the light yarn is going in front of the needle then up around to the back over your finger, and the dark yarn is going around the back of the needle, then to the front around your thumb. This loop made now, with the knot, will not be an actual cast on stitch — it will be removed later — so do not count it when counting how many stitches you’ve made.
Step 4
Make a knit stitch:
Now we’ll cast on the first knit stitch. Following the animation, bring the needle forwards, over the top of the dark yarn, then around it, underneath it, then back up over the light yarn, and around it, grabbing it and pulling it forward, then come back around the front of the dark yarn and back up to the top position.
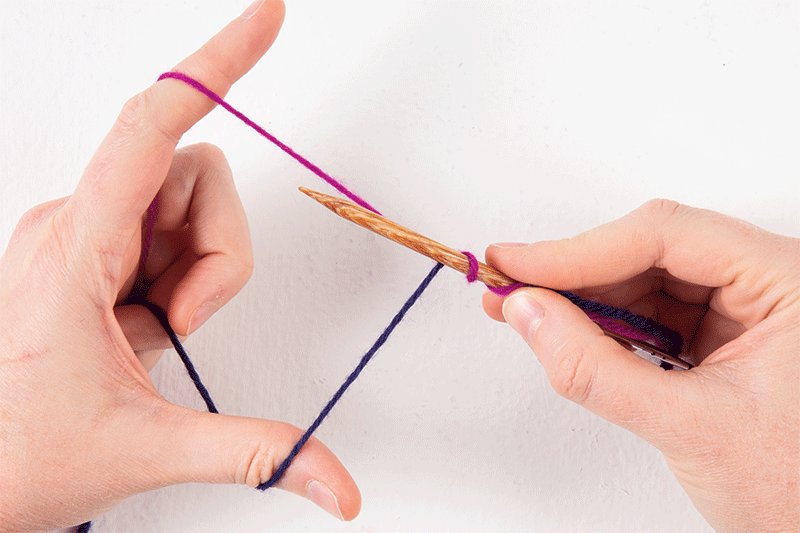
Step 5
So you’ve pulled a loop of light yarn onto the needle, and it now looks like this.
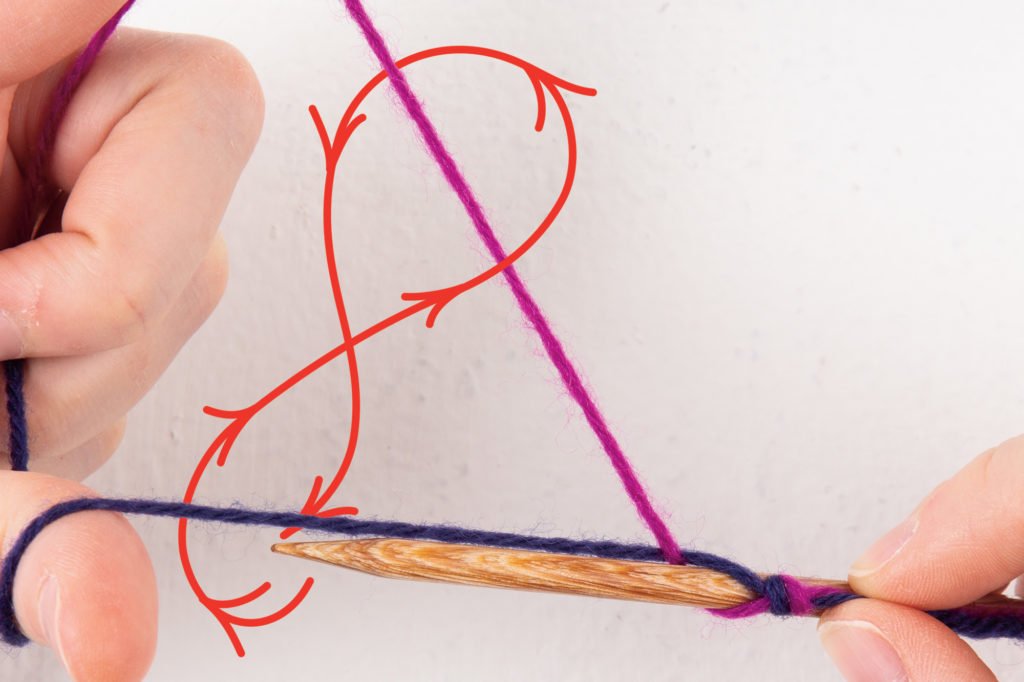
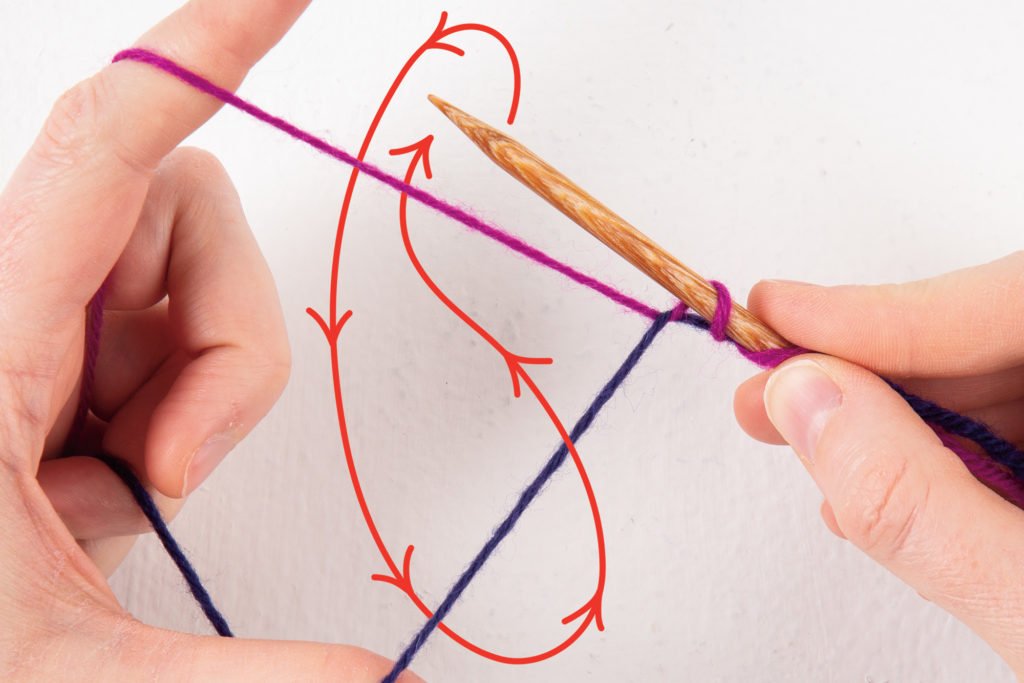
Step 6
Here is the movement shown in a still diagram.
That move, to cast on one knit stitch, (the light color yarn) is like making a figure 8 or an infinity symbol, with your needle, the way you bring the needle up then under the dark yarn, then up then under the light yarn. That’s how we like to think of it anyway! Think about it however it makes the most sense to you.
Step 7
Make a purl stitch:
Following the animation, bring the needle over and behind the light yarn, then down around underneath it towards the front, then under the dark yarn, around to the front, grabbing the dark yarn from below, then bring it up and back, under the light yarn, and back into position.
Step 8
You’ve grabbed a loop of dark yarn into the needle now, and it looks like this, with the light yarn looped in front of it.
Step 9
That movement is more like a teardrop shape, with the needle moving under the top yarn, then straight down into a loop under and around the bottom yarn, then back up and under the top yarn; it is not that same figure 8 that the knit stitch makes.
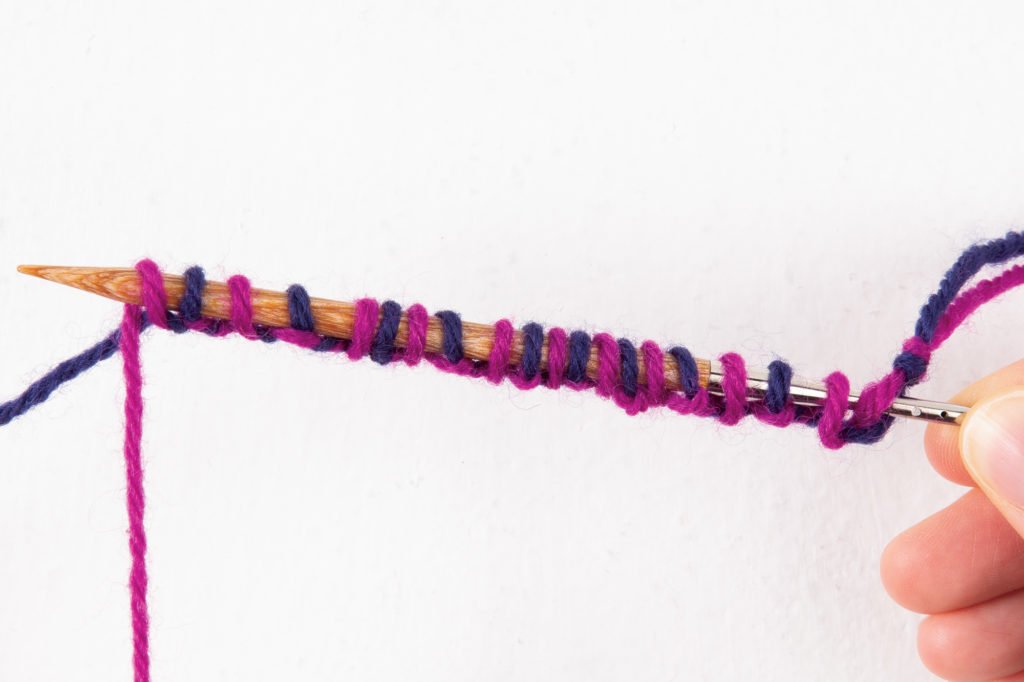
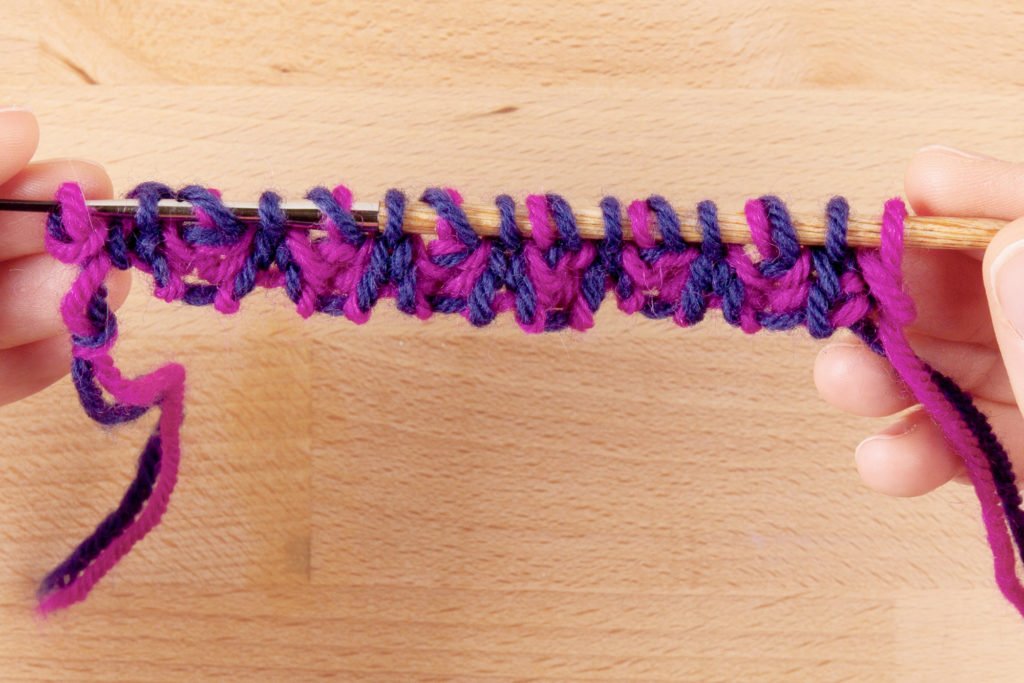
Step 10
Now continue casting on 1 knit stitch, 1 purl stitch, until you’ve made as many stitches as you need. For a flat row of knitting, you’ll usually cast on an odd number of stitches, so the first and last stitch are both light yarn knit stitches.
It’ll look something like this.
Step 11
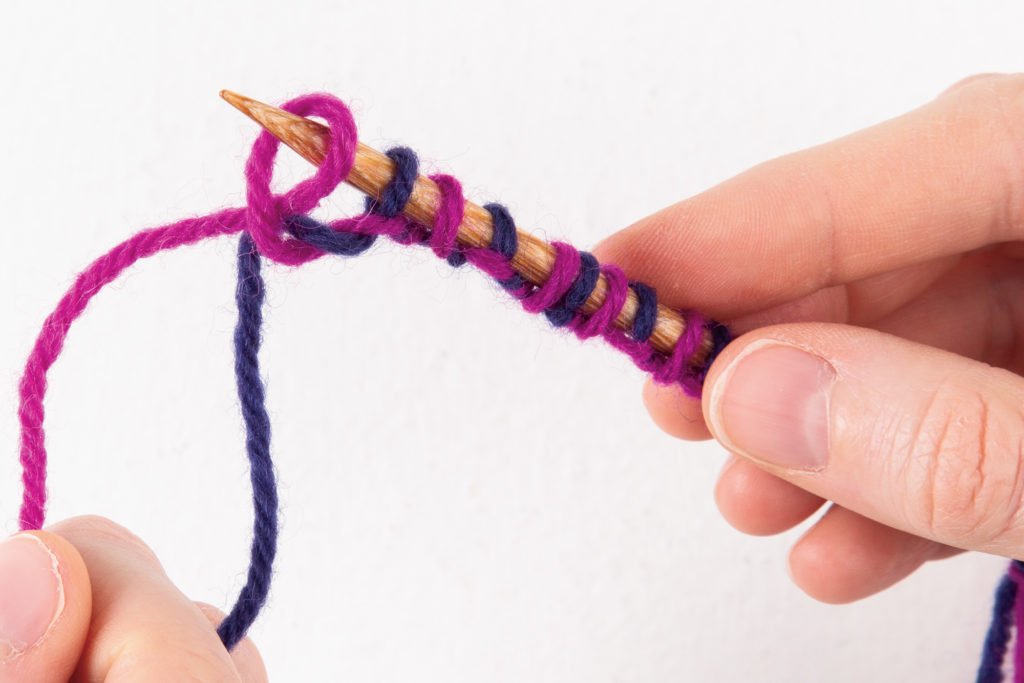
To finish, drop the dark yarn, grab that final loop of light yarn from the needle, and twist it once, then place it back onto the needle.
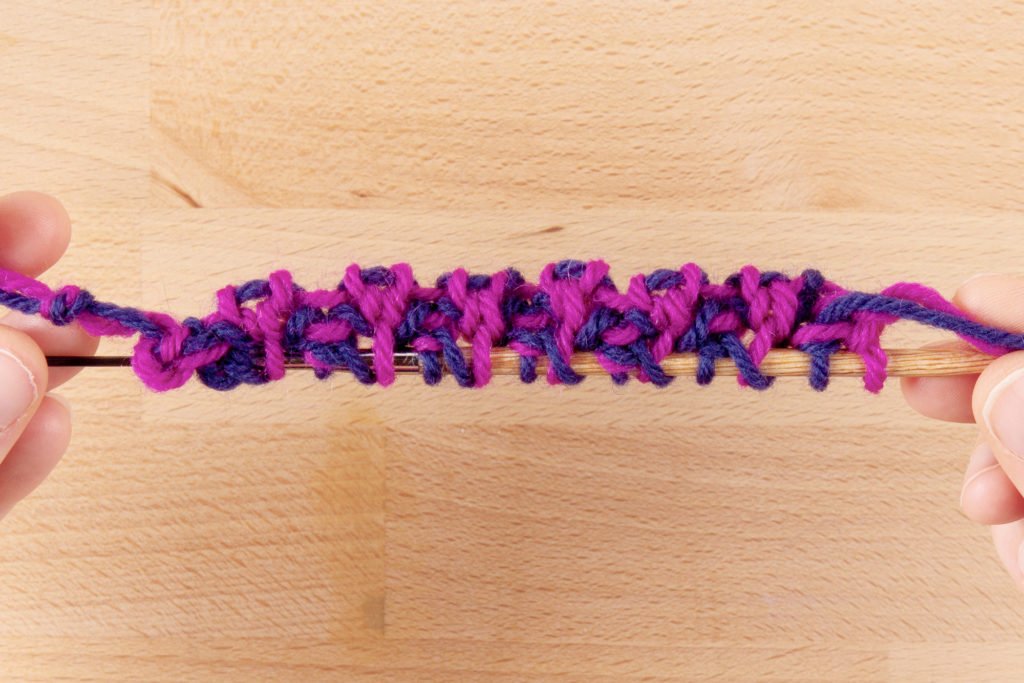
Step 12
Now pull to snug it up, and turn to work your first row. Here’s the cast on, ready to work.
Step 13
Start knitting! For the first row, work across in Brioche with the light yarn; since the light color cast on stitches were knit stitches, and you now turned to work in the other direction, that means the light color stitches are purl stitches across this row. So work the first row: (P1, SL1YO) to last stitch, purl the last stitch, and remove that knot loop at the end (always purling the light yarn stitches, and slipping with yarn over the dark yarn stitches).
Continue Knitting...
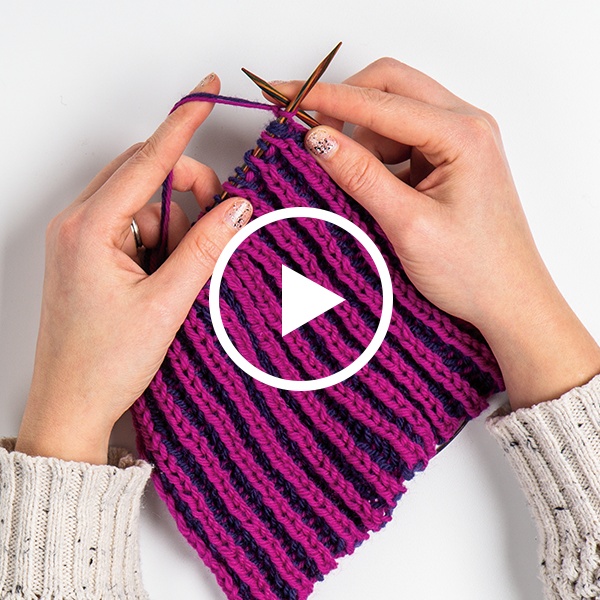
And now you’ve begun in the standard 2-color Brioche pattern. Next you’ll slide the knitting across to the other side and work another row across the same direction in the dark yarn, knitting the knit stitches together with the yarn overs, and slipping (with yarn over) all the light yarn purl stitches.
The cast on method creates a wonky edge for the first several rows, so don’t worry if it looks messy at first! Here is the swatch after just the first 4 rows (twice across the first side, then twice across the other side).
And the other side at the same point.
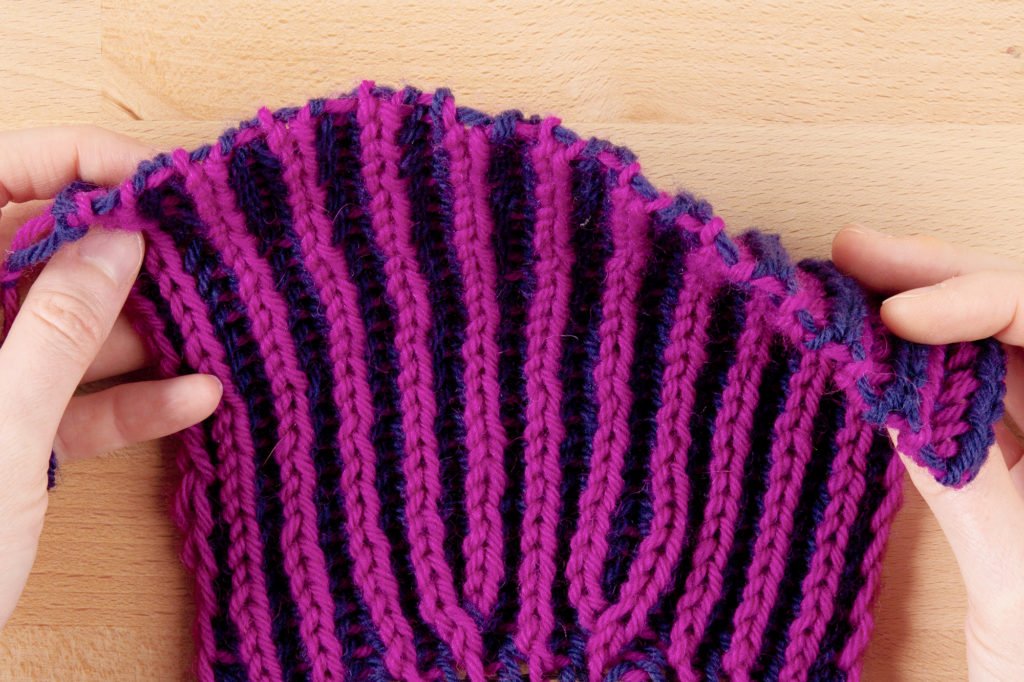
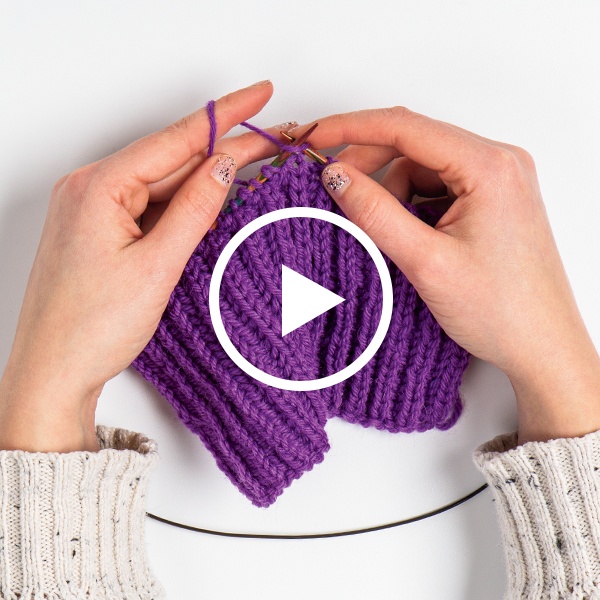
But then here it is after more has been knit. It makes a very nice edge! And stretchy!
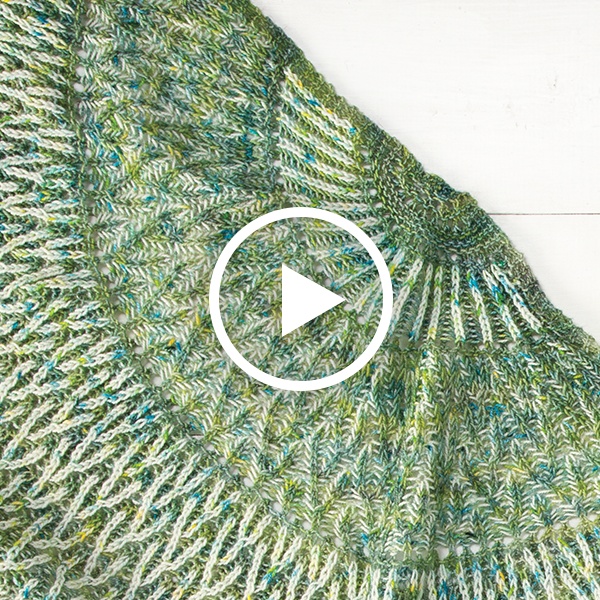
We hope this gives you what you need to go ahead and cast on for your first Brioche project. The technique is fun to do, once you get into the rhythm of it, and it looks so neat — check out all the patterns in the new book to see the variety of different looks you can get with this versatile technique!