Grafting With Kitchener Stitch (Stockinette & Garter)
Grafting is like knitting magic! Really, that’s what it feels like. You start with two rows of live stitches and a yarn needle, and you end up with … nothing! No seam, no line, no evidence that it wasn’t all knit in one piece, just a magically closed piece of knit fabric. What you’re doing is actually creating a row of stitches using the yarn needle, threading the yarn in and out of live stitch loops in exactly the pattern that a row of stitches makes, so it’s truly seamless. It takes a few times to really get used to, to get the rhythm of it down, but once you do, I think you’ll love it like I do!
Important note for grafting: Pull your stitches snug as you go—not TOO snug, but probably a bit tighter than you think is good. For a truly seamless join, it’s important that the grafted row is the same size as the knitted rows, and a common beginner error is not pulling the stitches tightly enough and ending up with a loose graft. It’s possible to tighten it later, once you’re done, but it’s much easier to just tug on the yarn as you graft.
Set up for Stockinette Kitchener Stitch
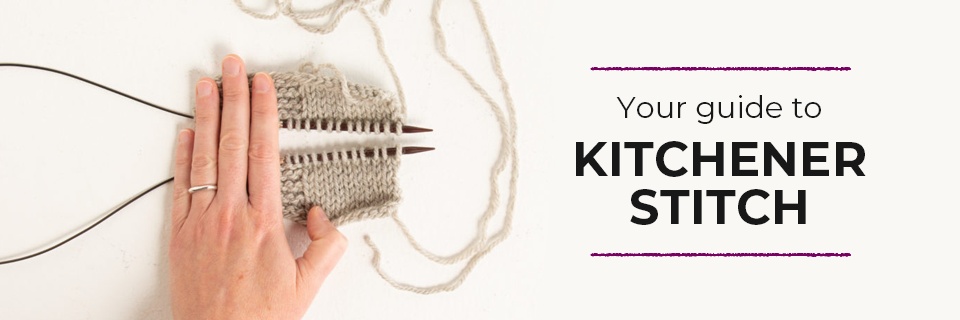
We’ll start with the classic version of Kitchener Stitch, grafting two live rows of Stockinette together. Your work should look like the above image (ignore that peek of garter stitch on the left). Both rows of live stitches (they could also be one round of live stitches, but divided in half to look like two parallel rows) on needles, held parallel, tips pointing in the same direction.
These swatches each have a tail, but your knitting probably just has one tail—it may be coming off the front or the back. Cut the yarn so that the tail is approximately four times the length of the row of stitches. For example, if the live stitches are about 5 inches wide on the needle when spread out comfortably, then cut the yarn with a tail approximately 20 inches long. Thread that tail onto a blunt yarn needle.
Step One
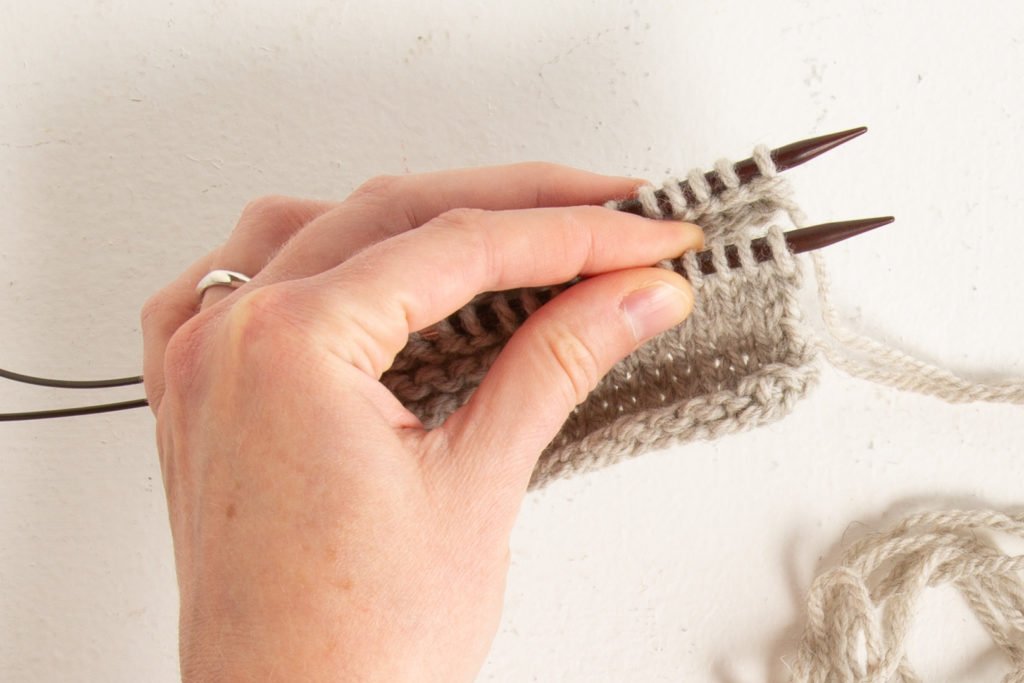
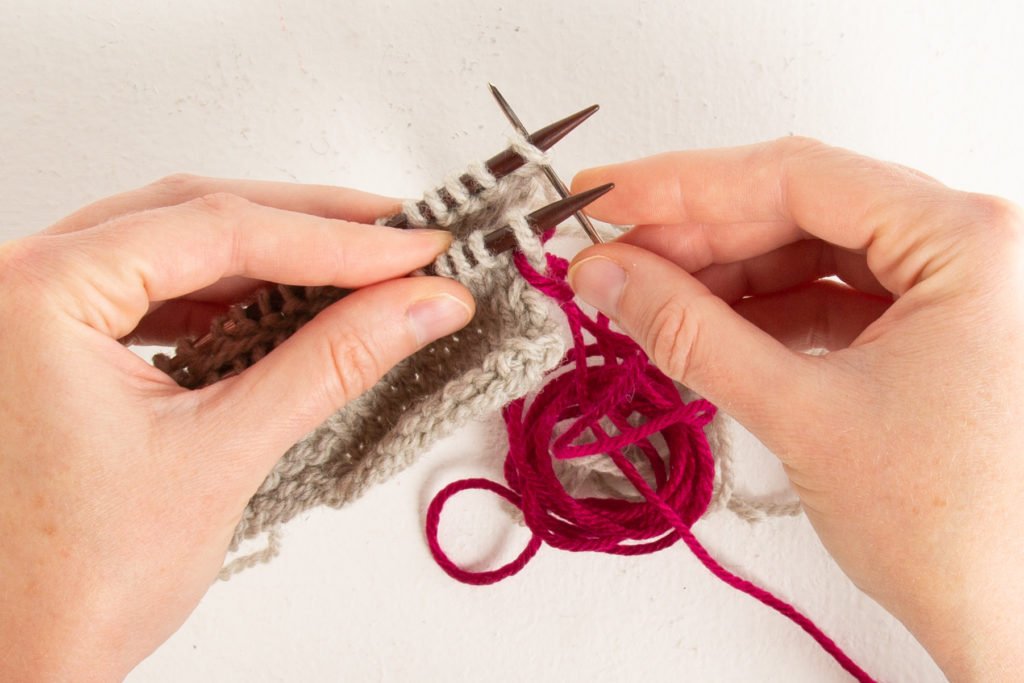
Now, hold the needles together like this, in your left hand, so you’re looking at the right side of the front row, and the wrong side of the back row is facing you behind it. (Wrong sides are touching in the middle.) We'll use a contrasting color yarn to graft so you can see the stitches, but you’ll be using the yarn tail (or another piece of yarn in your working yarn color, if you don’t have a tail for some reason).
Step Two
Start by bringing your yarn needle through the front first stitch purl-wise, as pictured above, leaving the stitch on the knitting needle, and thread the yarn through it.
Step Three
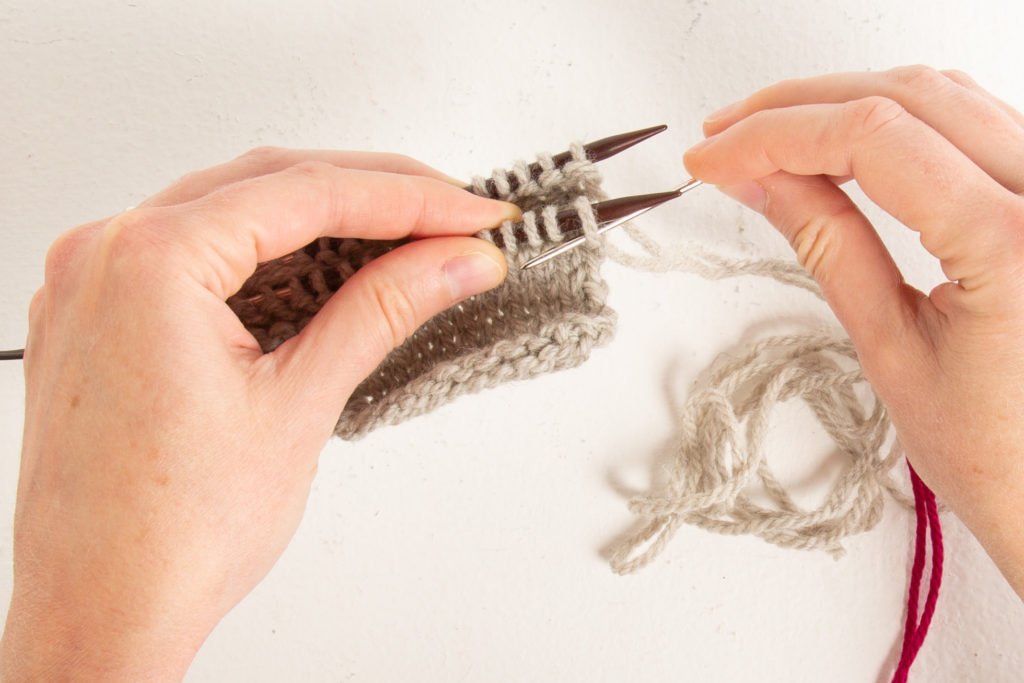
Then bring the yarn needle through the back first stitch knit-wise, leaving the stitch on the knitting needle, and thread the yarn through it. These first two steps are setup steps. The next step will begin the repeating steps.