
1-OVER-1 CABLES (OR “TWISTS”) WITHOUT A CABLE NEEDLE
Mini-cables with only 1 stitch crossing over 1 stitch are often called twisted stitches (or right twist / left twist, abbreviated RT / LT), and are VERY easy to complete without a cable needle! These little twists are not to be confused with the twisted stitches made by knitting into the back loop of a stitch, which is a totally different thing with the same name—it’s usually obvious based on context which one is being referenced. These twists are also sometimes referred to as mock cables.
Please note that there’s another method that involves working both stitches as a decrease, and then the back stitch again, which looks about the same and may be called a twisted stitch or a mock cable in patterns. Regardless, the three methods all result in the exact same effect in the end: the two stitches being crossed as a 1-over-1 cable. Some patterns/countries/designers may specify that there’s a difference between a 1-over-1 cable and/or a mock cable and/or twisted stitches … be sure to read the specifics of the pattern you’re knitting to check what you’re supposed to be doing, because terminology can be really flexible in knitting!
There are several ways to accomplish the mini-cables; We will show you three different methods! This way, you can try them all out and see which one you like best. Personally, we prefer the first method, but the other two are both very common and you may run into a pattern which recommends one of them specifically. Something to keep in mind is that sometimes 1-over-1 cables in a pattern will be worked through the back loop (so this is now BOTH definitions of “twisted stitches” done at the same time, phew!). If a pattern is having you knit through the back loop on the cable stitches, that may make a certain method easier for you, so it’s great to have a handle on all three of the techniques so they can be handy in your knitter’s toolbox for when you might need them!
Decrease Method
First up, we’ll call this the decrease method because the actions feel like you’re working standard decreases. (You’re not actually decreasing!)
Left Twist
Step 1
Slip the first stitch knit-wise.
Step 2
Slip the second stitch knit-wise; so far, this is as if you’re working an SSK decrease.
Step 3
Stick your left-hand needle through both slipped stitches, from the bottom up, and slip them to the left-hand needle like this, so they have become twisted on the left-hand needle.

Step 4
Knit the first (back) stitch normally.
Step 5
Knit the second (front) stitch normally.
Step 6
Done!
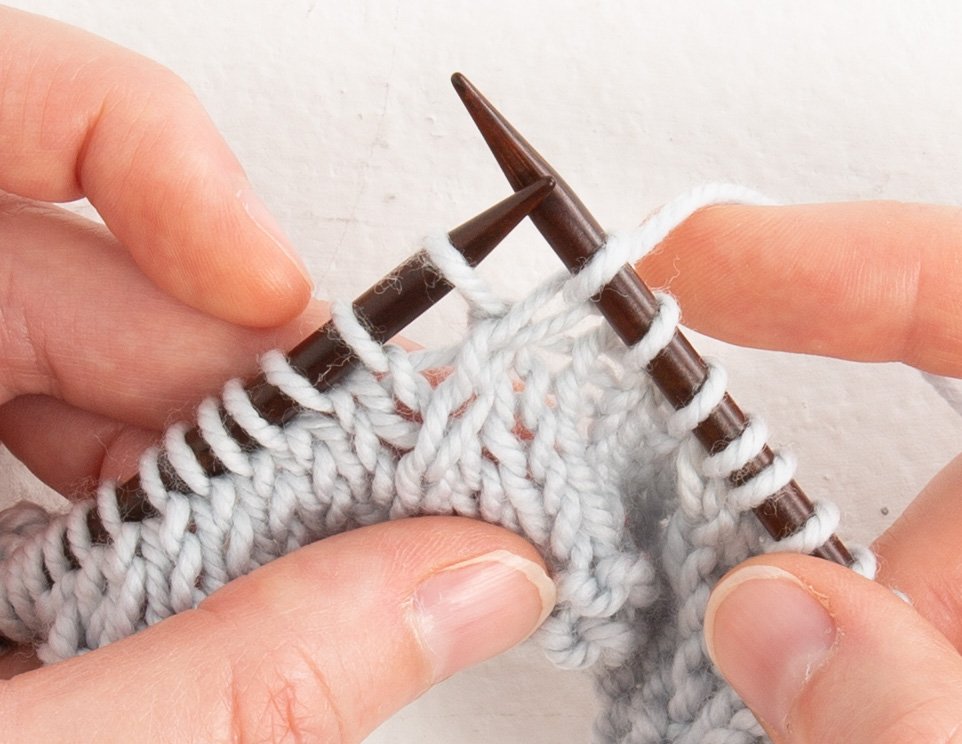
Right Twist
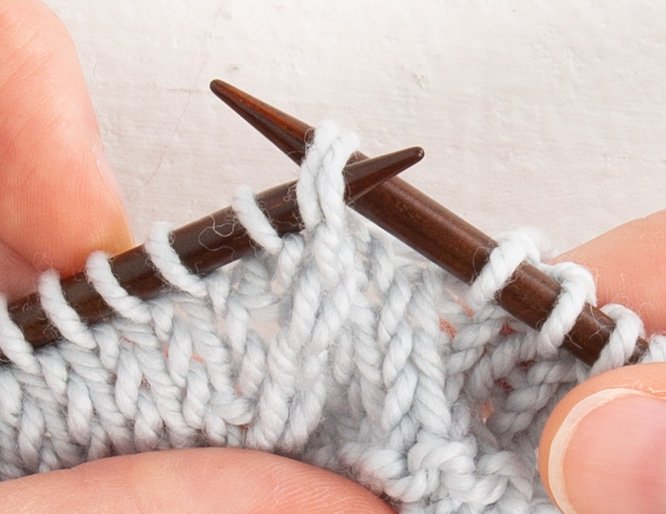
Step 1
Stick your right-hand needle through the next two stitches, knit-wise together, as if you’re going to K2tog …
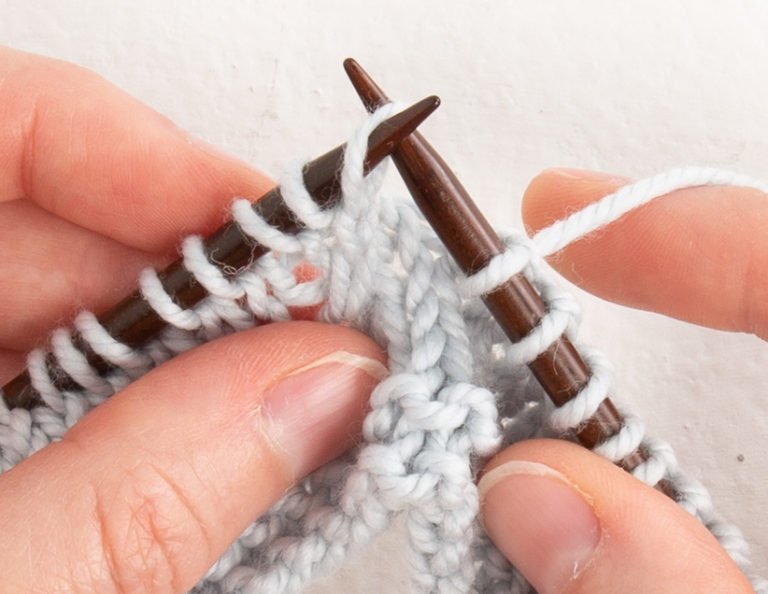
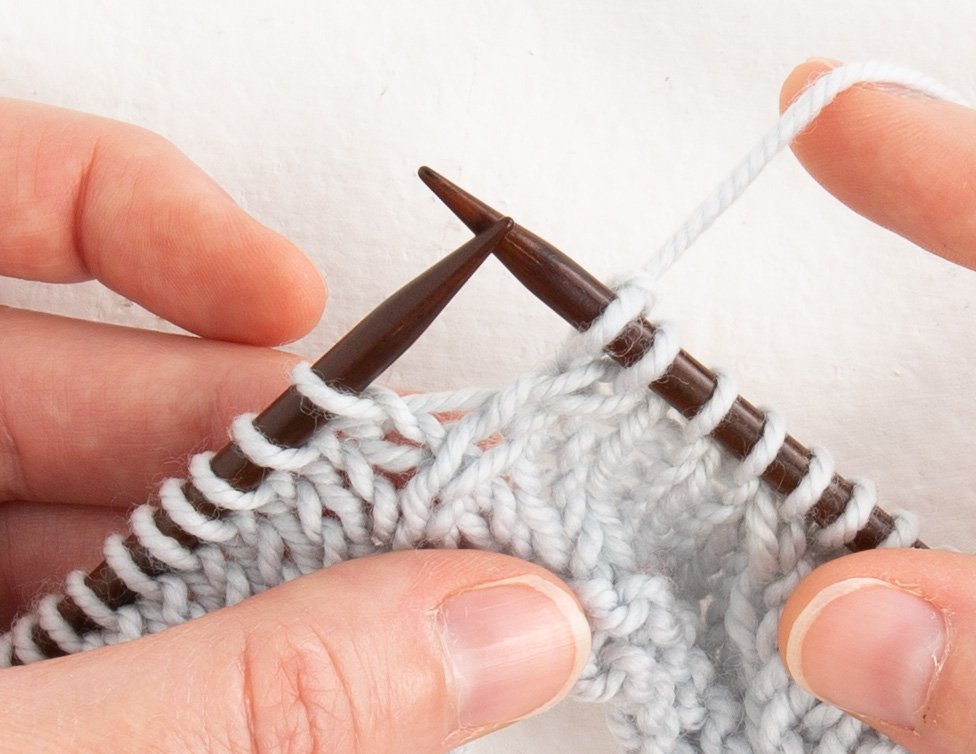
Step 2
… and slip them to the right-hand needle like that, so they are now twisted around each other.
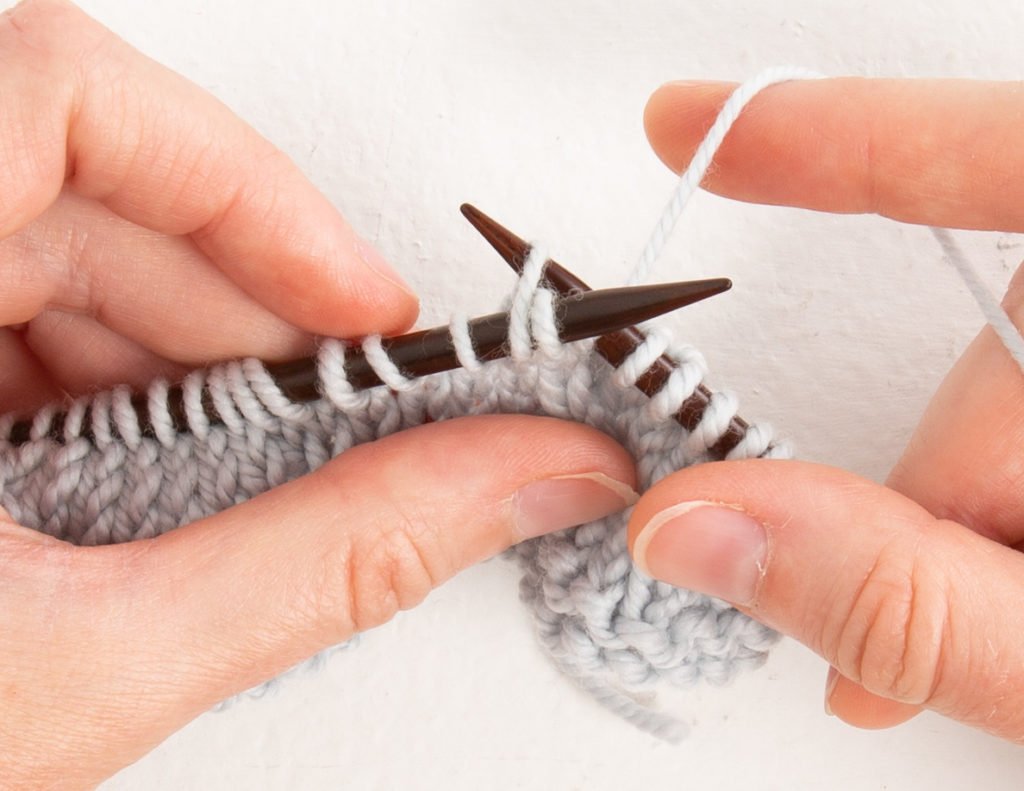
Step 3
Slip the two stitches back over to the left-hand needle, purl-wise, so that they stay twisted the same way.
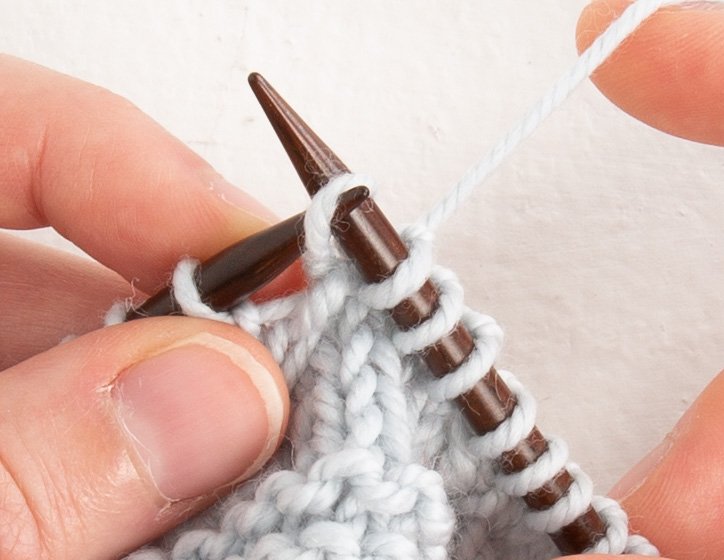
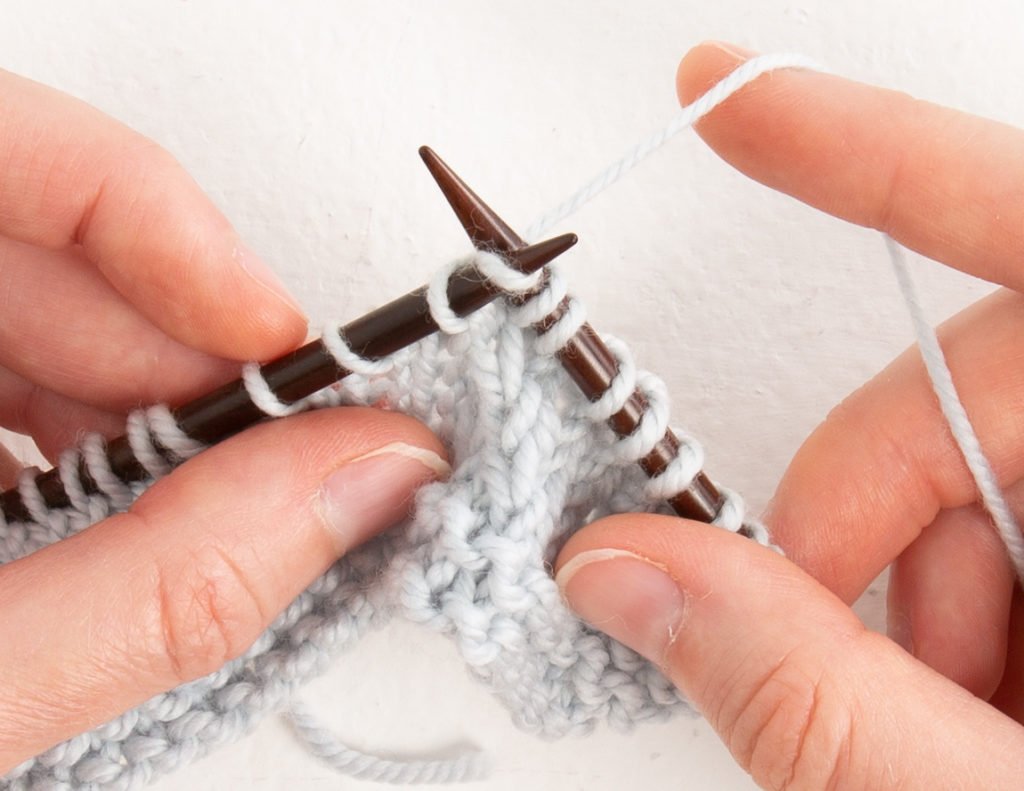
Step 4
Knit the first (front) stitch through the back loop (because it is positioned the wrong way on the needle, so this will orient it correctly).
Step 5
Knit the second (back) stitch through the back loop.
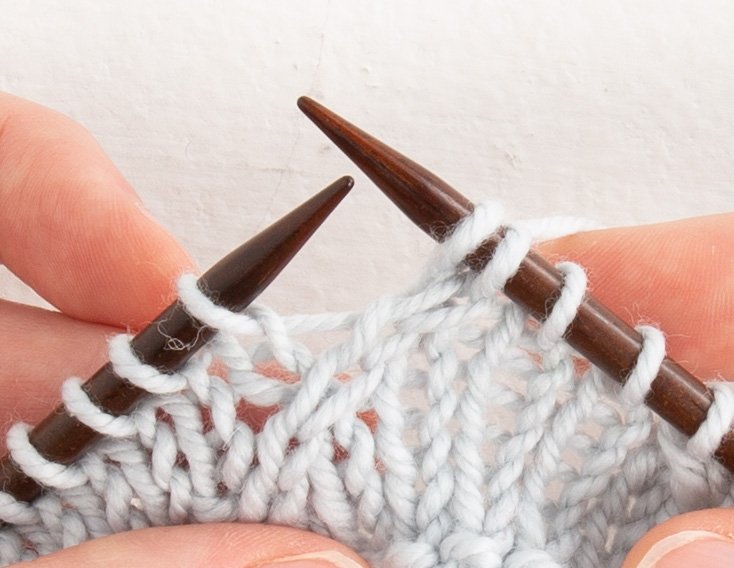
Step 6
Done!
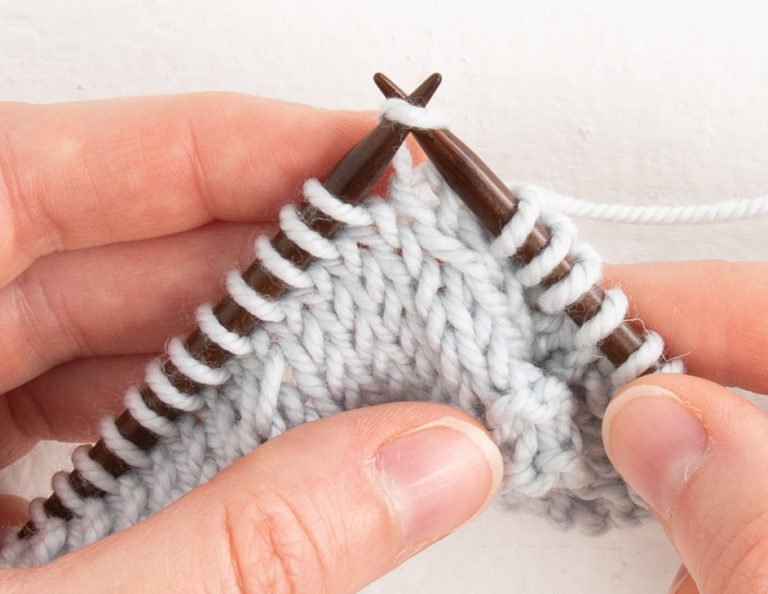
Cable Method
And now the second method; this one is worked the same way larger cables without a cable needle are worked, but it’s easier because you only have to worry about one stitch! We’ll call it the cable method since it’s worked the same as other cables.
Left Twist
Step 1
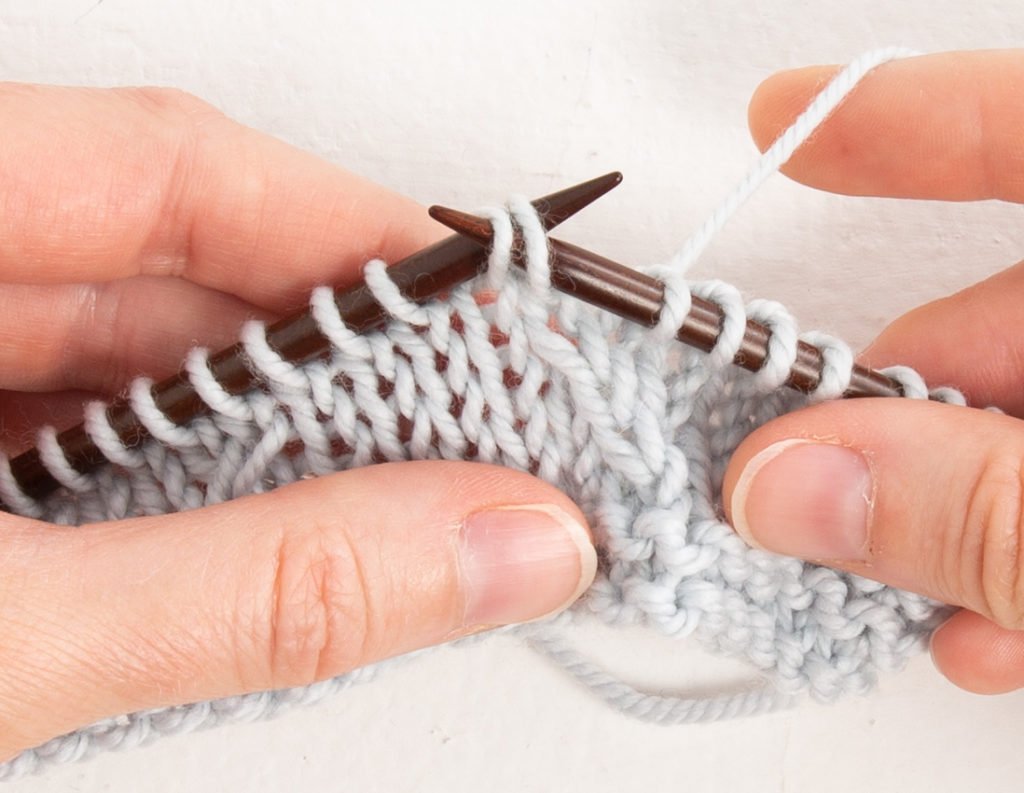
Stick the right-hand needle purl-wise through the next two stitches and slip them to the right-hand needle.
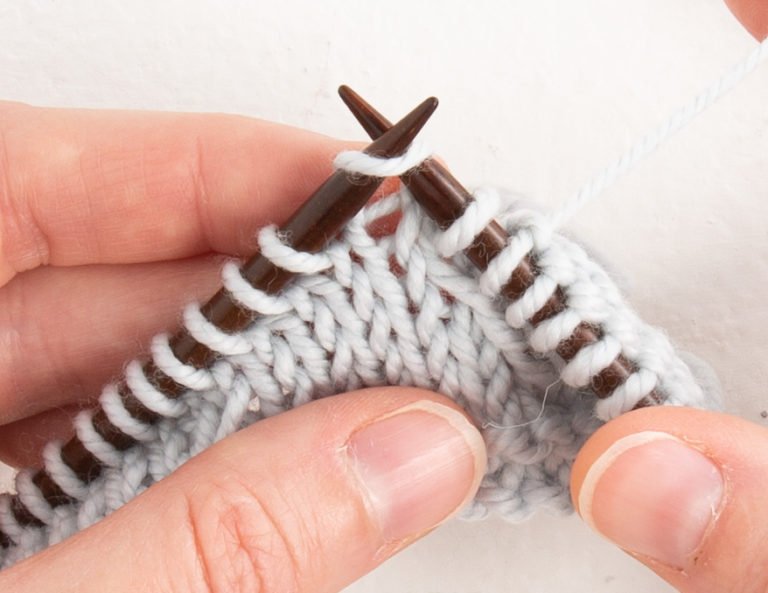
Step 2
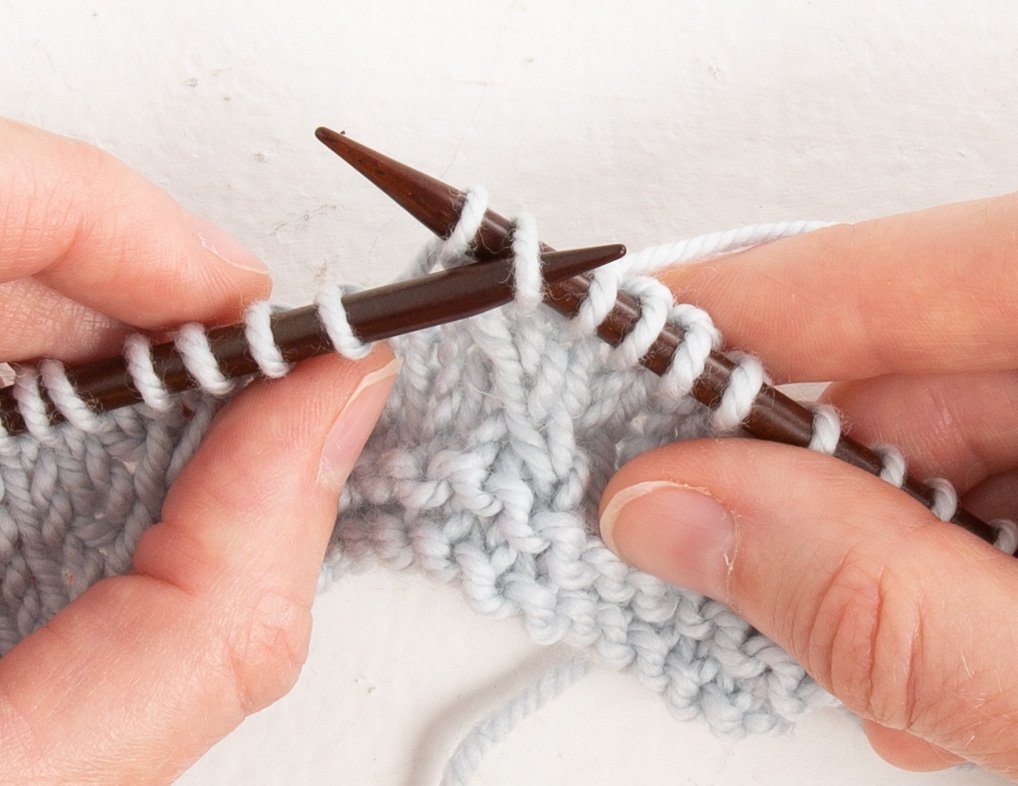
Stick the left-hand needle into the second stitch in on the right, purl-wise in front of the first stitch.
Step 3
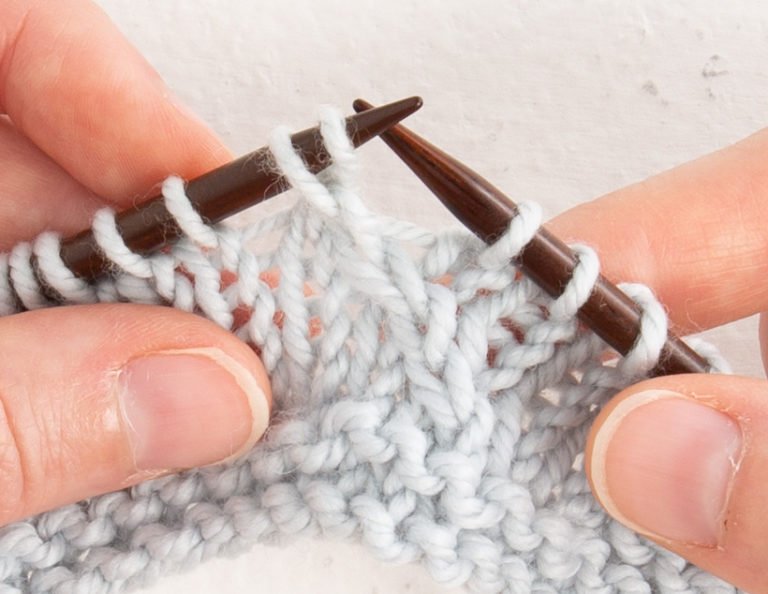
In a quick but smooth-and-steady motion, slide both stitches off of the right-hand needle, the second stitch slipping onto the left-hand needle, and the first stitch being momentarily without a needle, and then as soon as the right-hand needle is out, stick it right back into that loose stitch. As long as you’re holding things in place with your fingers, that loose stitch will be in no danger for that moment of being off the needles!
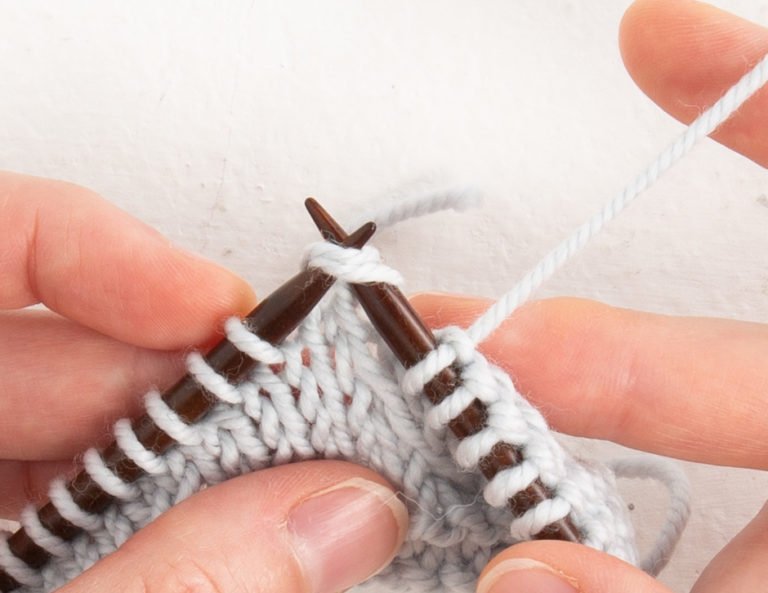
Step 4
Slip that stitch over to the left-hand needle, purl-wise, and now the two stitches are twisted over each other on the left-hand needle.
Step 5
Knit the first (back) stitch normally.
Step 6
Knit the second (front) stitch normally. All done!
Right Twist
Step 1
Stick the right-hand needle through the second stitch, purl-wise in front of the first stitch.

Step 2
In one smooth-and-steady motion, slide the first two stitches off the left-hand needle, the second stitch being slipped onto the right-hand needle, and the first stitch being momentarily without a needle; immediately stick the left-hand needle back into this loose stitch. As long as you’re holding things in place with your fingers, that loose stitch will be in no danger for that moment of being off the needles!
Step 3
Slip the stitch from the right-hand needle over to the left-hand needle, purl-wise.
Step 4
Knit the first (front) stitch normally.
Step 5
Knit the second (back) stitch normally. All done!
Twisty Method
And now the final method, which we’ll call the twisty method because it feels extra twisty as you’re working it—you’ll see!
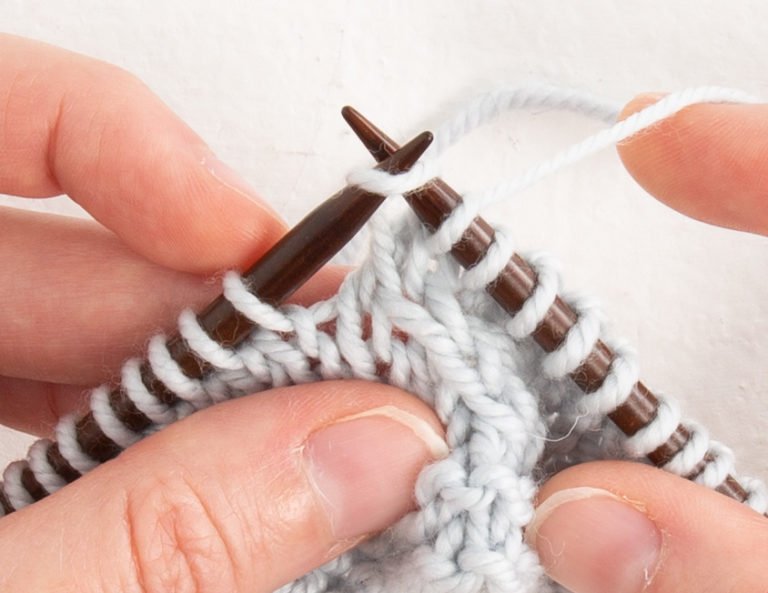
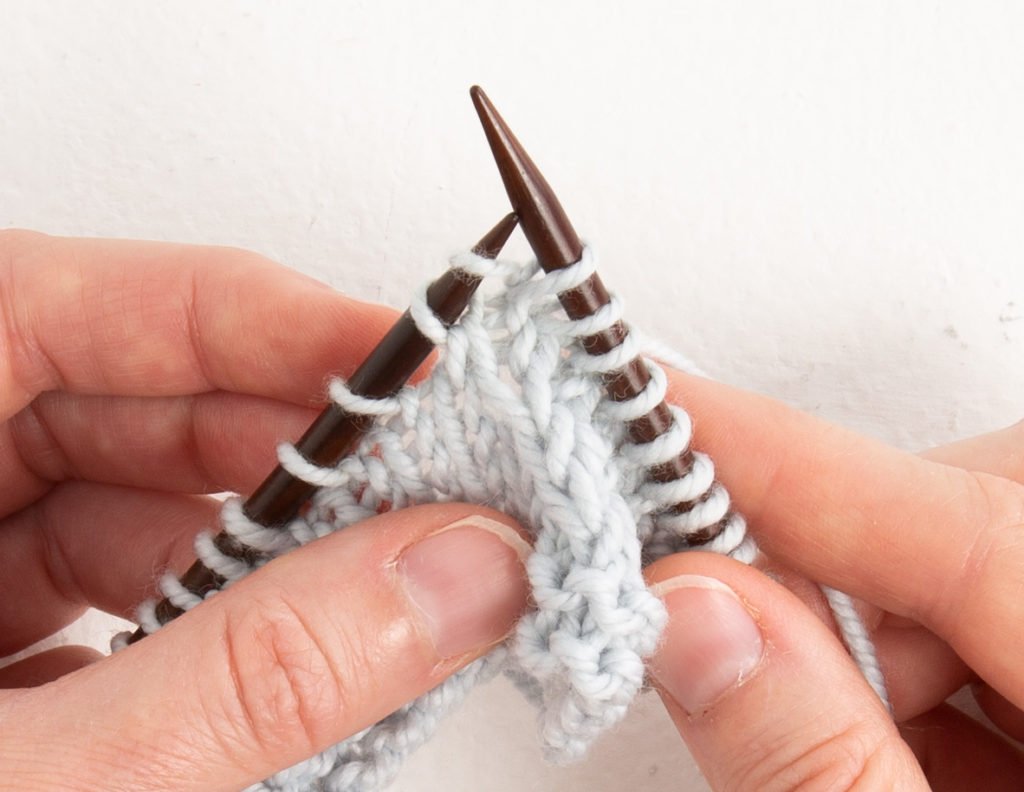
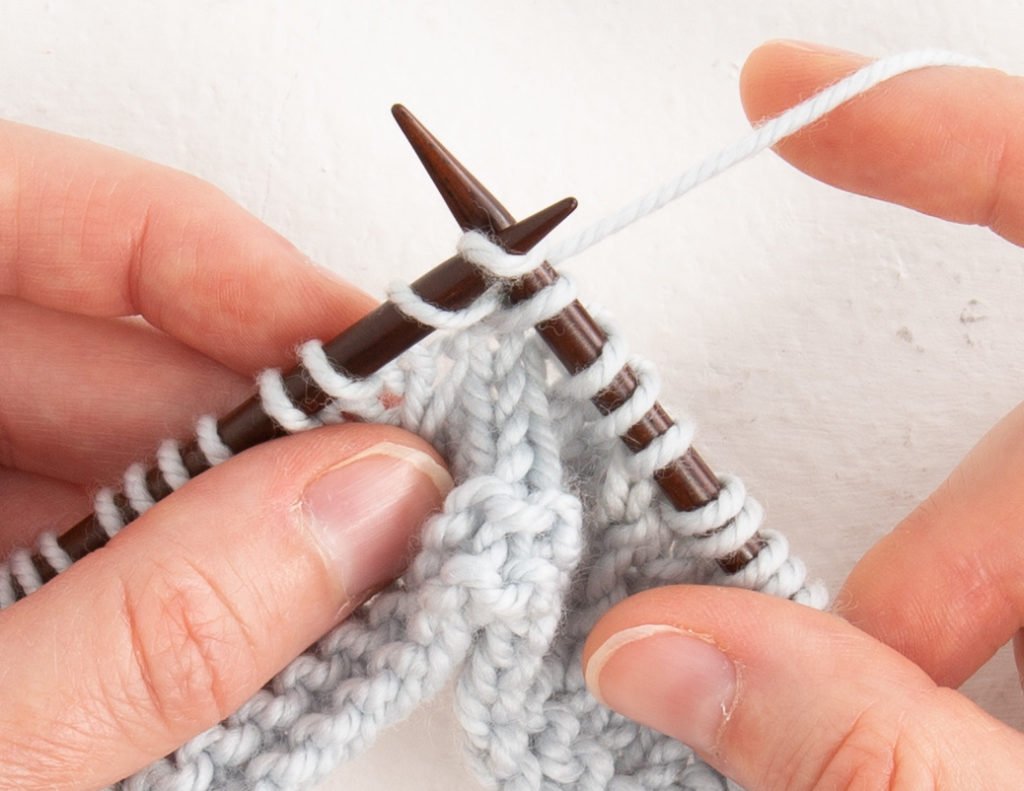
Left Twist
Step 1
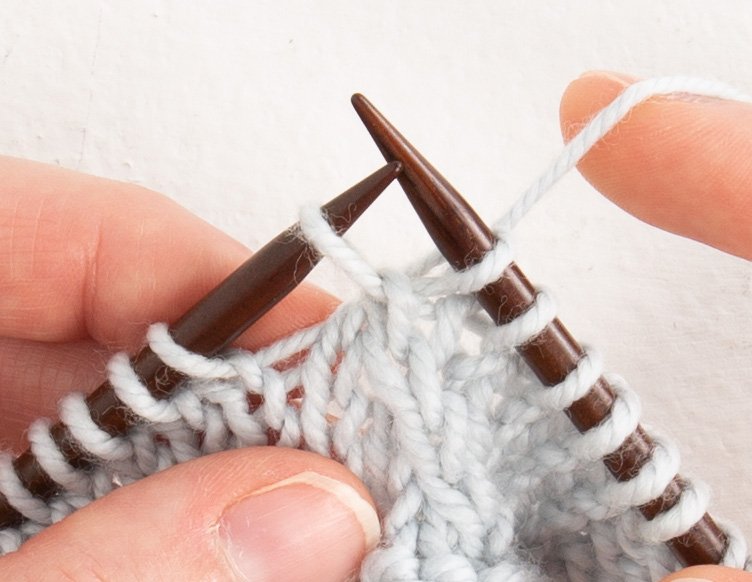
Stick the right-hand needle into the back loop of the second stitch …

Step 2
… and knit through it, leaving both stitches on the left-hand needle.
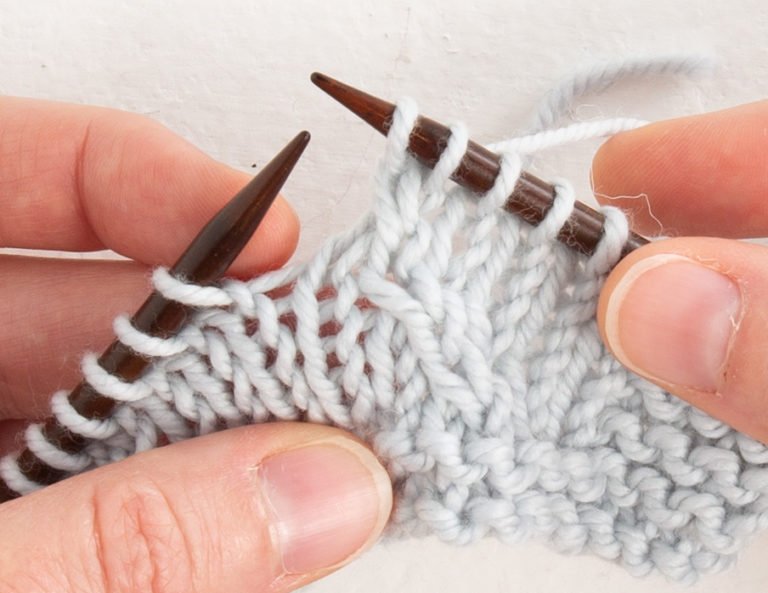
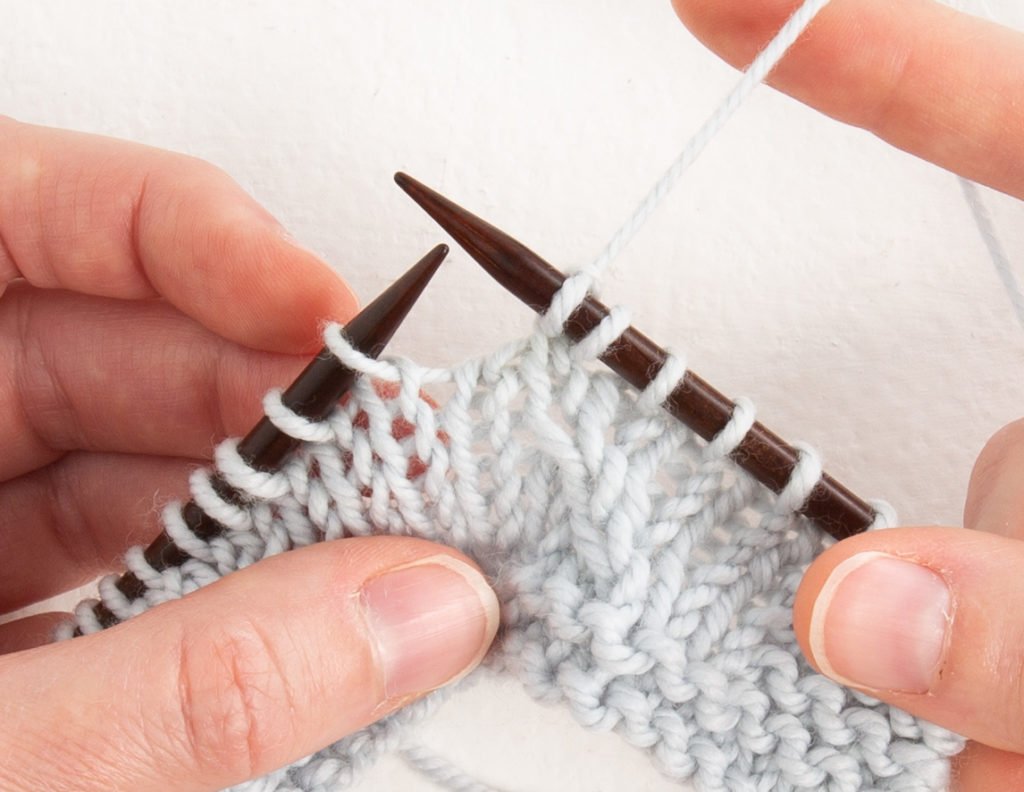
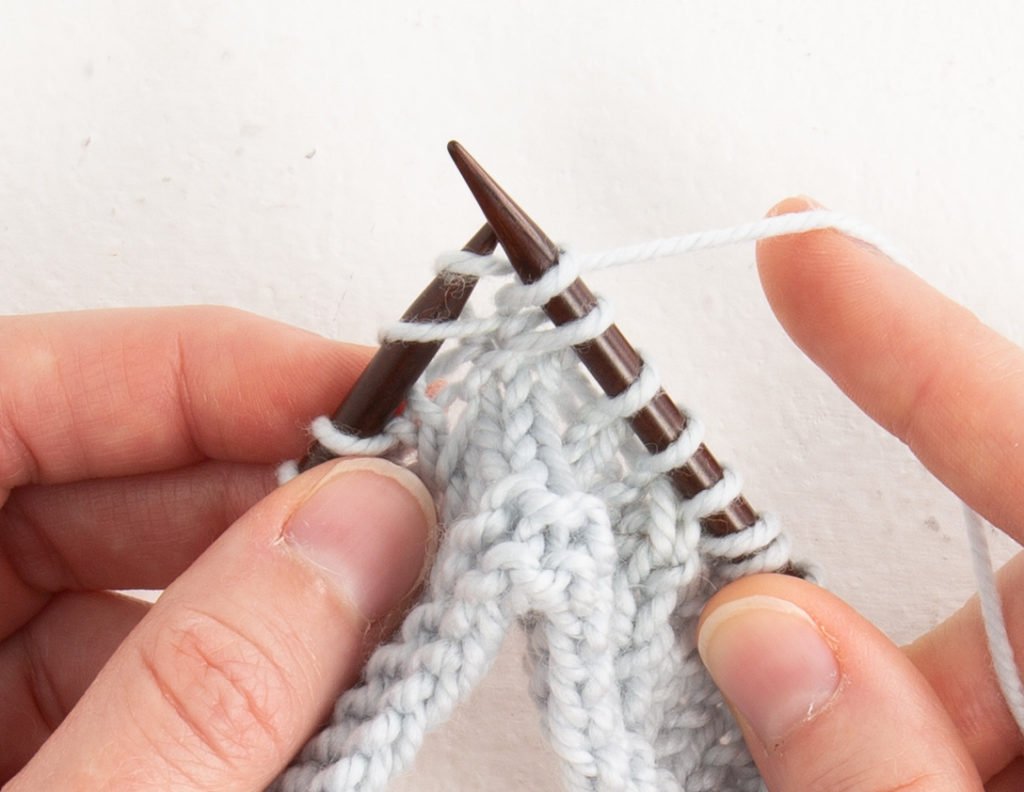
Step 3
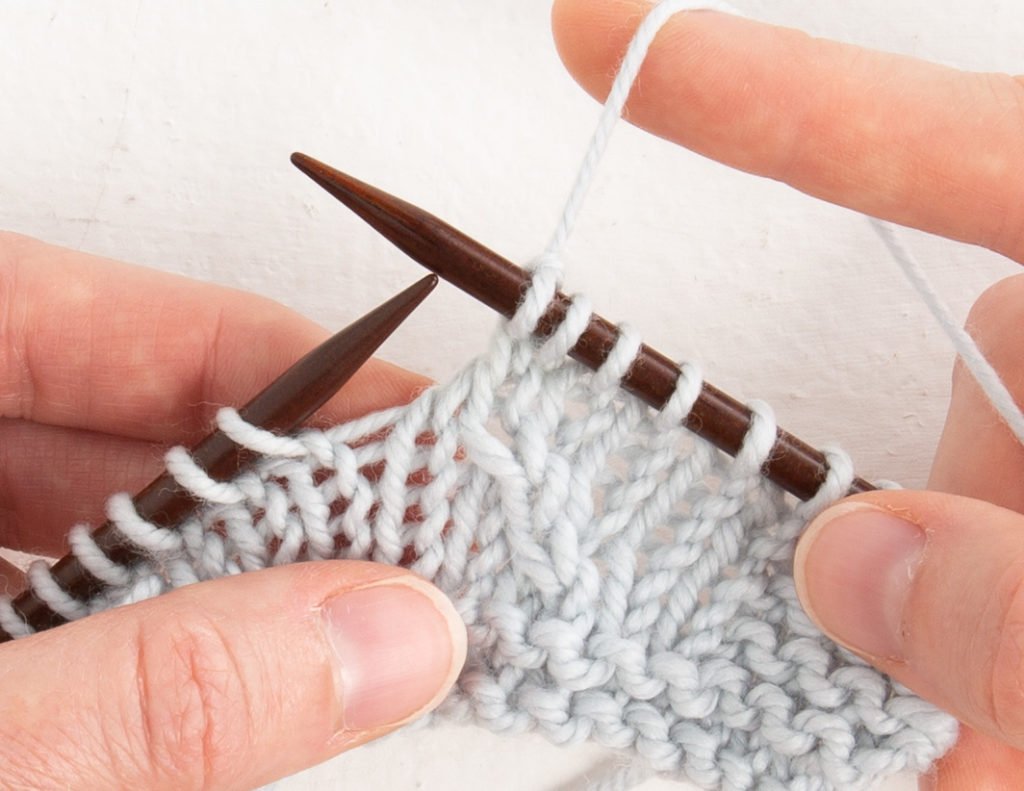
Bring the right-hand needle around to stick it knit-wise into the first stitch …
Step 4
… and knit into that stitch, normally.
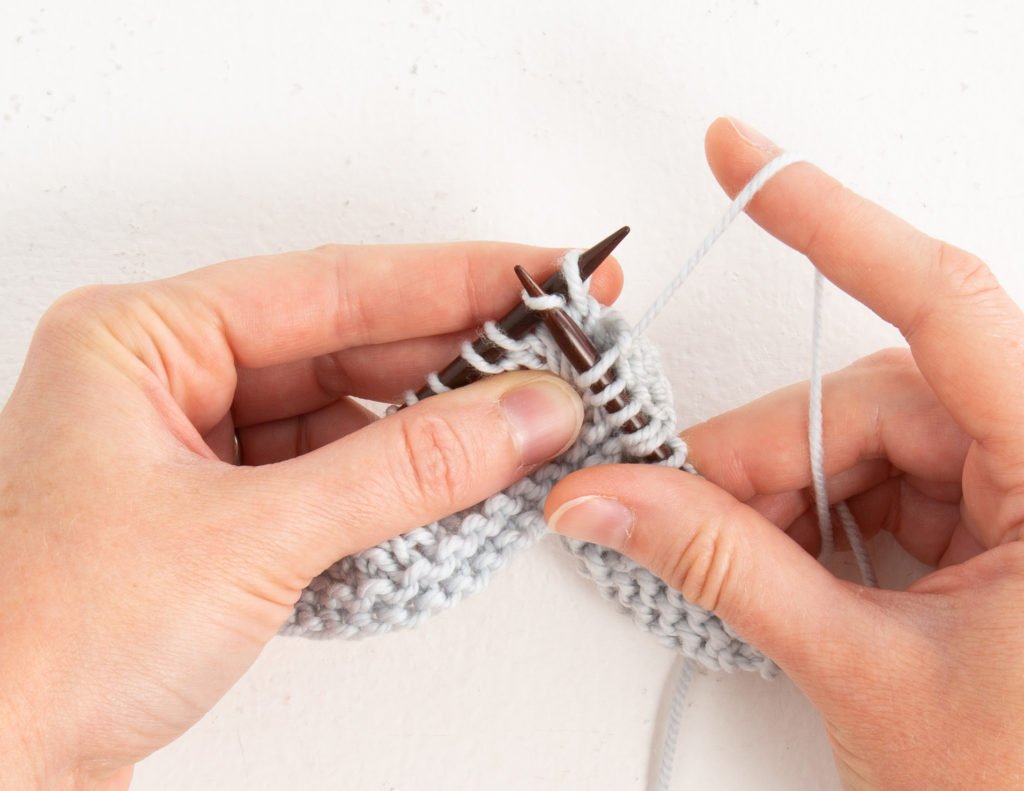
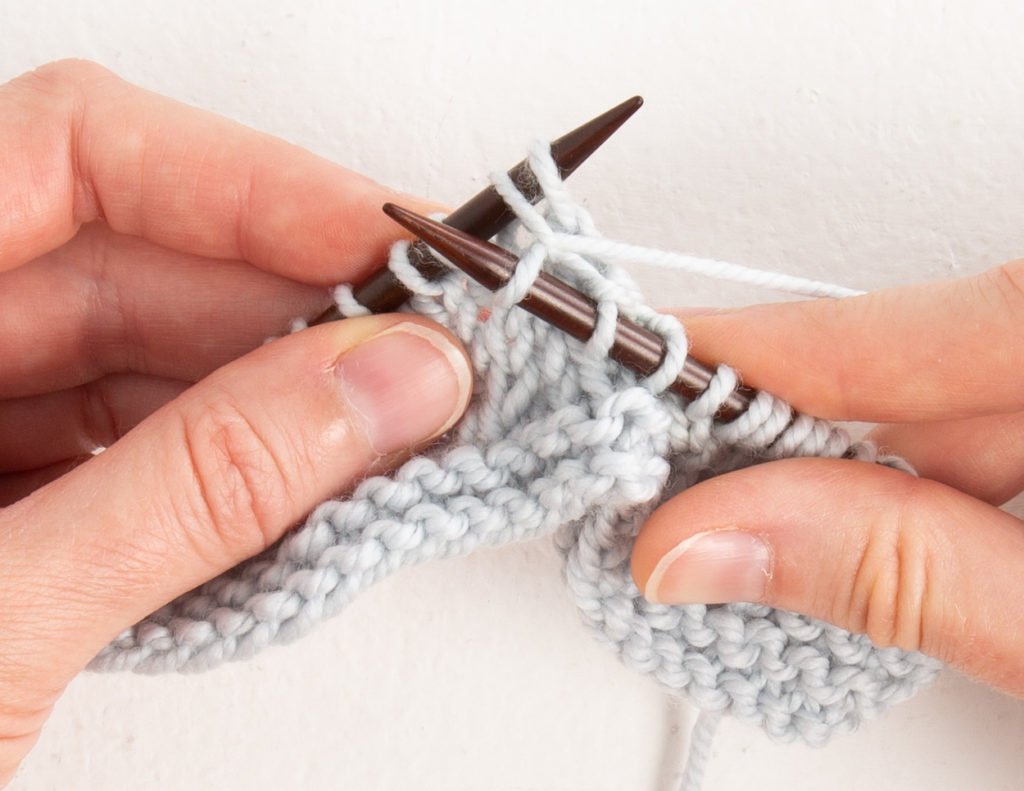
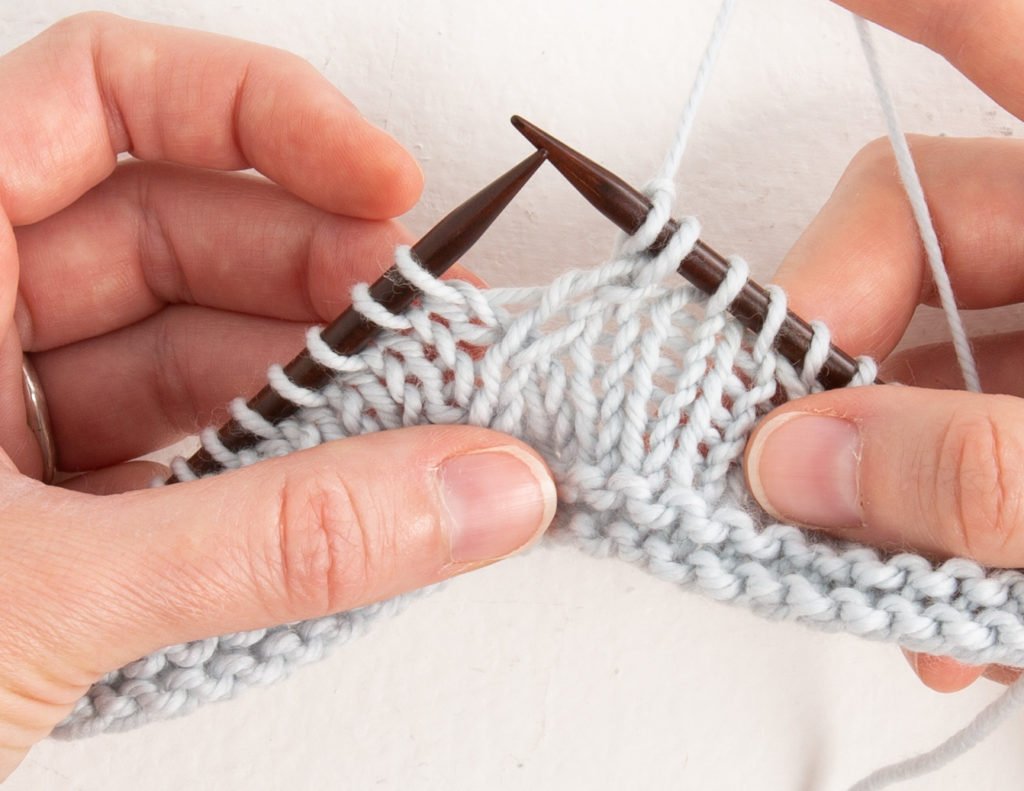
Step 5
After both knit stitches are complete, drop both the stitches off the left-hand needle. All done!
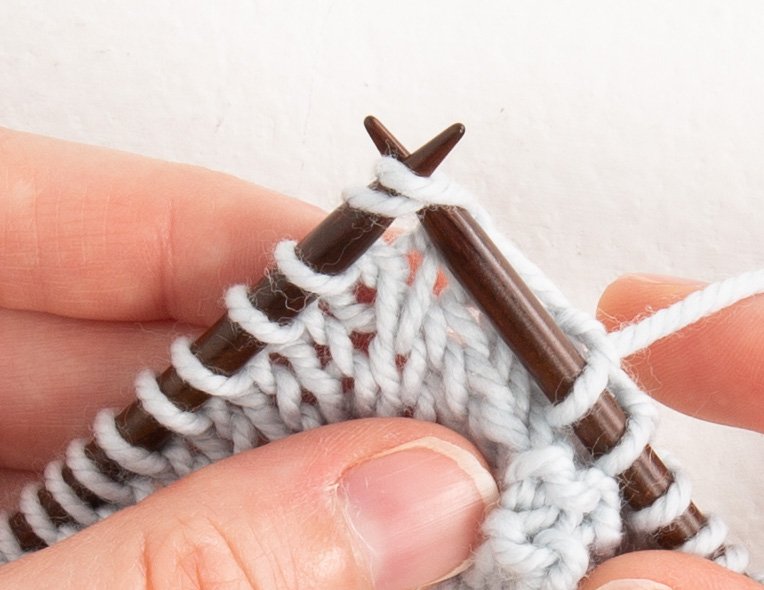
Right Twist
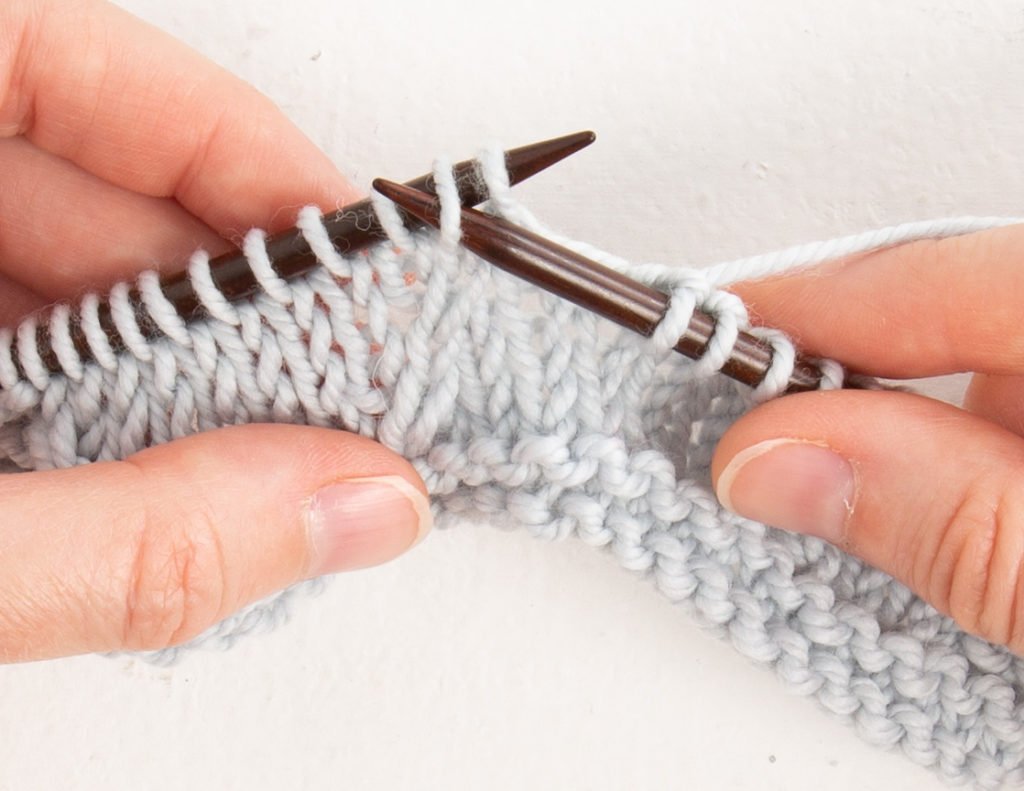
Step 1
Stick the right-hand needle knit-wise through the front of the second stitch …
Step 2
… and knit through it, leaving all stitches on the left-hand needle.
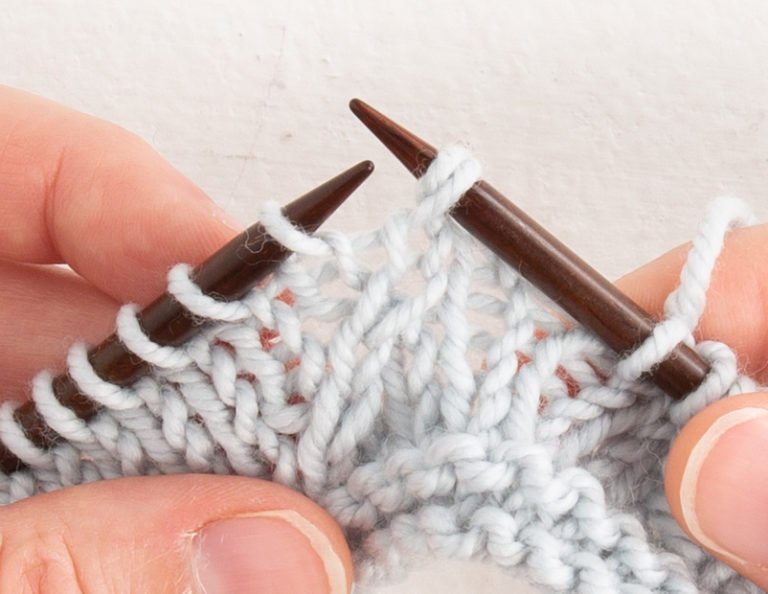
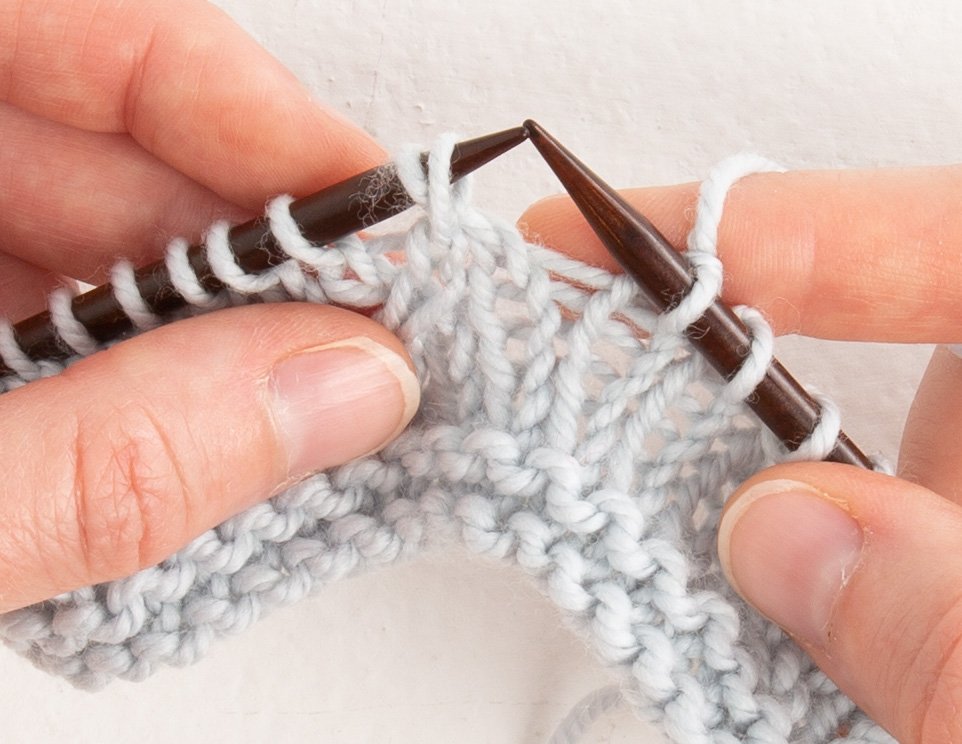
Step 3
Stick the right-hand needle through the first stitch, knit-wise …
Step 4
… and knit a stitch normally.
Step 5
After both knit stitches are complete, drop both the stitches off the left-hand needle. All done!
Written Steps
Lastly, for if you’ve learned a method and now you just want a quick steps-refresher as you knit, without all the scrolling and photos, here are the simplified text-only steps for you.
- RH = right-hand
- LH = left-hand
- K-wise = knit-wise
- P-wise = purl-wise
Decrease method
Left Twist
- Slip first stitch K-wise.
- Slip second stitch K-wise (like SSK decrease).
- Stick LH needle through both slipped stitches, from the bottom up, and slip them to LH needle like this.
- Knit first (back) stitch normally.
- Knit second (front) stitch normally.
Right Twist
- Stick RH needle through next two stitches, K-wise together, as if you’re going to K2tog, and slip them to RH needle like that.
- Slip the two stitches back to LH needle, purl-wise.
- Knit first (front) stitch through the back loop.
- Knit second (back) stitch through the back loop.
Cable method
Left Twist
- Stick RH needle P-wise through next two stitches and slip them to RH needle.
- Stick LH needle into the second stitch in on the right, P-wise in front of the first stitch.
- Slide both stitches off RH needle, the second stitch slipping onto LH needle, and the first stitch being momentarily without a needle, and then stick RH needle back into that loose stitch.
- Slip that stitch over to LH needle, P-wise.
- Knit first (back) stitch normally.
- Knit second (front) stitch normally.
Right Twist
- Stick RH needle through the second stitch, P-wise in front of the first stitch.
- Slide first two stitches off LH needle, the second stitch slipping onto RH needle, and the first stitch being momentarily without a needle, and then stick LH needle back into that loose stitch.
- Slip stitch from RH needle over to LH needle, P-wise.
- Knit first (front) stitch normally.
- Knit second (back) stitch normally.
Twisty method
Left Twist
- Stick RH needle into back loop of second stitch, and knit through it, leaving both stitches on the LH needle.
- Bring RH needle around to stick it K-wise into first stitch, and knit into that stitch, normally.
- After both knit stitches are complete, drop both stitches off LH needle.
Right Twist
- Stick RH needle K-wise through front of second stitch, and knit through it, leaving all stitches on LH needle.
- Stick RH needle through first stitch, K-wise, and knit a stitch normally.
- After both knit stitches are complete, drop both the stitches off LH needle.